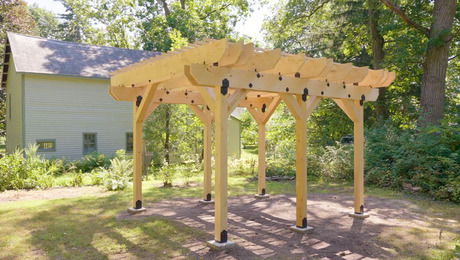
Angle Bracing for a Pergola
Angle bracing enhances the visual appeal and durability of a pergola.
Sponsored by Simpson Strong-Tie
Diagonal bracing is important not only for a pergola’s structural integrity but for its visual appeal as well. Just like with the pergola rafters, Jeremy Kassel recommends creating a template to use when cutting bracing to ensure consistency. He also shares how to properly seal exposed end grains, secure the bracing, and more.

Here’s the Transcript:
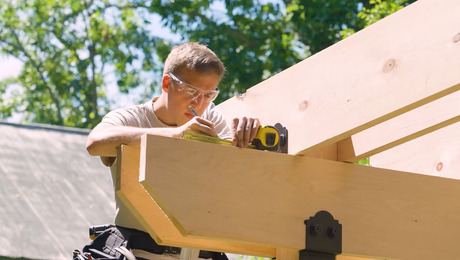
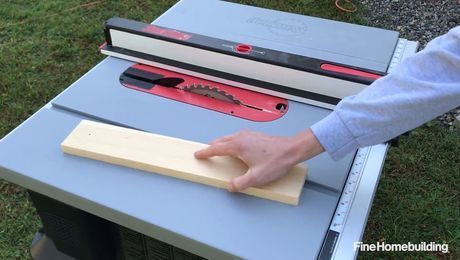
Can you go grab the temp please? I just want to verify that it goes down. Right now we’re getting started with our 6×6 diagonal bracing. We’re cutting these 6x6s at 45°. We’re cutting the longer ones here, which are going to be on either open end of the pergola.
They’re going to nest up into the double set of rafters. This particular circular saw has a 10¼-in. blade. This will allow me to cut through the 6×6 material in two passes. Not everybody has a saw like this, so consider trying to borrow or rent one if you’re interested in using it.

I’m taking this first long brace that I’ve cut, and I’m going to put it on top of the offcut of the original 6×6 material. This is essentially going to become my new template. I’m taking my original pattern template brace and I’m just laying it out and marking out on the other side of my stock here.
This cuts a little bit off because maybe this timber didn’t come perfectly square from the mill. We did our best to lay out our cuts. We will be able to bury this up in the beams, but thankfully the other end of this brace is nice and clean and that’s the one that you’re going to end up seeing.
The final detail on these two braces is just to knock this point off; we’re just going to take about ½ in. It’ll serve a couple of purposes. Number one, it’ll nest nicely on our temporary cleat, and two, it’ll give us a little bit of visual interest, just like our rafters have the tails knocked off. That’s the detail we’re talking about when it comes to the smaller angle braces. There’s not really anything different about them; they’re just shorter. Just like with the rest of our open end grain, we are going to want to seal this up with some wax. One more thing I’m going to do to tune these up is just break the edge with an ⅛-in. roundover bit, just like we did on those vertical posts.
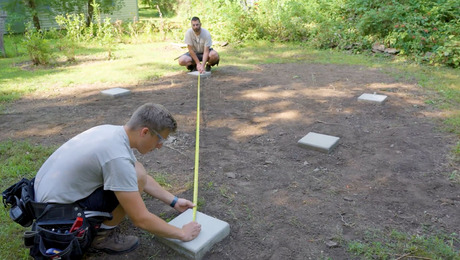
We had to move this temporary brace because our permanent diagonal 6×6 brace is going to go right in that location. I think the next step is to make those 18-in. marks. So I’m just making a mark at the bottom of where that diagonal brace is going to come in and land on that post. Then I’m going to put a temporary pleading block at this location so that our 6×6 has something just to temporarily rest on. I am going to do that on the remaining post.
When I had one of these 6×6 braces temporarily resting on a cleat, I took a look to see what type of projection and embedment I was going to have on this 5½-in. fastener. I determined that I wanted to go 2 in. up into our work from that point and then make a mark 1¼ in. in from each side. Make a slight recess to accept the head of the screw, and that would be pre-drilled, ready to get installed.
Can you put a hand on that? OK, give it a big push. This was a little bit snug. We’ve got a little bit of this chatter from the mill. So what Tani’s done is taken a clamp, spread this open to get a little more breather room, so this more easily slides up to where we want it. OK, so I’m going to hold it here. Can you pull out the spreader clamp? Yep. Now we’re using the clamp to close the beam and capture this 6×6 in place. Yes. Nice and tight. Good.
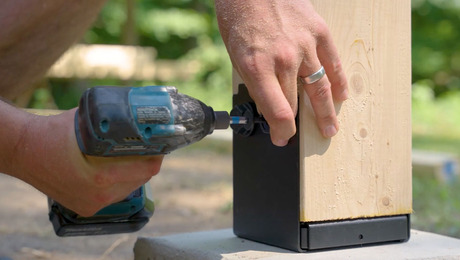
OK, so I’m going to drive these. Next, we’re using these Simpson Outdoor Accents coated 5½-in. structural wood screws. We want to get a nice, good, deep embedment in the 6×6 post, and recessing the heads on these structural wood screws leaves a nice clean look. Now we can go ahead and remove this cleat.
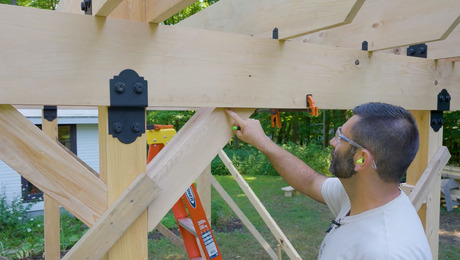
The next thing I need to do is lay out our fasteners. I’d like to find the center point of where this 6×6 beam meets this 2×12 rafter, drawing a faint line here that I’m going to transfer up onto the 2×12. Now I’m going to take my big speed square and lay it out on the 45 line because this is on a 45. Going to draw a couple faint lines here. I’m going to measure up 2¼ in. where we cross that diagonal line. Similarly, I’m going to measure down 2¼ in. where we cross this line and make another mark. That’s where our hardware is going to go.
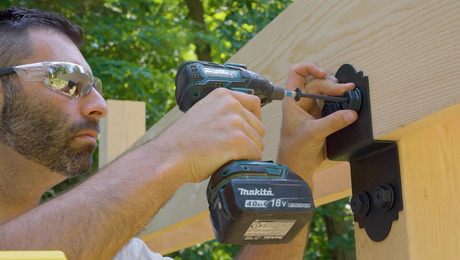
These are the decorative washers, part of that Simpson Outdoor Accents line. These, combined with the structural screws and the hex-head washers, give a look that is supposed to replicate a through bolt or a carriage bolt. Just make sure you don’t lean on it.
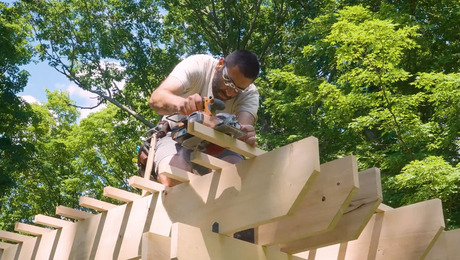
We temporarily removed this end rafter so that we would have easier access for fastening our last bits of hardware into this connection. We could have used a right-angle drill or drill attachment, but I don’t have one. So it was easy enough to remove our hardware, gain access to the workspace, and then put the hardware back onto our work. Once that’s complete, we can remove all of our temporary bracing and work up on top of the rafters installing our lattice strapping. It’s so satisfying when all the bracing comes off.
RELATED STORIES