
Taping Tricky Transitions
Apply innovative products to difficult drywall corners for a faster, easier, and more durable job.
Synopsis: Hanging and taping drywall on flat walls is tough work, but when transitions are anything other than flat, the work gets harder. Drywall expert Myron R. Ferguson shares some tips and advice on products he turns to when dealing with tricky transitions. For off-angle inside corners, such as the ones created when a sloped ceiling transitions into a flat ceiling, a flexible product is helpful because the framing in this area is subject to settling. For off-angle outside corners, use a sturdy product; these areas are subject to damage from household abuse. For places where drywall meets wood, windows, or doors, L-beads are the product to use; they are ideal for connecting dissimilar building products. This article includes a sidebar on working with ready-mix joint compound.
Early in my career, I dreaded taping houses that had off-angle corners — those greater than or less than 90°. These transitions were very difficult to finish, and they never ended up as straight or as crisp as I had hoped. At that time, I didn’t know of any specialty products available to make the job easier. For inside corners, I would use regular paper tape, which often needed a lot of filling and tweaking with compound. I’d then try to sand a straight centerline in the corner, but if the framing was out of whack, it would be impossible to get the corner to look right. Often, I had to resort to rounding inside corners.
Obtuse outside corners were just as bad. I would splay metal corner bead by pressing it against a piece of 4-in.-dia. PVC pipe until it was the proper angle. But it still had to be nailed in place, which meant that the framing had to be spot-on. The results were OK, but the work was less than perfect.
Fortunately, manufacturers now produce a variety of beads and tapes that make creating inside and outside corners of any angle a breeze. They also offer beads that make butting drywall to brick, wood, or any other building material a lot easier than flat taping.
Several companies make a single bead that can be used in multiple applications, but I’ve found that different corners demand different products. I’ve highlighted the beads that I like to use and the places I like to use them. However, bead selection is mostly a matter of personal preference, so try alternative products and methods. The drywall industry is continually evolving.
Basic taping techniques apply to all transitions
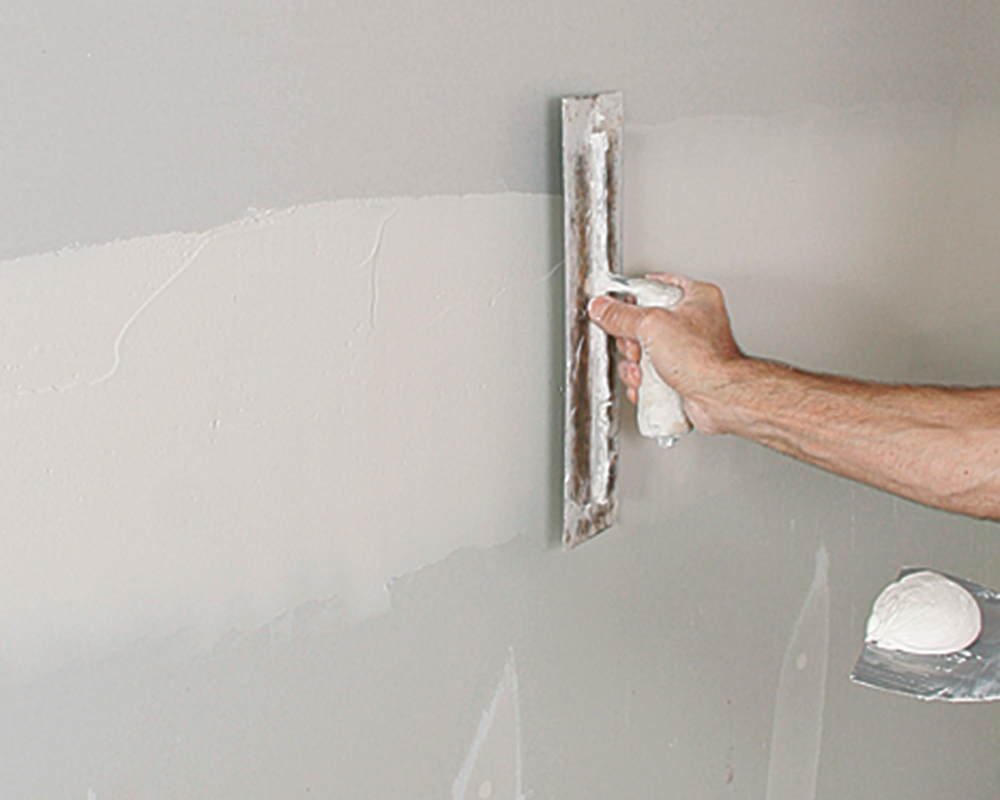
While some of the bead and tape products mentioned in this article are relatively new, the method by which they’re installed is not. Except where noted, each of these products is embedded using joint compound. The compound serves as the adhesive that holds the product in place. Taping is typically done with a four-step process.
 |
 |
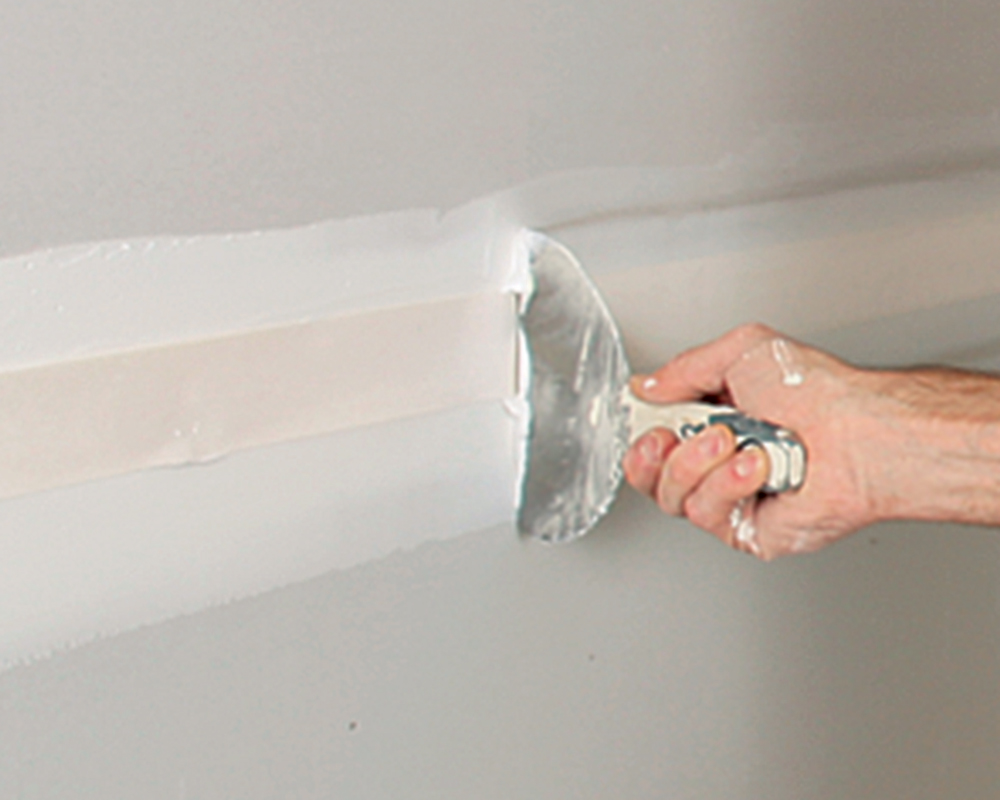
| 1. Rough coat
Apply compound to the seam or corner to be taped, and embed the tape or bead starting from the middle and working toward the ends. |
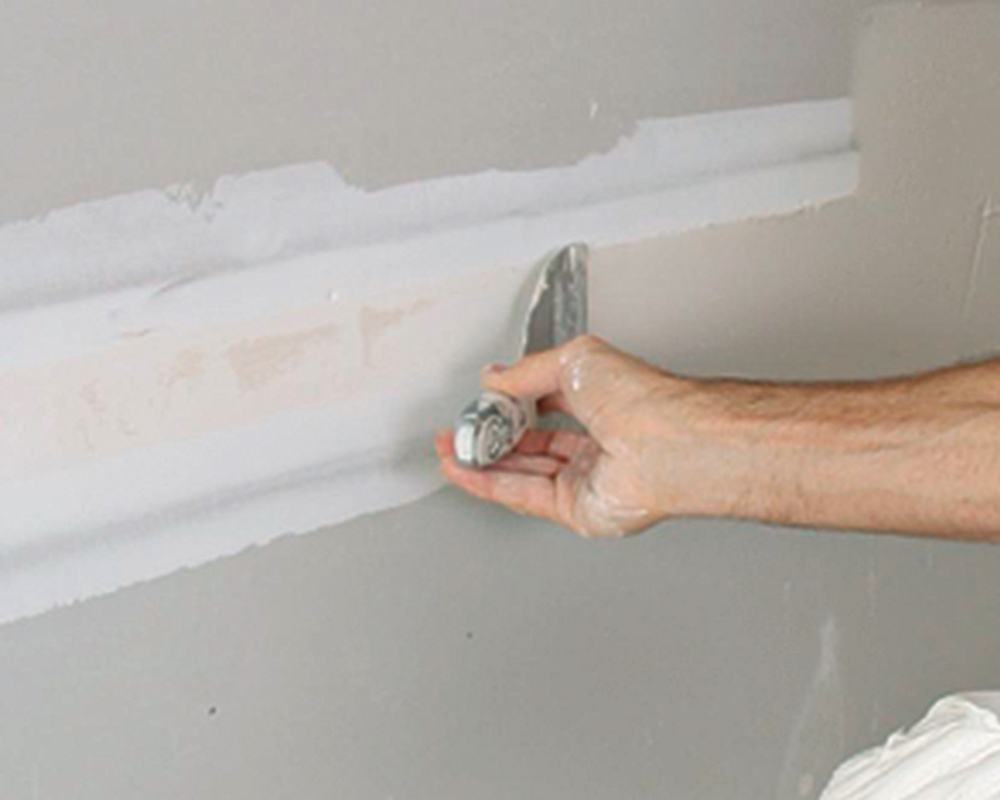
2. Fill coat
Once the first coat of compound has set up, apply a second coat to feather the seam or bead flush to the rest of the wall surface. |
 |
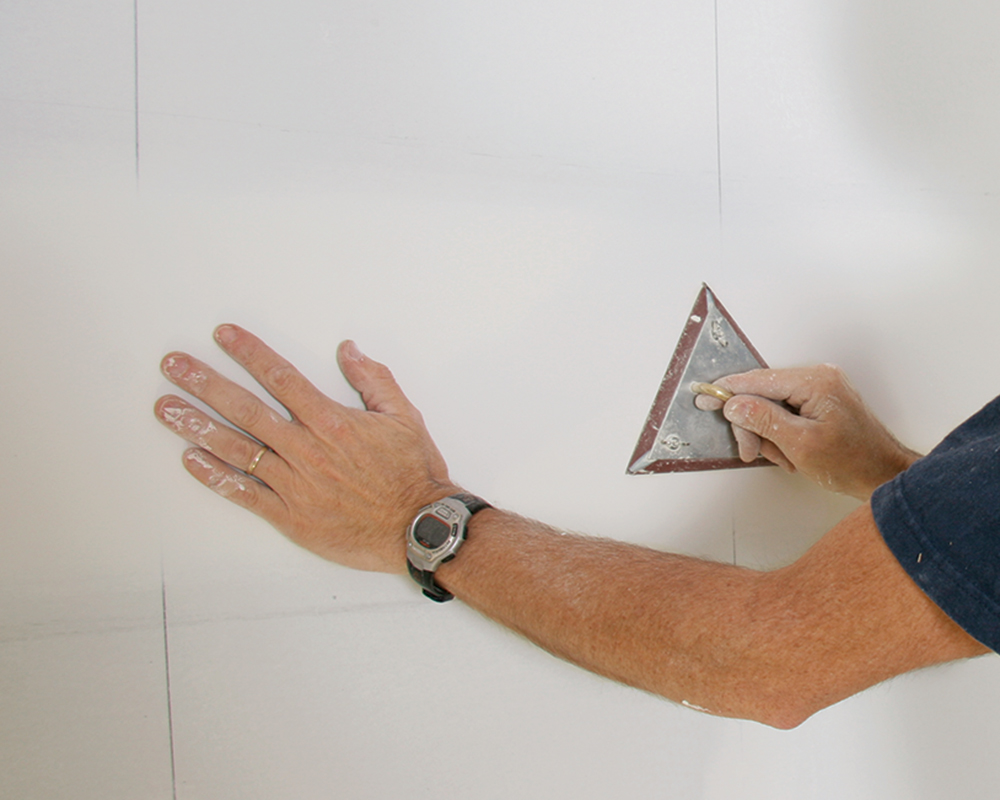 |
| 3. Finish coat
Sand bumps in the fill coat with 150-grit paper. Apply a final coat, and remove the compound, leaving just enough to fill any imperfections. |
4. Final sanding
Sand the joint with 180-grit sandpaper to remove any minor defects and to help blend the seam into a flat, uniform plane. |
Off-angle inside corners
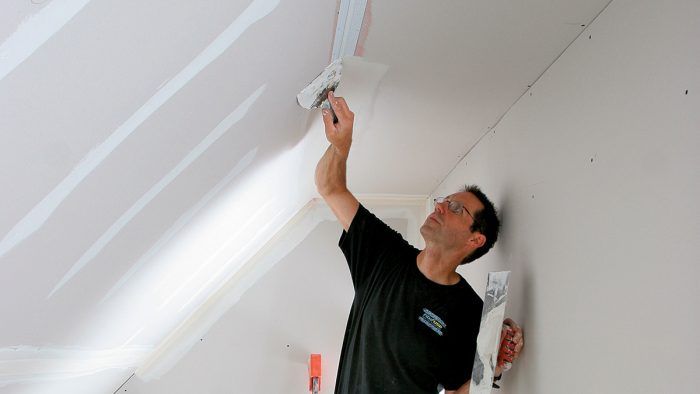
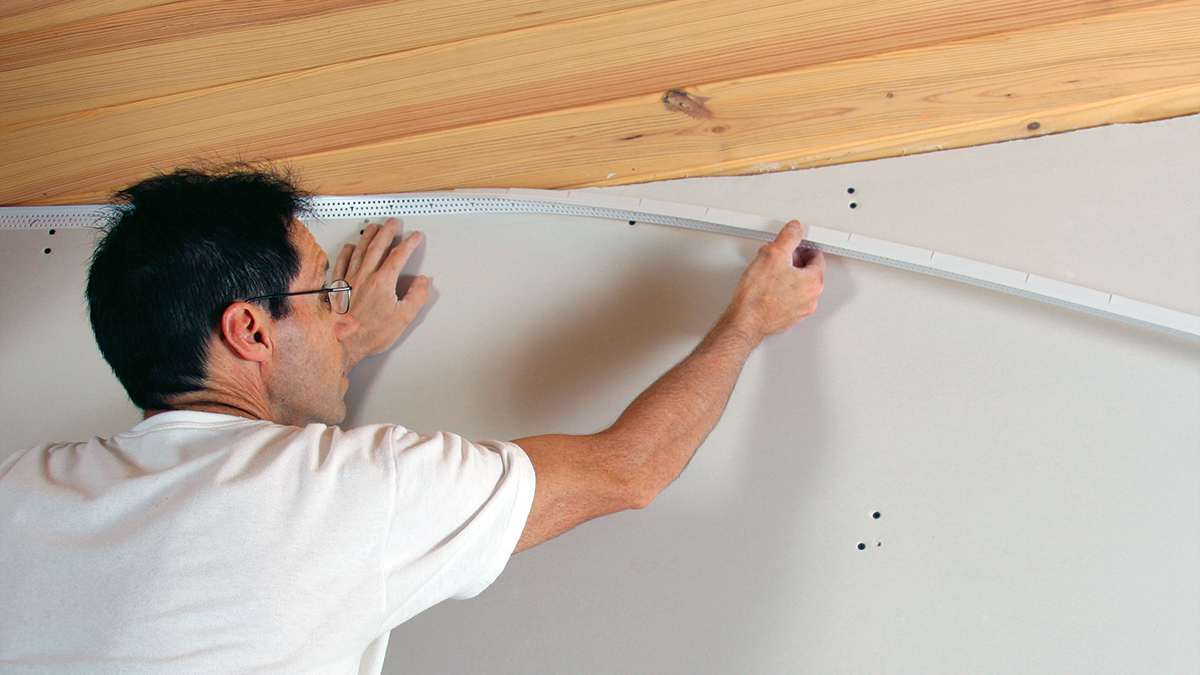
The corners created by a sloped ceiling transitioning into a flat ceiling (or a wall in the case of vaulted ceilings) are particularly problematic when taping. not only is the angle greater than 90°, but the framing in this area is also subject to settling. even a subtle shift in the structure can lead to a cracked corner, so having a bead with some flexibility is important.
In my experience, vertical inside corners on walls aren’t subject to the same stresses as those on ceilings, so I often prefer a more rigid bead for these locations.
 |
 |
 |
| Trim-Tex Magic Corner
Magic Corner has a flexible rubber groove between its two mud legs. This groove is left free of compound to let the bead flex in response to building movement. The bead is attached to the drywall surface with spray adhesive and staples before being finished with three coats of compound. Best use: Most often, I use Magic Corner at the transition of a sloped ceiling to a flat ceiling, where flexibility is most critical. Cost: $62 per 250-ft. roll |
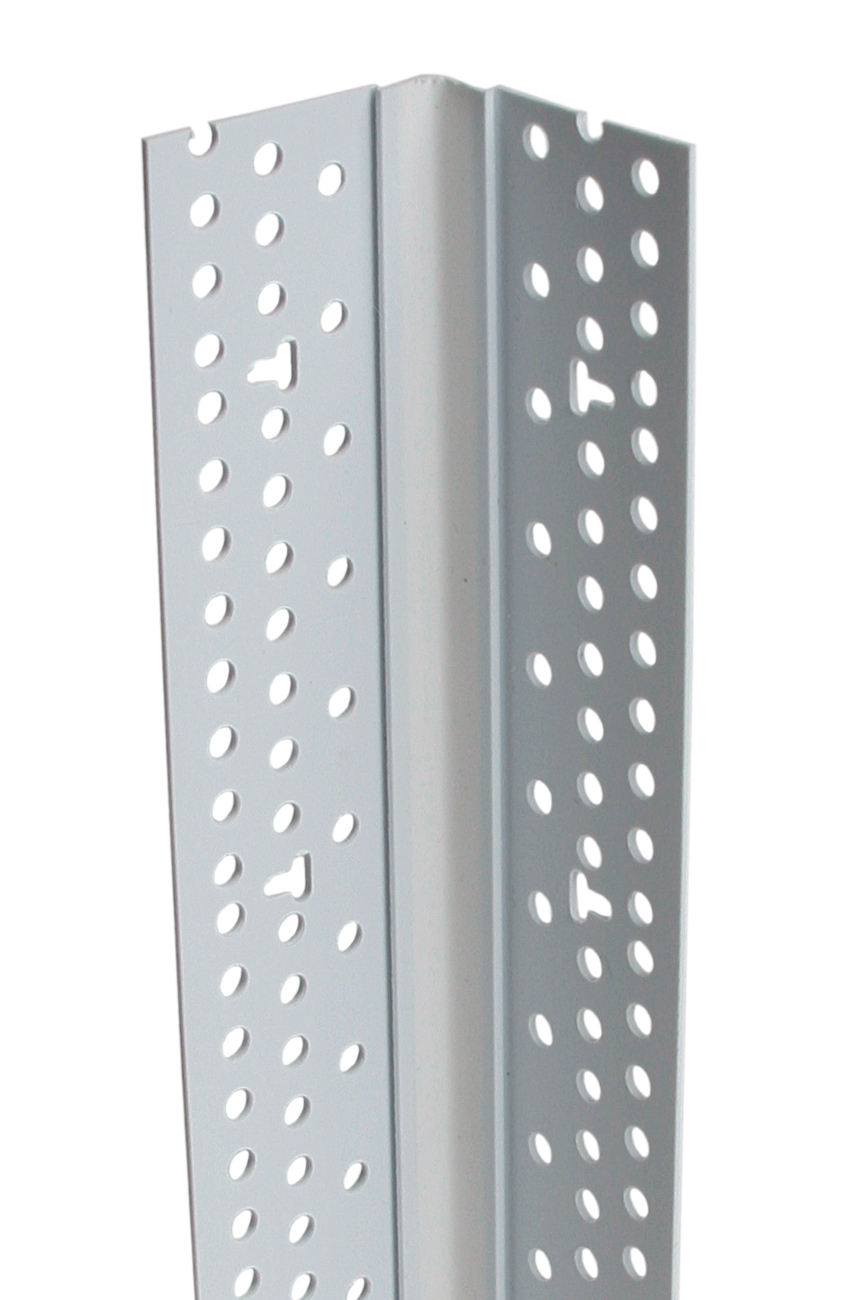
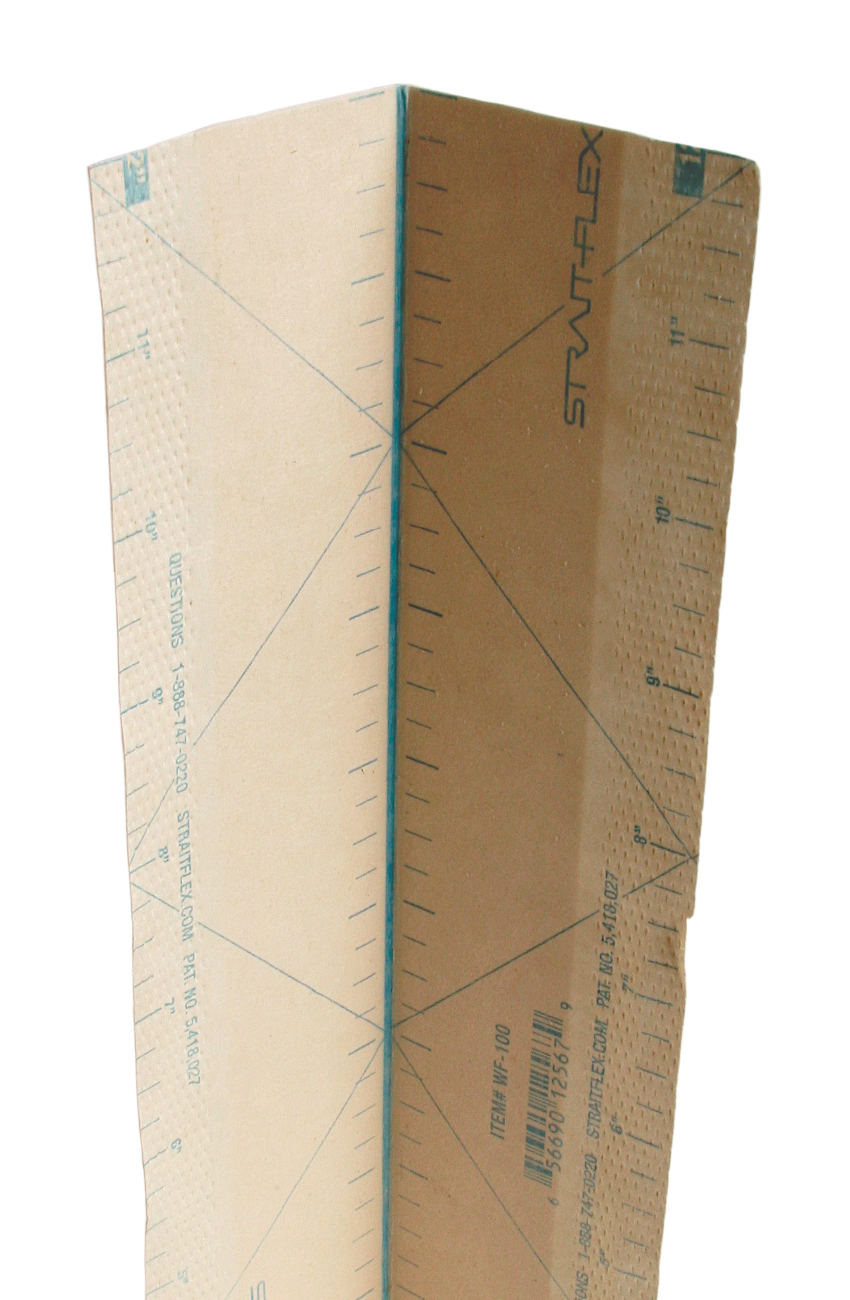
Strait-Flex Wide-Flex
Wide-Flex is made of a patented PVC fibered-cotton composite. The tape has a rigid backing that reduces shrinking, blistering, or tearing. Wide-Flex is flexible enough to be used for any inside or outside corner. Best use: While I’ve had success using Wide-Flex in a variety of applications, I use it most often on off-angle inside corners. Its adjustability allows it to be used for a variety of angles, and it’s rigid enough to get a corner looking straight, even if the wall framing is slightly out of line. Cost: $21.51 per 100-ft. roll |
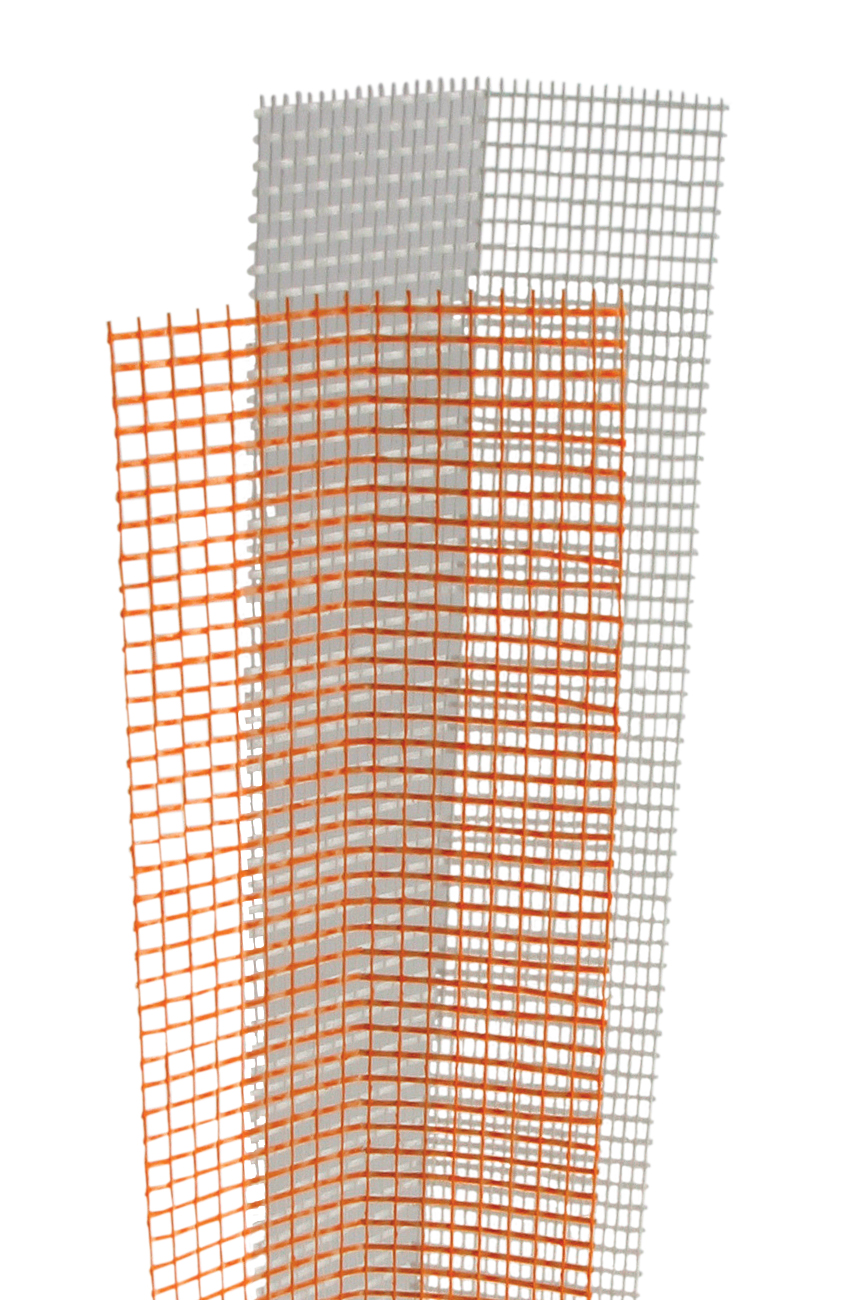
FibaTape
FibaTape is a self-adhering fiberglass-mesh tape. It does not need to be embedded in a rough coat, so it’s faster to apply. Its open-web, crossfiber design reduces cracking and eliminates the bubbling that sometimes occurs with paper tape. Best use: When taping off-angles, I use FibaTape on short transitions, like the top corners of a drywall-returned arched window or where a boxed-in beam dies into a ceiling. I can also attach multiple layers of this tape in problem areas to give me additional strength where it’s needed most. Cost: $4.57 per 150-ft. roll |
Off-angle outside corners
Unlike inside corners, outside corners on walls are susceptible to damage from household abuse, so they need to be able to withstand a beating. Also, like some inside corners, the gap between drywall panels that make an outside corner, especially an off-angle outside corner, can be rather large. In these applications, I need products that not only will resist cracking but also will bridge large voids and withstand impact.
 |
 |
| Trim-Tex Jumbo Splayed Corner Bead
The 10-ft. vinyl Jumbo Splayed Corner Bead is preformed for a 135° corner, a common angle for outside wall corners. However, it can be adjusted on site to fit corners of various angles. This bead has extra-long mud legs—1-3/4 in., as opposed to 1-1/4 in. on standard-size beads. It is attached like most vinyl bead, with spray adhesive and staples. Best use: The extra width of this bead makes it particularly useful when bridging outside corners that have large gaps between panels. Vinyl is durable and is the best product to use in high-traffic areas that receive lots of household abuse. Most of these areas are on walls, not ceilings. Cost: $82 per box of 40 10-ft. pieces |
No-Coat Ultraflex 450
Ultraflex bead has a tapered copolymer plastic core covered with fibered paperboard. The tapered core reduces the amount of compound needed to feather the bead flush to the panel. It also has what No-Coat calls a structural laminate design to reduce the effects of high impact. Although less compound is needed to conceal the bead, the installation is similar to ordinary paper tape, although not as easy. Best use: While Ultraflex performs well on off-angle outside wall corners, especially those at an angle other than 135°, it’s not as durable as vinyl bead. Ultraflex really shines on outside (and inside) ceiling transitions. It has a far greater range of flexibility than Jumbo Splayed Corner Bead. Cost: $60 per 100-ft. roll |
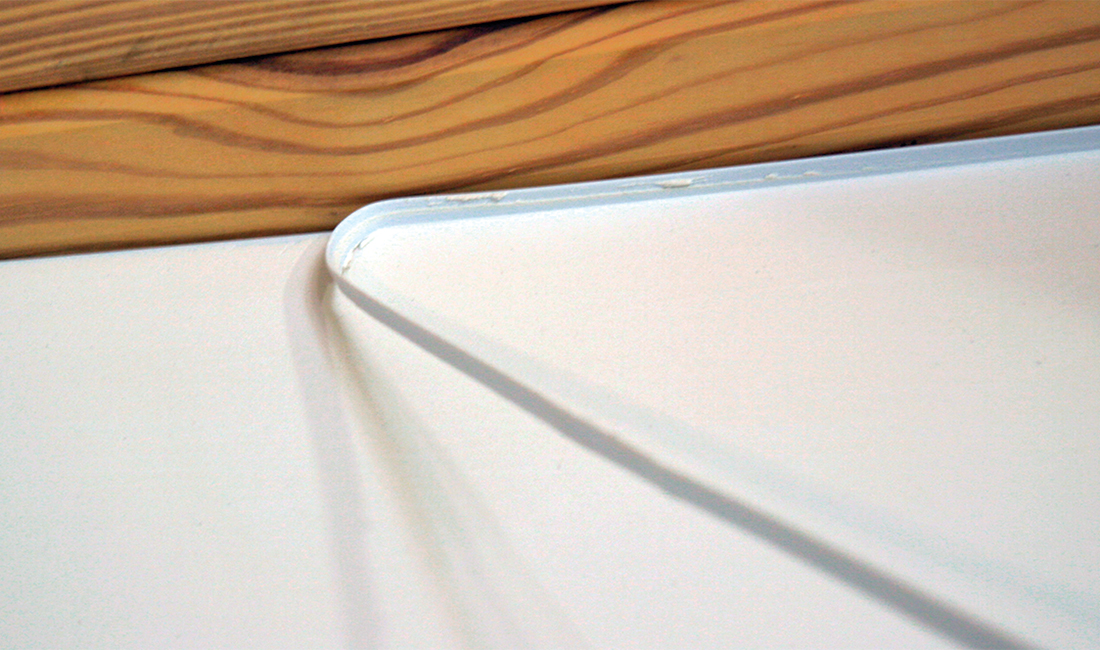
Where drywall meets wood, windows, and doors
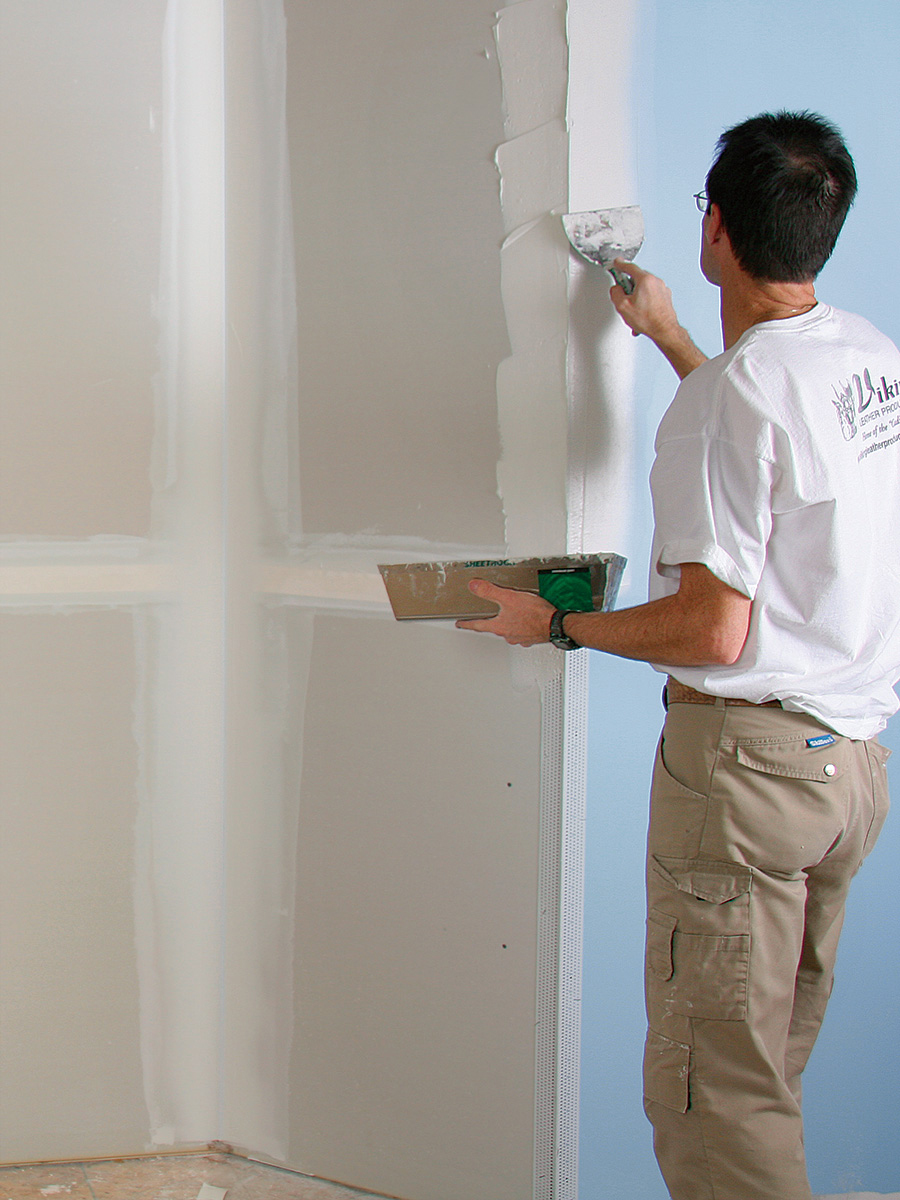
The standard technique for butting drywall to a non-drywall surface, such as a brick chimney or a hand-hewn beam, is flat taping. Flat taping is relatively quick, and it looks good enough. However, it’s prone to edge-cracking as dissimilar building materials expand and contract, and shift and settle. L-beads alleviate any such problem. They’re a little slower to install, but they perform much better than flat taping over time.
 |
 |
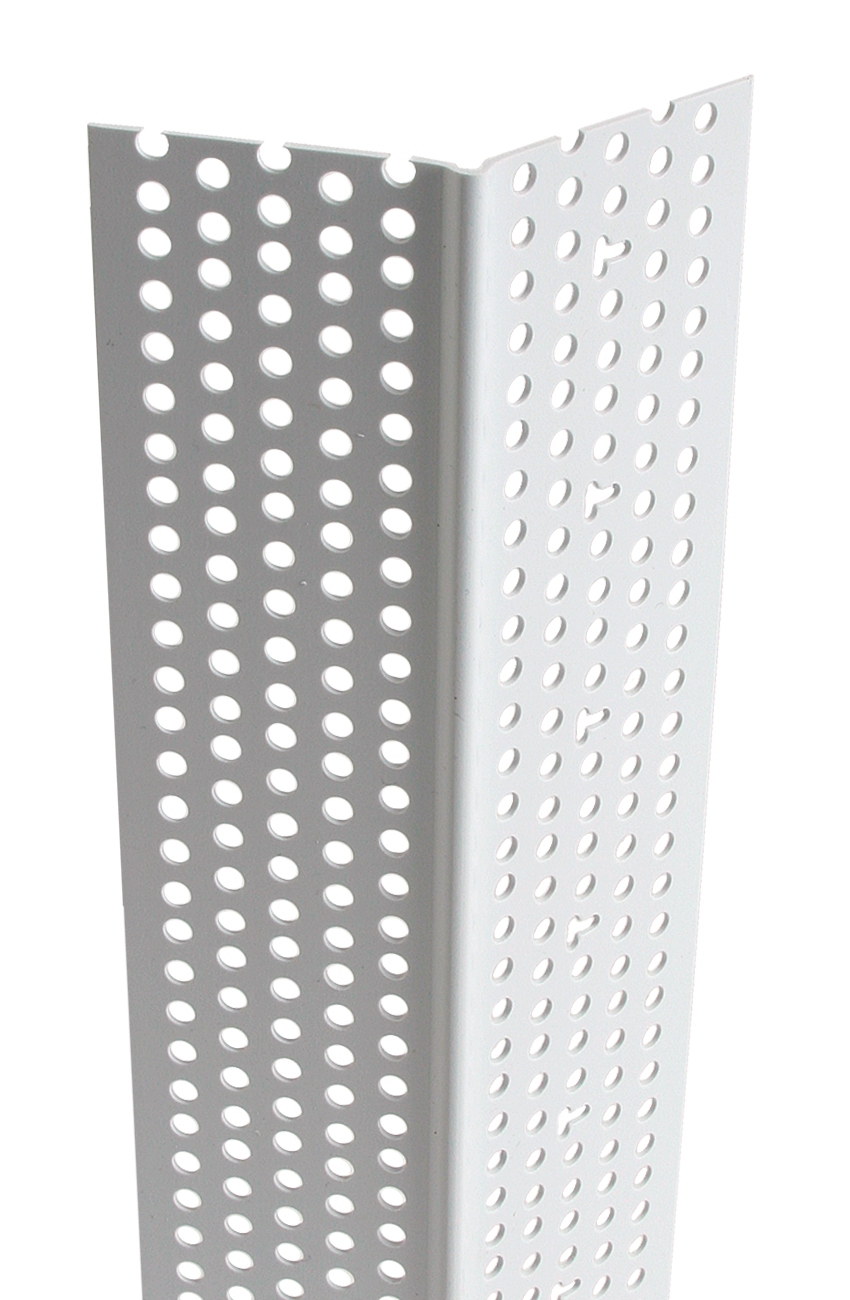
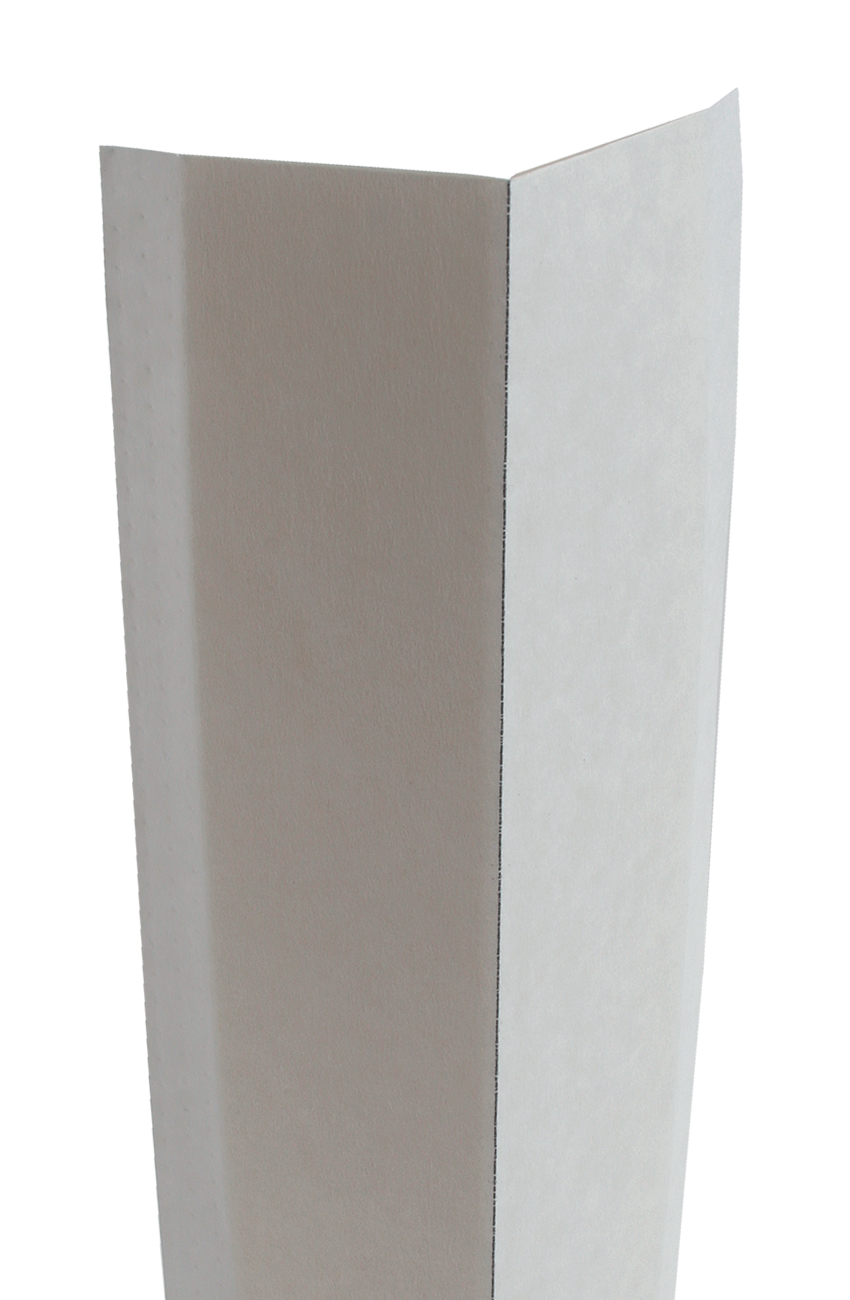
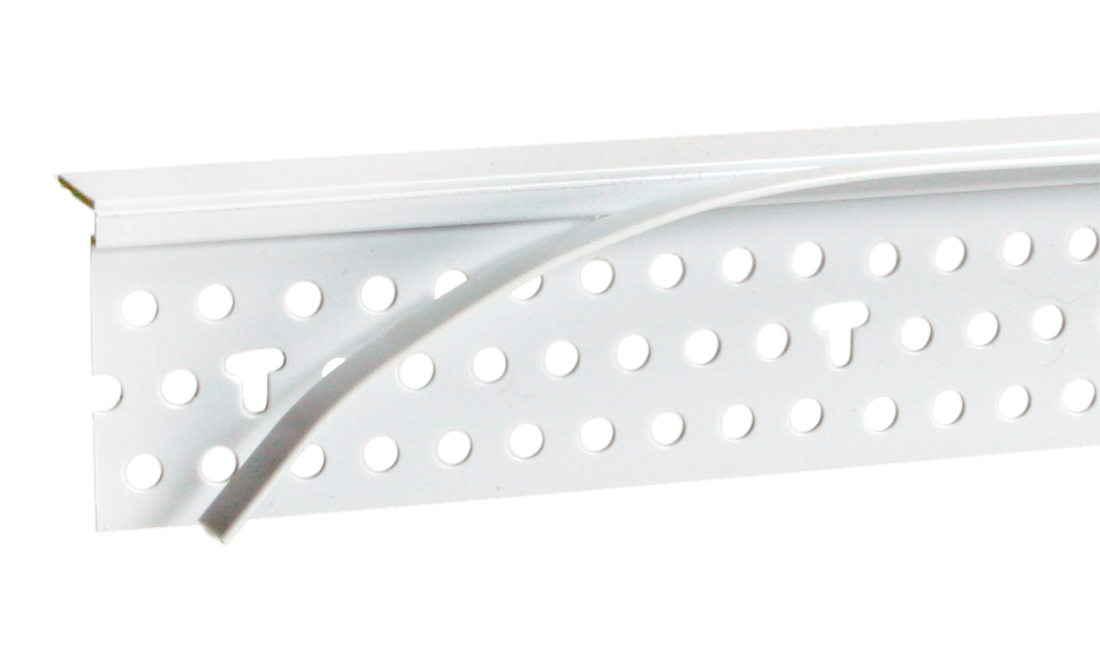
Trim-Tex Tearaway L-bead
There are several vinyl L-bead products on the market, but I like Tearaway L-bead best. A solid, 1/4-in. to 1-1/4-in. vinyl tab fits between the edge of the drywall and the abutting surface. A perforated mud leg is attached to the surface of the drywall with adhesive and staples. The 5/16-in. tearoff leg serves as a guide for the taping knife and helps to keep compound off the nondrywall surface. Once the bead is finished and the final sanding is complete, the tearoff leg is removed for a crisp transition.
Best use: Tearaway L-bead is best for butting drywall into any nondrywall surface. It’s particularly handy when transitioning from a drywalled wall to a wood ceiling, or for creating crisp returns around a window or door that won’t have any casing.
Cost: $69 per box of 50 10-ft. pieces (1/4 in.)
Ready-mix compound still needs mixing
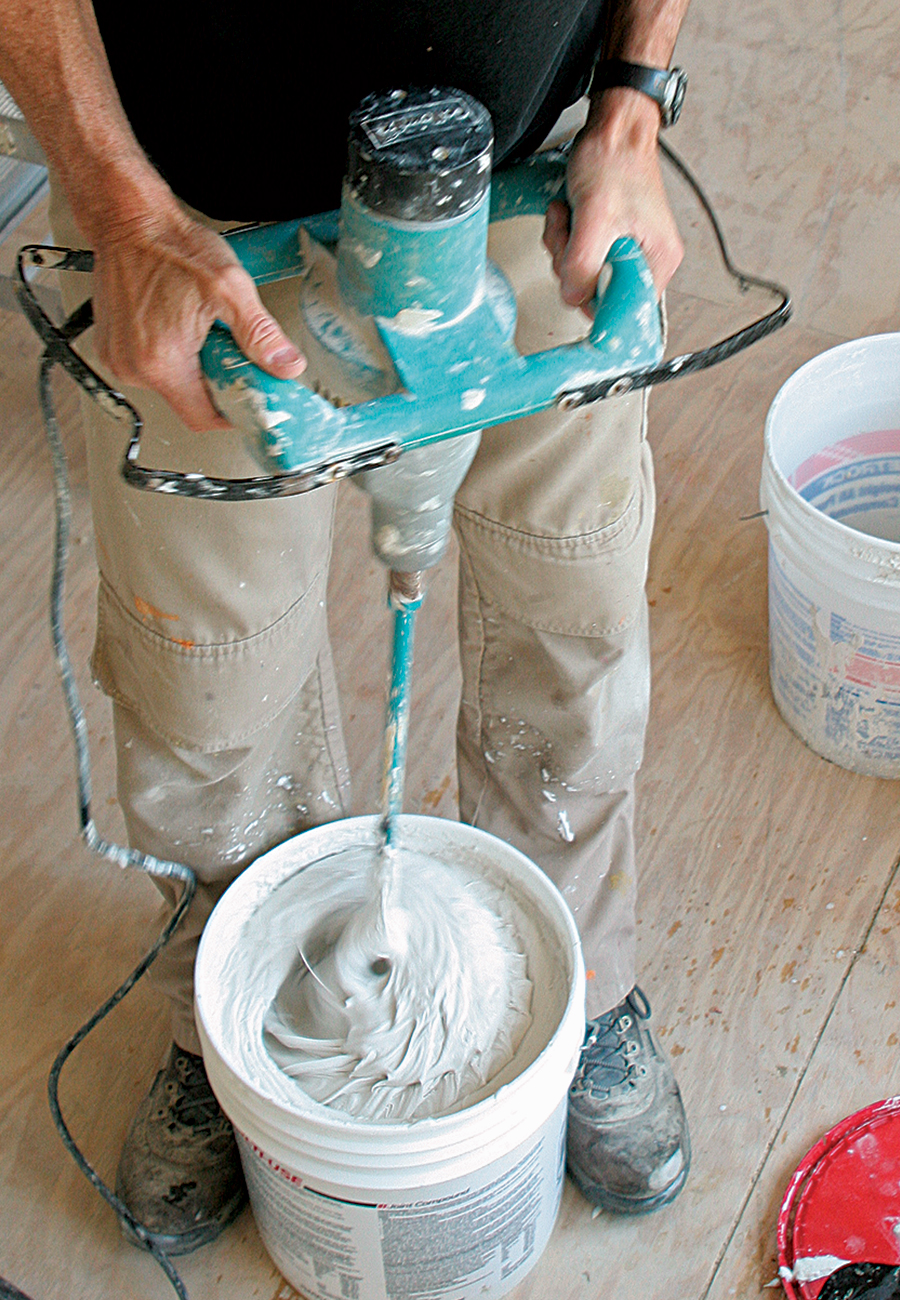
For embedding the beads and tapes mentioned in this article, I prefer a strong joint compound, such as a heavyweight, all-purpose, ready-mix product. This compound dries harder than all others. Most people open a bucket of compound, dig a knife in, and head for the wall. However, I recommend taking a bit of time to prep the compound before starting to tape any seams or corners. Here are five tips to getting the most out of your bucket of compound.
1. Whip the compound with a paddle attachment on a high-powered drill. This will loosen up the compound, ensure that it’s the same consistency throughout, and make it easier to apply.
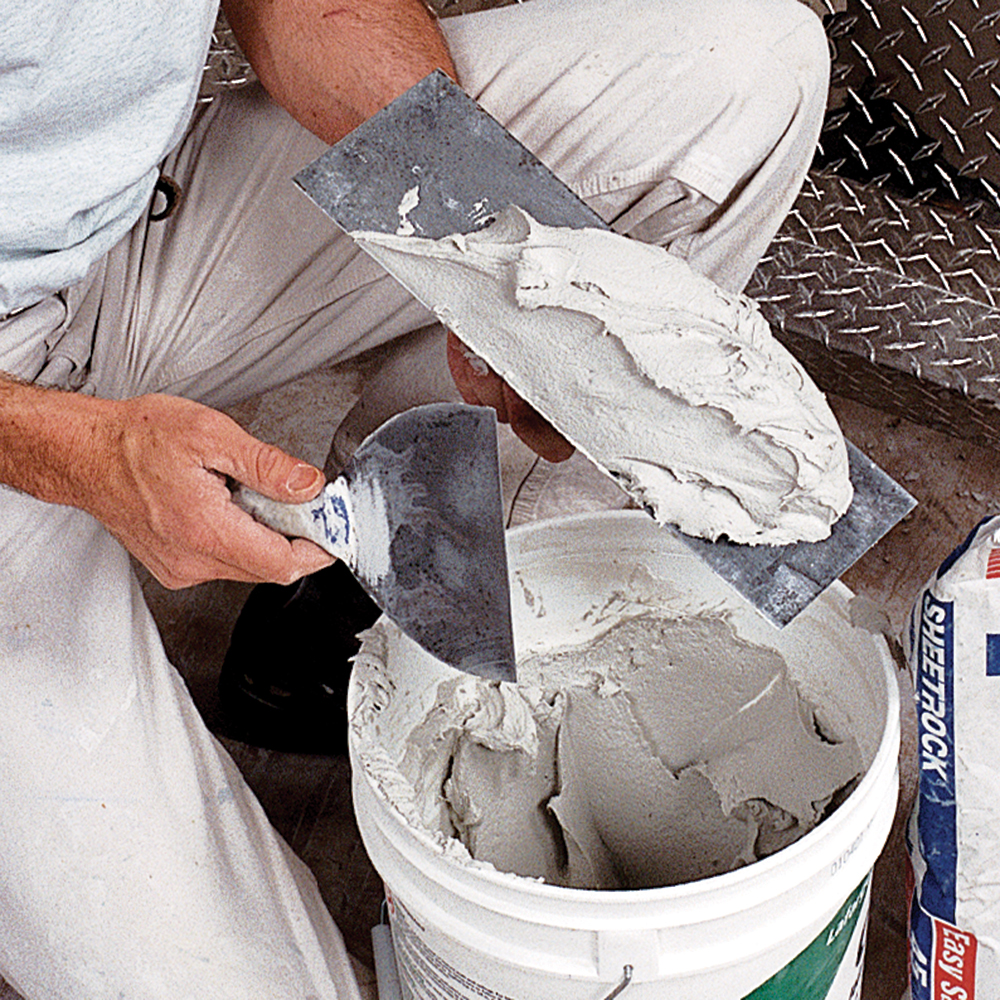
2. If the compound is still too thick for your liking, add a few cups of water and remix. I like my compound thin enough that it spreads smoothly and easily, but thick enough that it sticks to a trowel without slipping off.
3. Use additives like StraitFlex Super Bond and Trim-Tex Mud Max to increase the strength of the joint compound and the bond between tapes and drywall. I like to use these additives when I’m installing the beads that are mentioned in this article and whenever I’m using setting-type compound, which does not adhere to smooth surfaces as well as other compounds.
4. Let frozen compound thaw at room temperature (don’t use additional heat), and mix it without adding water.
5. Identify compound that is too old to use. If a clear, unscented liquid has risen to the top, simply remix the bucket. If the liquid smells sour or appears moldy, it’s time to break open a new bucket of compound.
To view the the article as a PDF, click the View PDF button below:
