
Cutting Drywall
The right techniques make for speedy, accurate cuts.
Synopsis: Cutting drywall properly is not complicated, and if someone else is doing the taping, it will make that person’s job easier. In this article, drywall contractor and frequent FHB contributor Myron Ferguson demonstrates his techniques in step-by-step fashion for cutting drywall to length, cutting corners, cutting off just a smidgen, cutting drywall to width, and cutting openings. He also shows how to cut out electrical penetrations with both a drywall router and a drywall saw. A sidebar covers the basic tools needed for cutting drywall: a utility knife, a drywall saw, a drywall rasp, a drywall router, and a couple of T-squares.
I recently taped and finished the drywall in two new houses of about the same size. Different contractors had hung the drywall in each house. In the first house, the joints between the sheets were good—not so tight that there was damage from force-fitting, and not so open that the joints needed to be filled with setting compound before I could start taping. Moreover, every electrical box was cut out perfectly, a fairly rare occurrence. In the second house, 62 electrical boxes were miscut, and there were big gaps between some sheets that I had to fill. Plus, I had to fix some areas that had been damaged when sheets that had been cut too long were forced into place. Fixing that long list of mistakes added about eight hours of labor for me. Don’t worry, though; I added enough to the price to cover my time.
Cutting drywall well is not a surgical procedure that requires years of training and practice. It just takes the proper attitude. If you go in thinking, “The taper can fix that,” you won’t end up with a high-quality job. It’s simple: Don’t make mistakes the taper will charge you to fix. The following techniques will help you achieve that end.
Cutting drywall to length
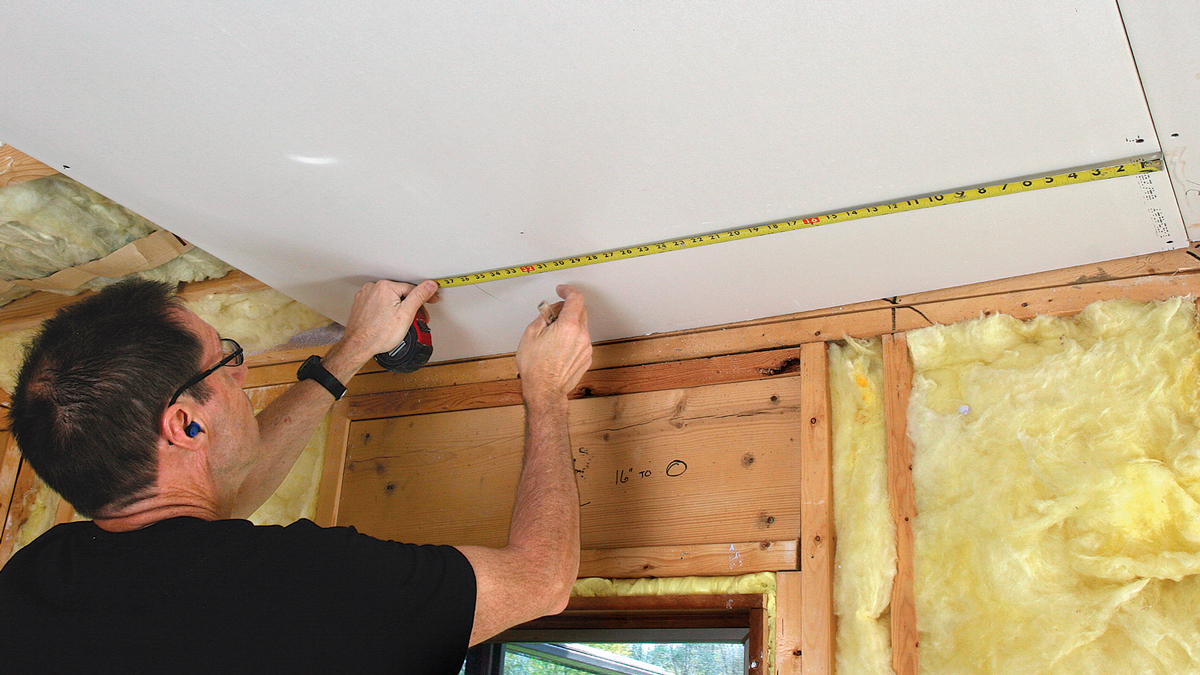
It’s better to cut drywall sheets 1⁄4 in. short. Otherwise, they may get damaged during installation. Drywallers hang ceilings first, so gaps at their edges will be hidden by the wall sheets. Walls are similar. The sheets on succeeding walls will cover gaps on the previous walls. Extra care is called for with the drywall sheets on the final wall in a room, because those ends won’t be covered. Leave about a 1⁄8-in. gap at each end, which you can cover easily with mud and tape.
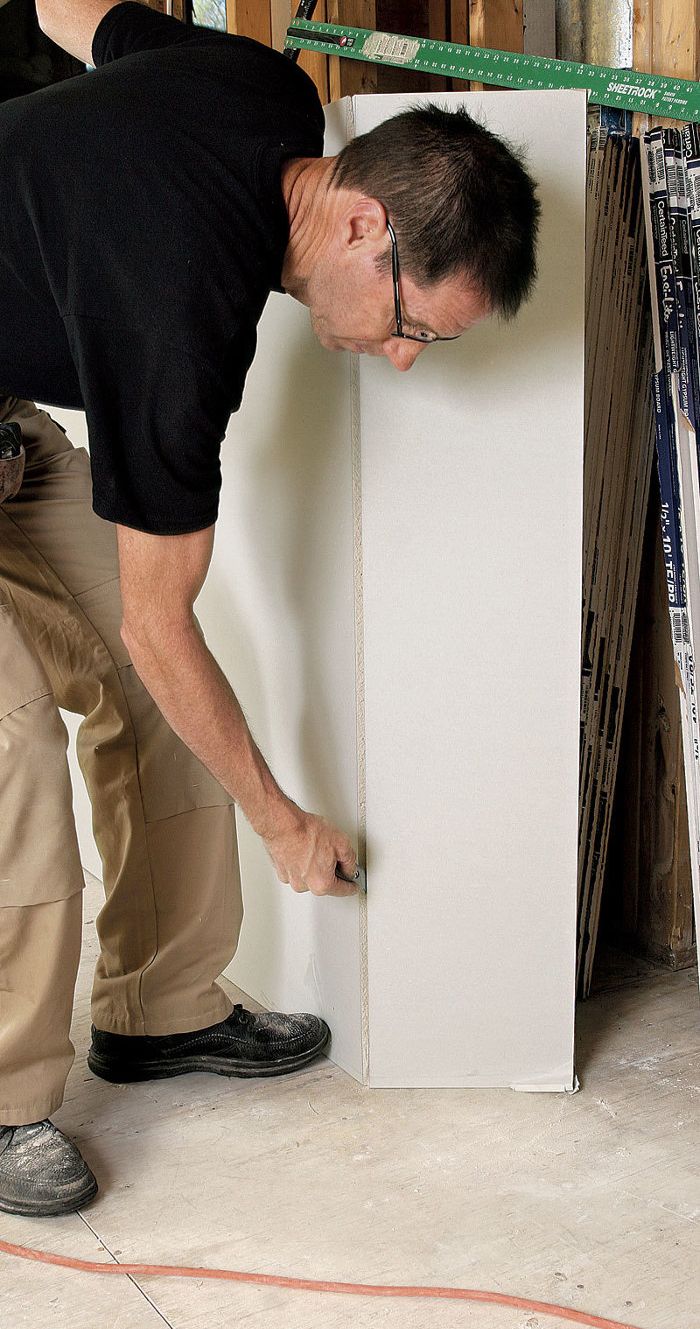
Cutting off just a smidgeon
Because it’s hard to snap drywall unless there’s enough on each side of the knife cut to grasp, cutting off a sliver calls for different techniques. And cutting off a couple of inches differs from cutting off just half an inch
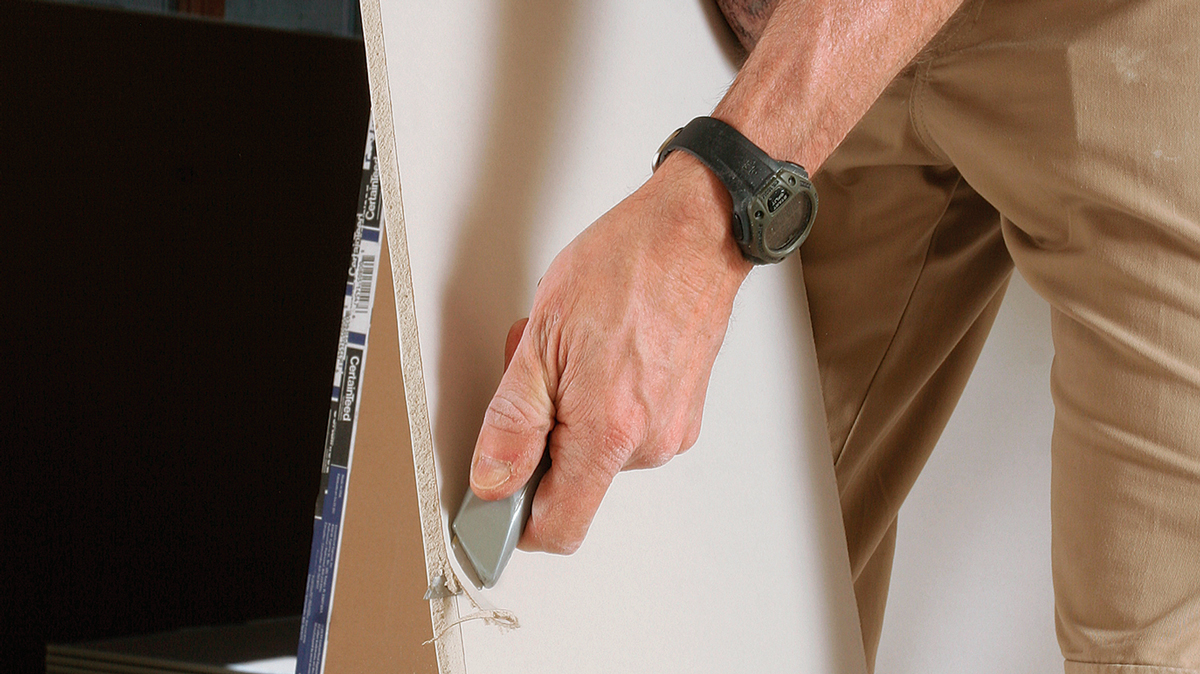 1. To remove very small amounts, start by beveling one edge. 1. To remove very small amounts, start by beveling one edge. |
 2. Continue by beveling the second edge. 2. Continue by beveling the second edge. |

Cutting off an inch
To shorten a piece of drywall by an inch or two, score it normally, hold it with the scored end on the floor, and give the piece a sharp blow with your hand.
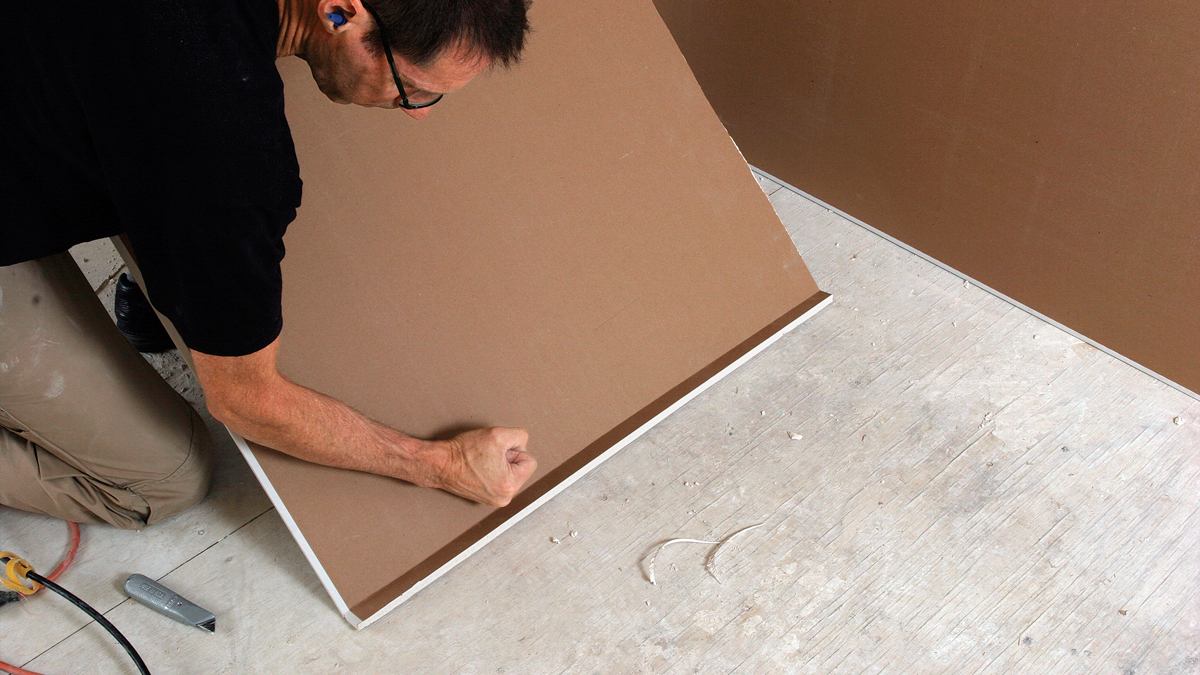
Cutting Corners
With outside corners, it’s often easier to install the drywall before cutting it to length. This saves time and results in a precise fit, even if one wall is out of plumb and a nonsquare cut is needed.
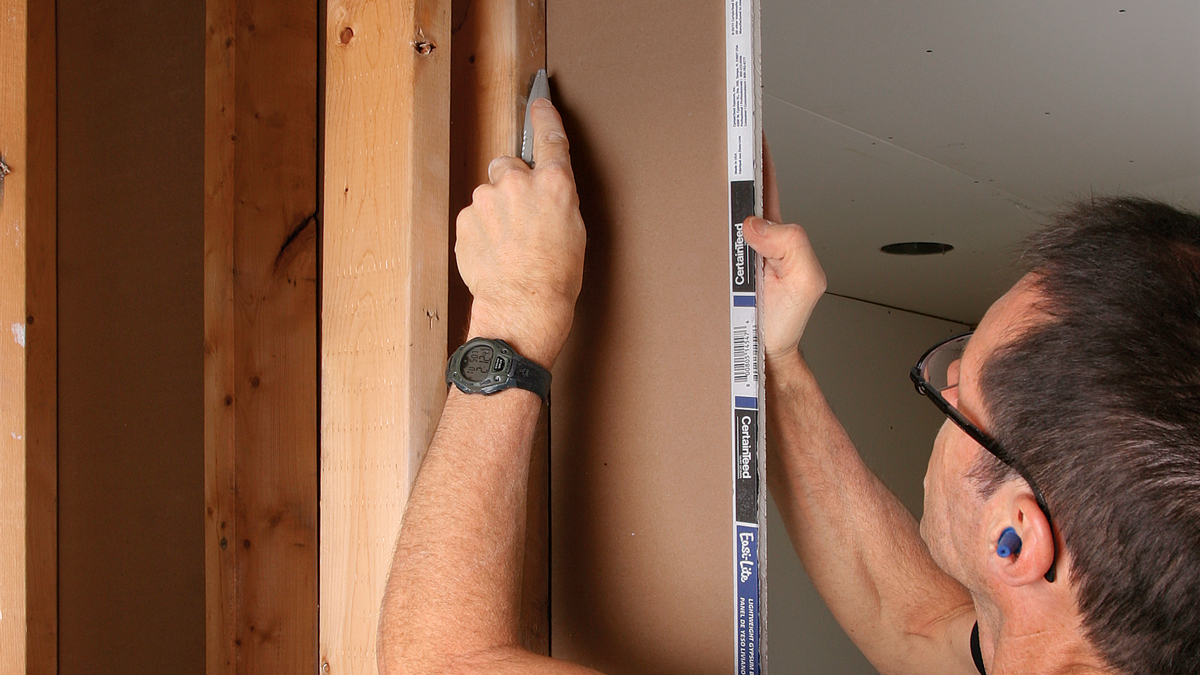
1. Screw the sheet in place, score the back side, and snap.
2. Holding the piece that’s being removed so it doesn’t drop and tear the paper, cut the face along the fold.
Cutting drywall to width
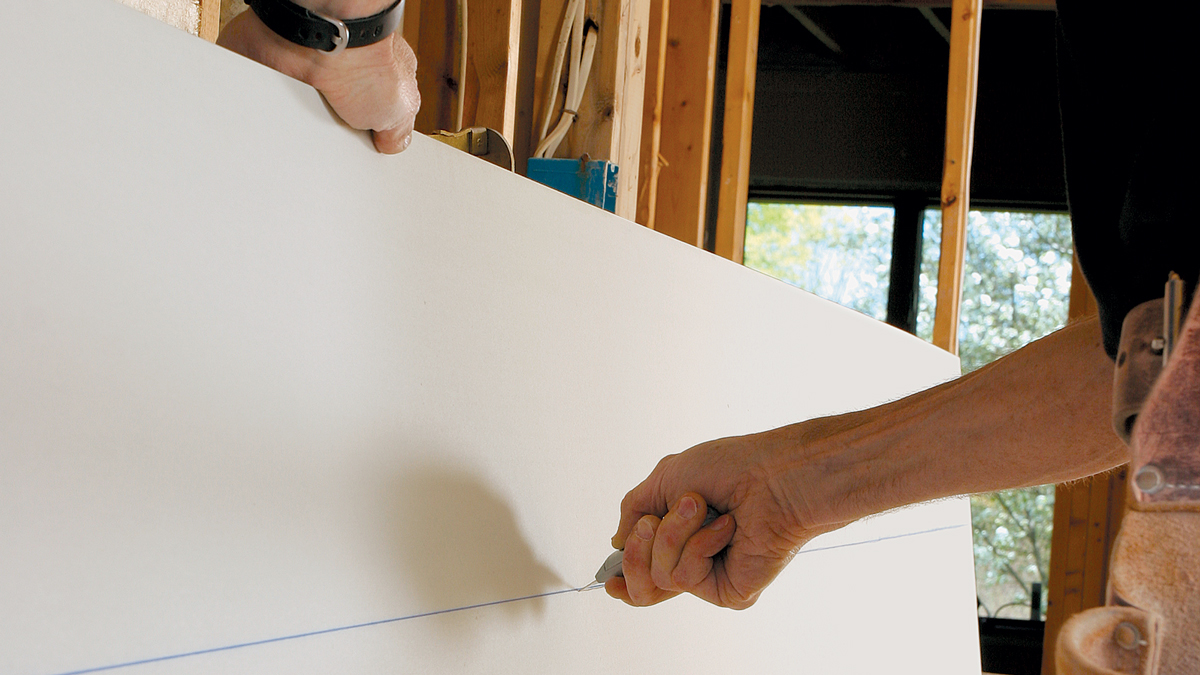
Angeled Cut
If the edges of the piece you’re cutting won’t be parallel—for example, an angle to fit below a stair or because a ceiling’s width varies—snap a chalkline and cut along it.
Essential tools
There are a lot of specialty tools for cutting drywall. Some are helpful, while others just take up space in your toolbelt. Here are the basic ones you’ll need for every job.
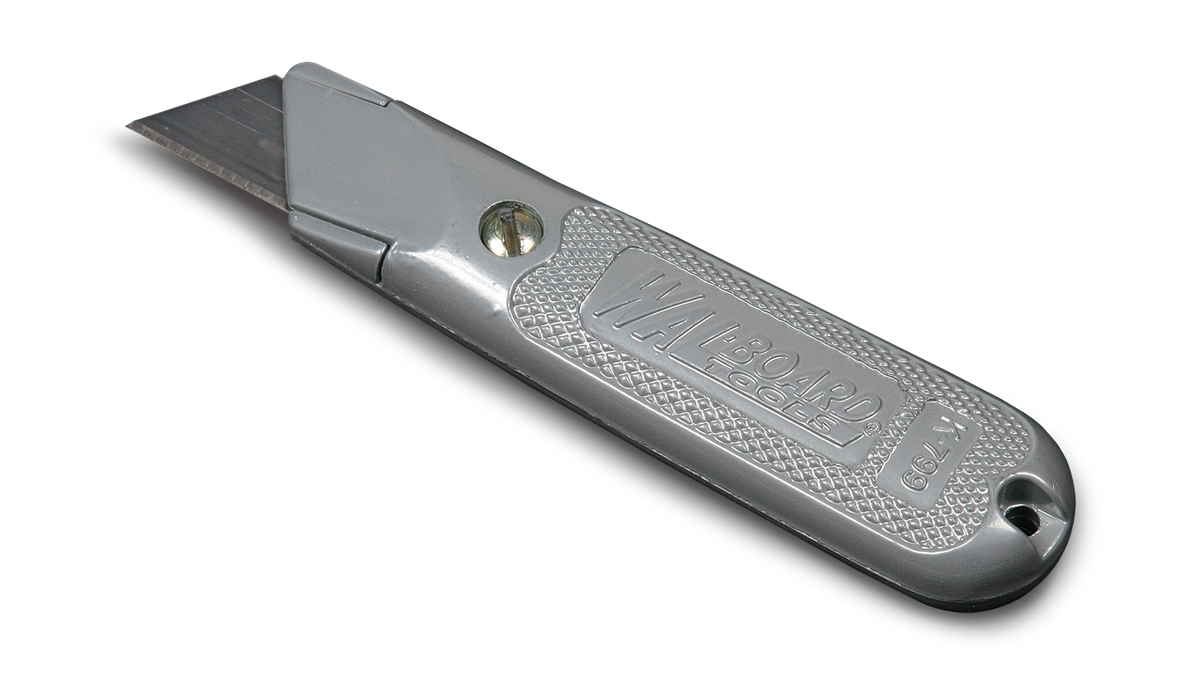
For cutting drywall, a utility knife with a stationary blade provides more stability when making deep cuts or beveling an edge. Commodity blades are fine and are typically changed twice a day.
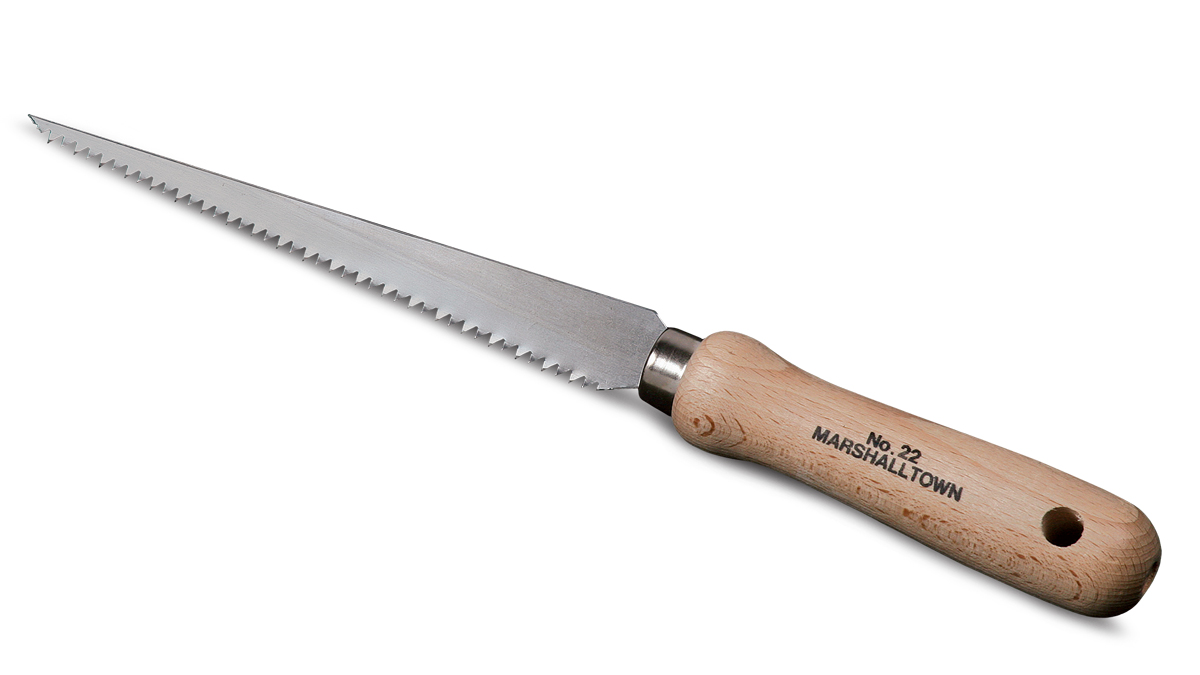
Drywall saws are made of heavy steel and won’t bend when driven into the drywall. They aren’t as sharp as wood saws, and they have widely set teeth for aggressive cutting.
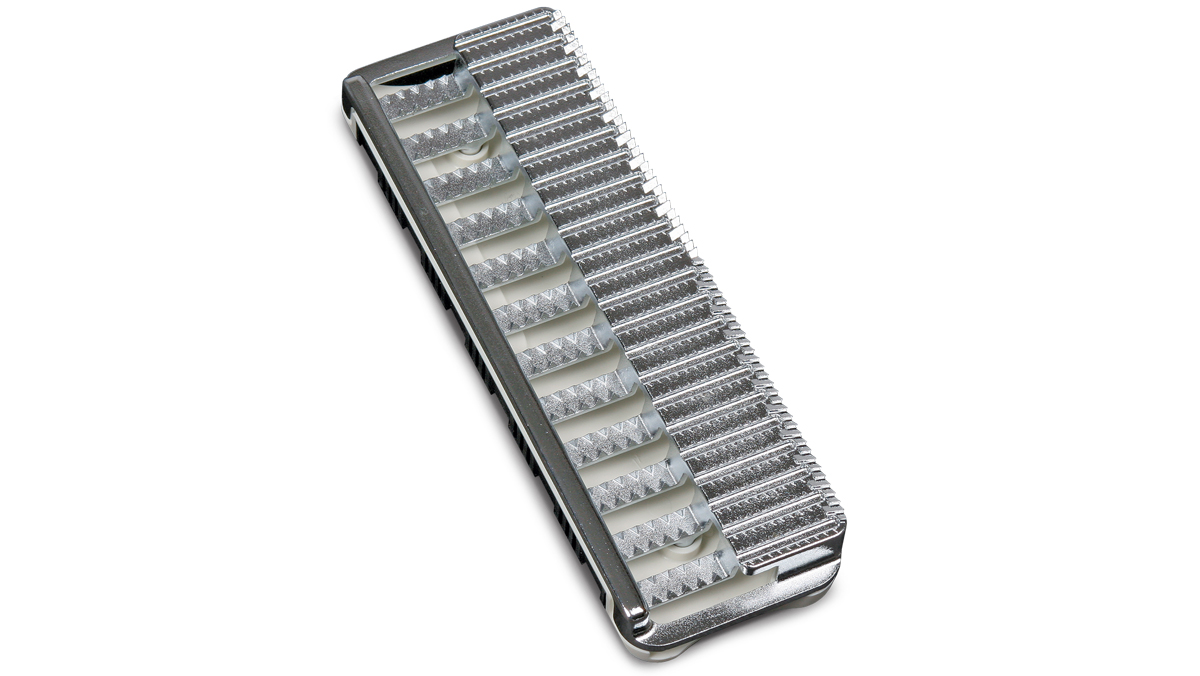
A drywall rasp levels cut edges so they’ll fit without snagging. The author’s favorite is made by Tajima (tajimatool.com).
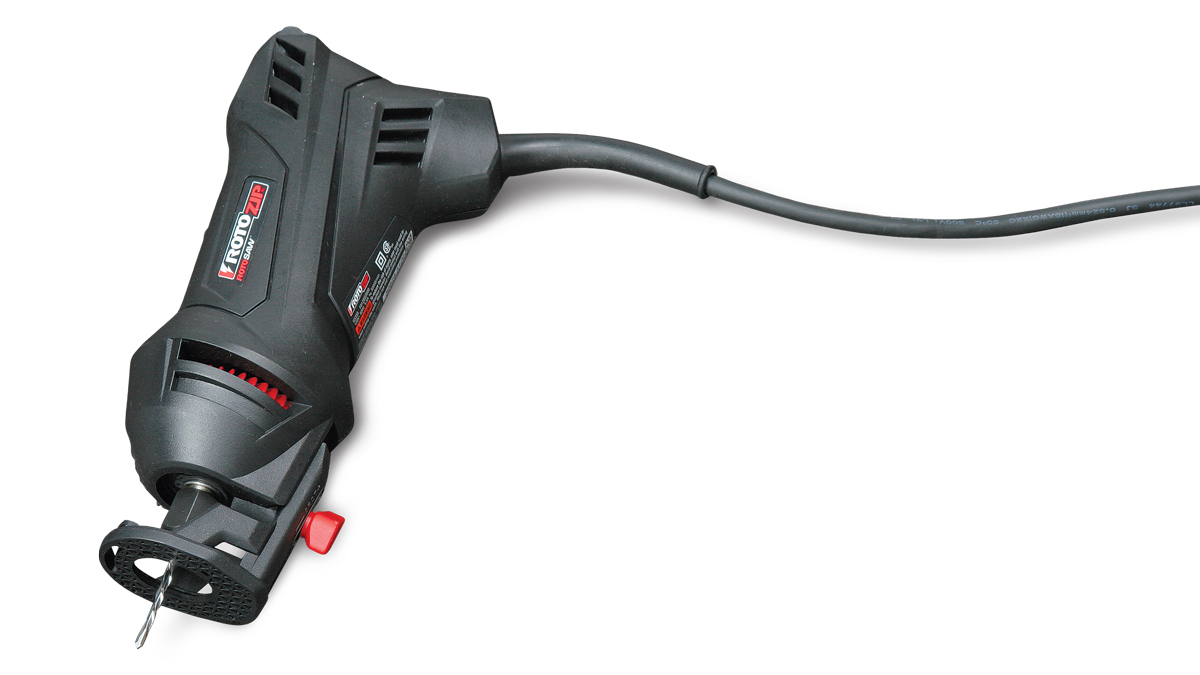
Drywall routers make fast, clean cuts, but they create a lot of dust and are loud. Hearing protection is a must.
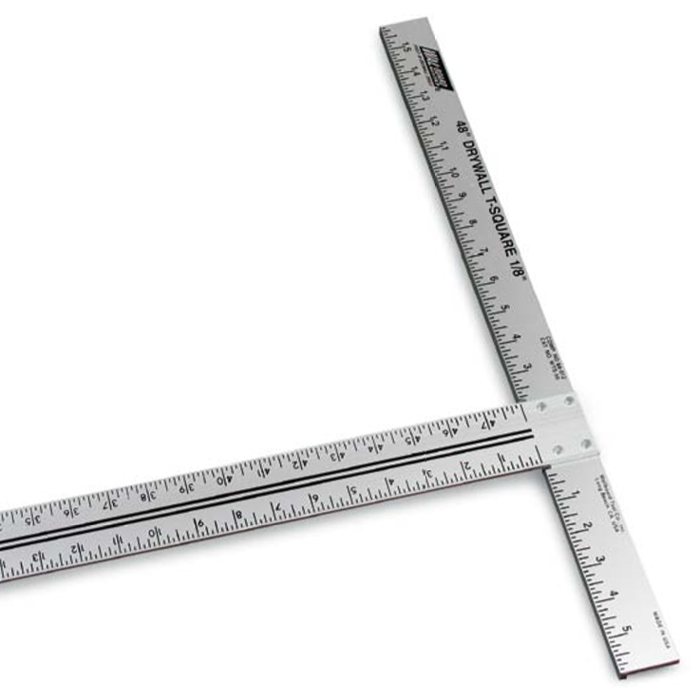
Most of the time, a 48-in. T-square is fine. But if you’re hanging 9-ft. high walls, you’ll also need a 54-in. T-square for the 54-in.-wide drywall. Look for squares made from thicker aluminum for more rigidity.
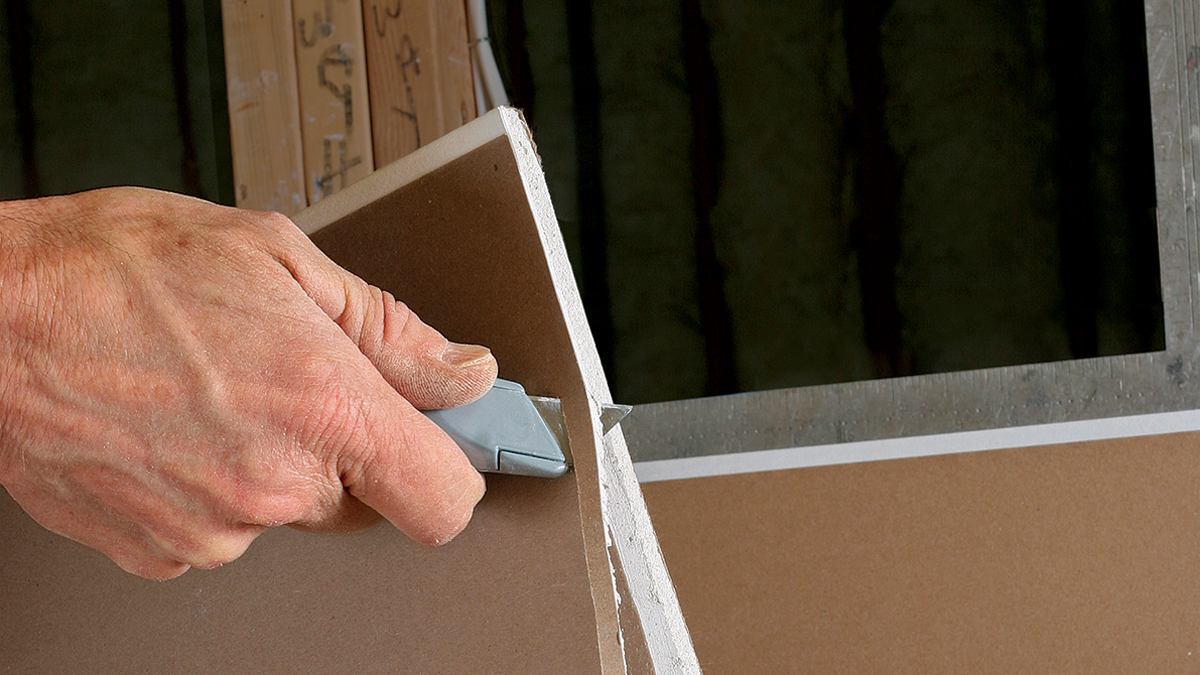
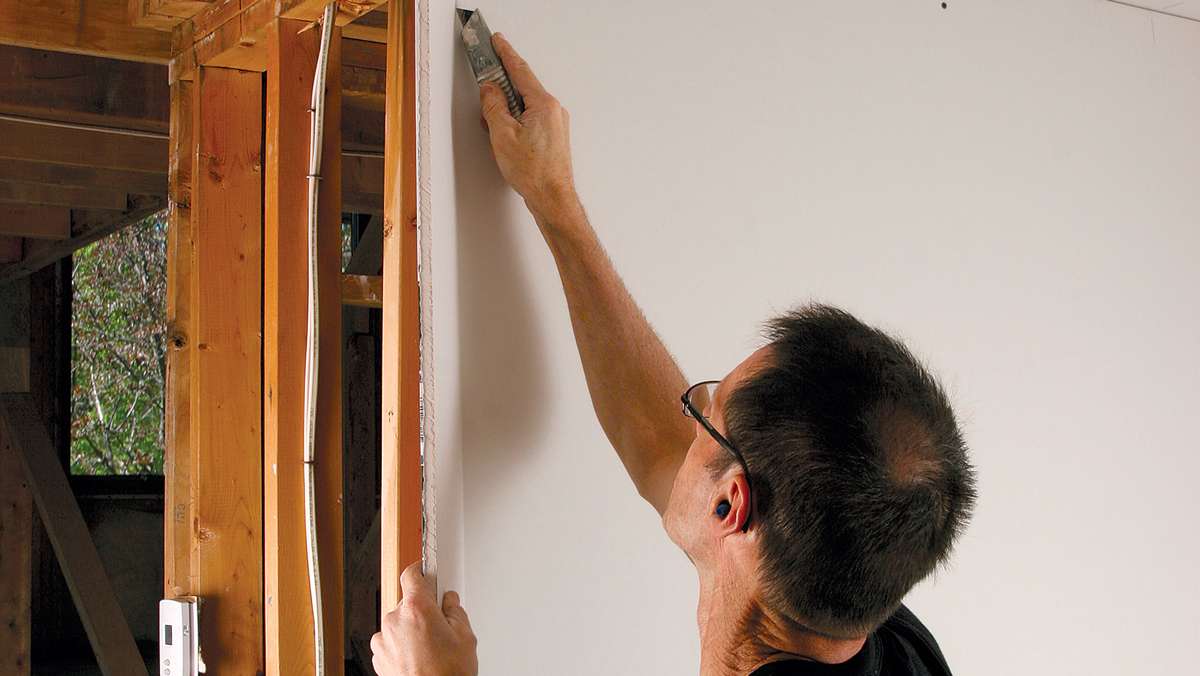
Cutting Opens
Because doors and windows will be trimmed with casing that extends a couple of inches onto the wall, these openings do not have to be cut precisely. I prefer to cut them with the sheet tacked in place. A word of caution: If the jambs extend beyond the framing, don’t place any fasteners adjacent to them. Fasteners that push the drywall tight to the jambs can create pressure that will break the sheet or tear the paper once you start cutting.
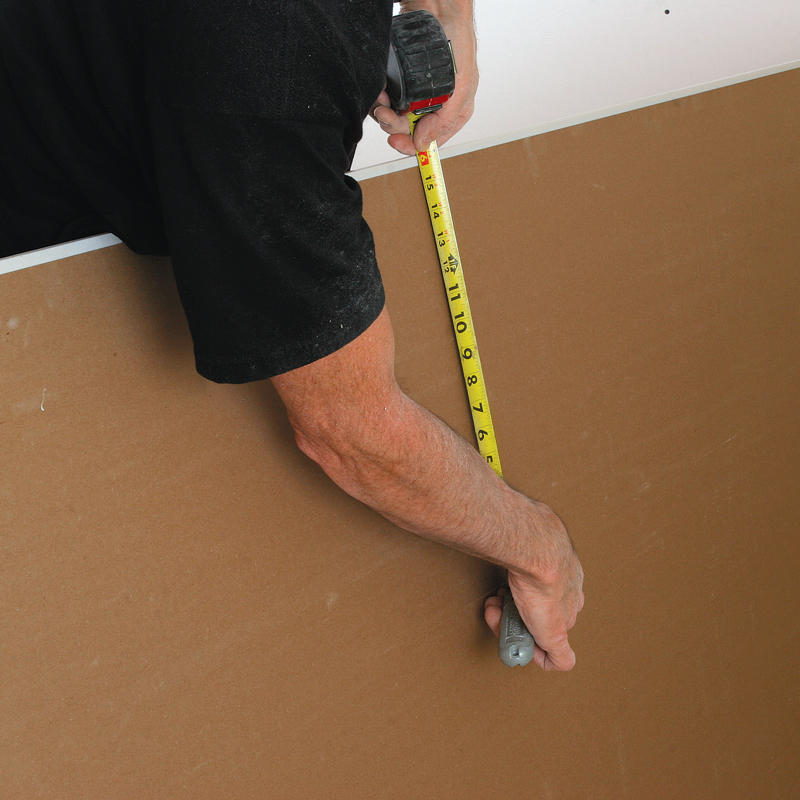
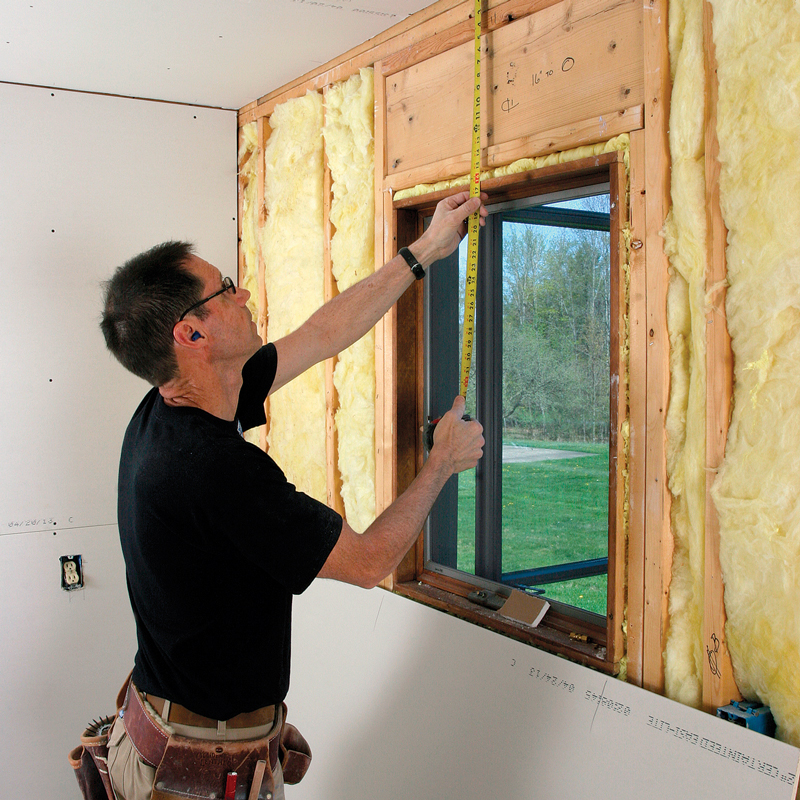 1. Measure the distance from the ceiling to the top of the opening, and from the opening’s edges to the nearest wall or installed sheet of drywall. Mark these measurements in the face of the board. 1. Measure the distance from the ceiling to the top of the opening, and from the opening’s edges to the nearest wall or installed sheet of drywall. Mark these measurements in the face of the board. |
 2. Use the measurements you took previously to score the back of the sheet where the top of the opening will fall, then tack the sheet in place. 2. Use the measurements you took previously to score the back of the sheet where the top of the opening will fall, then tack the sheet in place. |
 3. Cut out the sides of the opening with a drywall saw or drywall router. 3. Cut out the sides of the opening with a drywall saw or drywall router. |
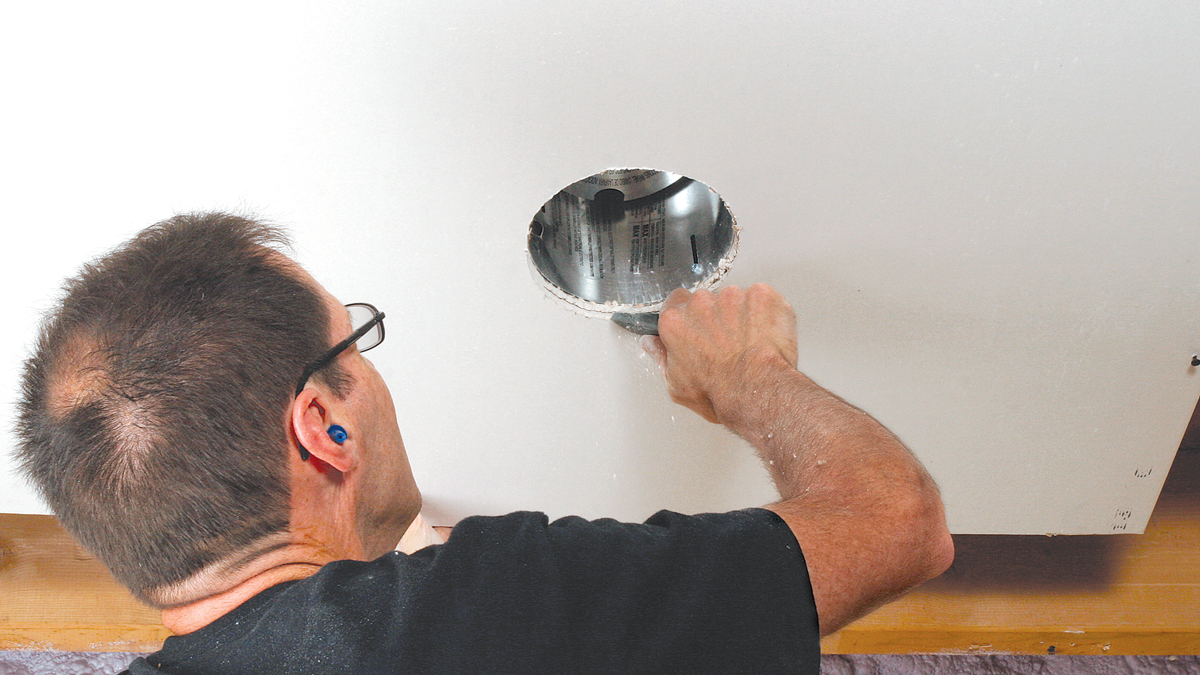
Cutting out electrical penetrations
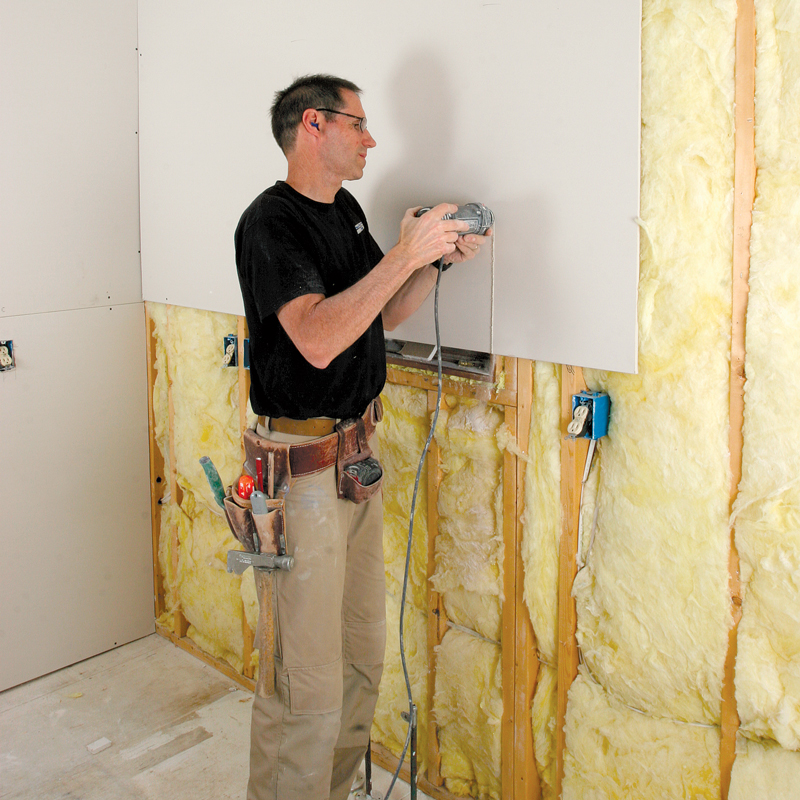
1. It’s faster and more accurate to cut out for electrical boxes, lights, or fans with the drywall tacked in place. Make sure the wires are pushed toward the back of the box so that they won’t be damaged by the saw or the router bit, and don’t fasten right next to the penetration until after you cut. You can make the cuts with a drywall saw, but pros use a drywall router. Routers are faster and leave a cleaner edge than a drywall saw. The downside is that they create more dust. Still, if you’re going to hang drywall in anything more than a room or two, it’s worth the $60 to buy a router.
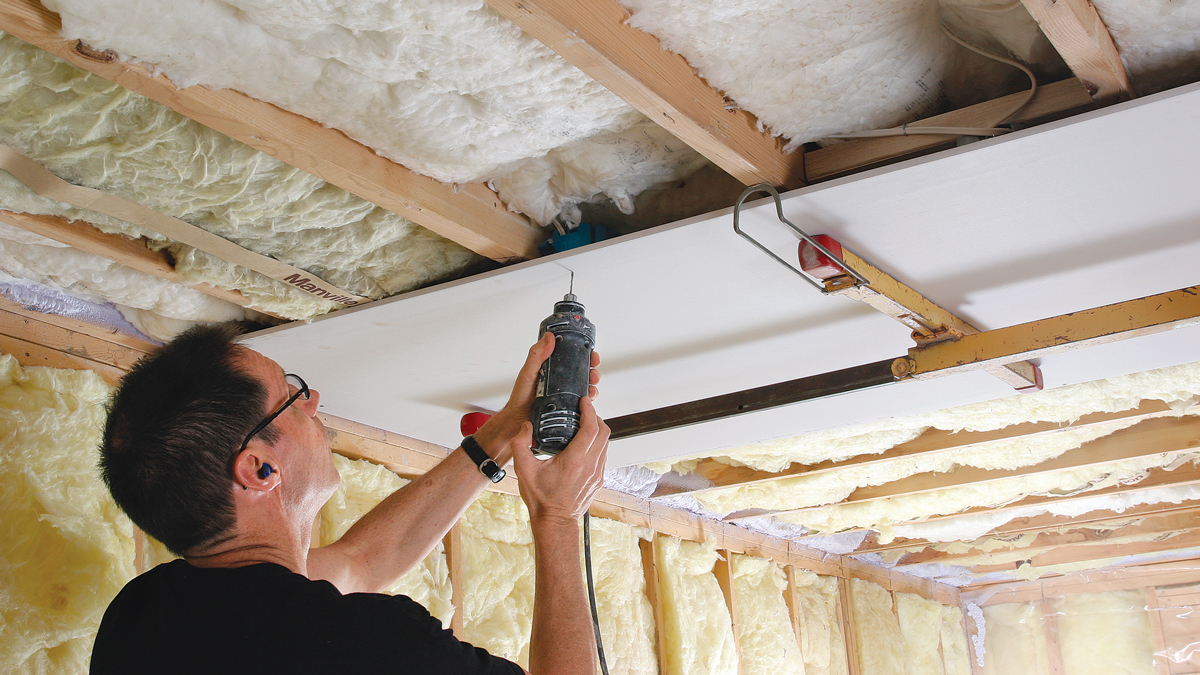
2. Using a 1⁄8-in. guided bit in a drywall router, plunge into the penetration, then move over until the bit hits the side of the box, fan, duct, or light.

3. Lift the bit out and over the side of the penetration, then reinsert it. Keeping the bit in contact with the outside surface of the penetration, move the router in a counterclockwise direction.
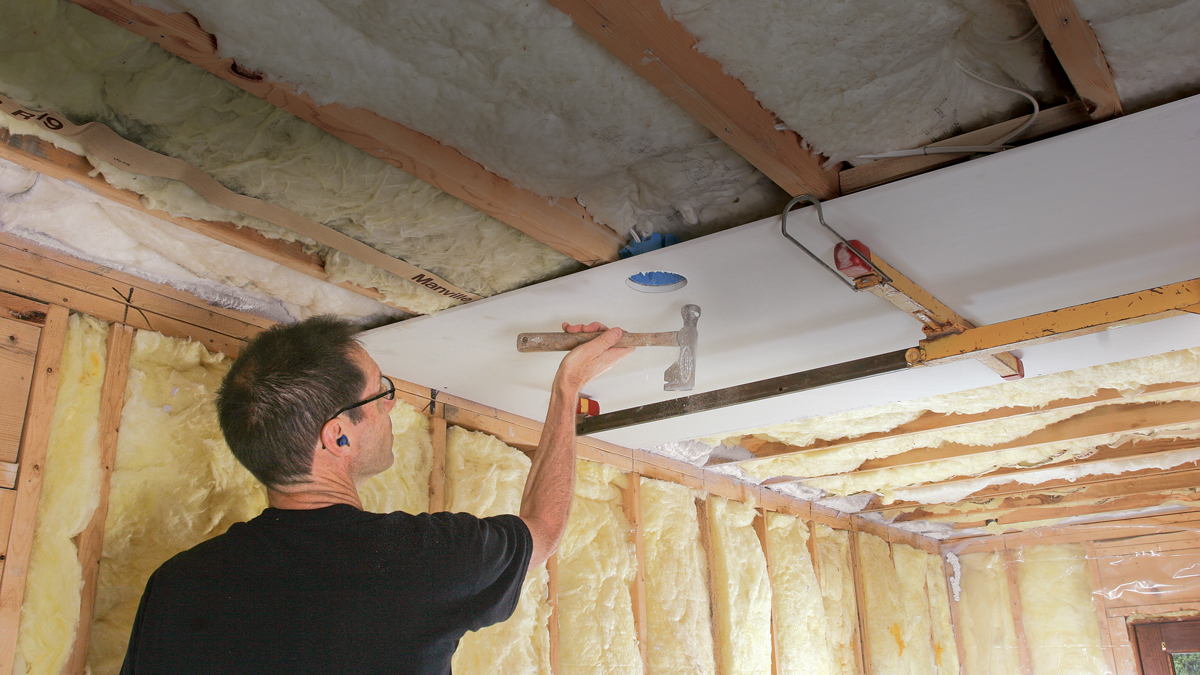
4. With the hole fully cut, a light hammer tap causes the dust to fall out so that it won’t interfere during taping.
Option: Cutting with a drywall saw
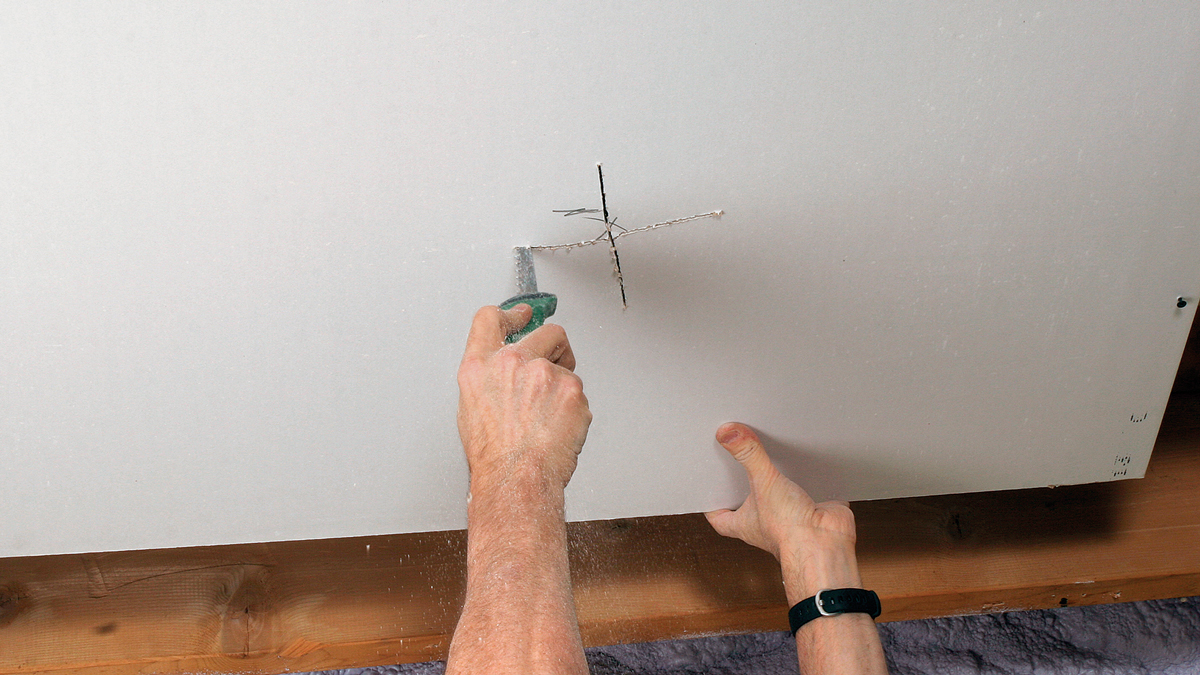
1. To cut with a saw, push it through the drywall into the center of the penetration, and cut over until you find a side. Repeat until you’ve located each side.
2. Follow the side of the penetration with the saw while putting a slight outward bevel on the cut.
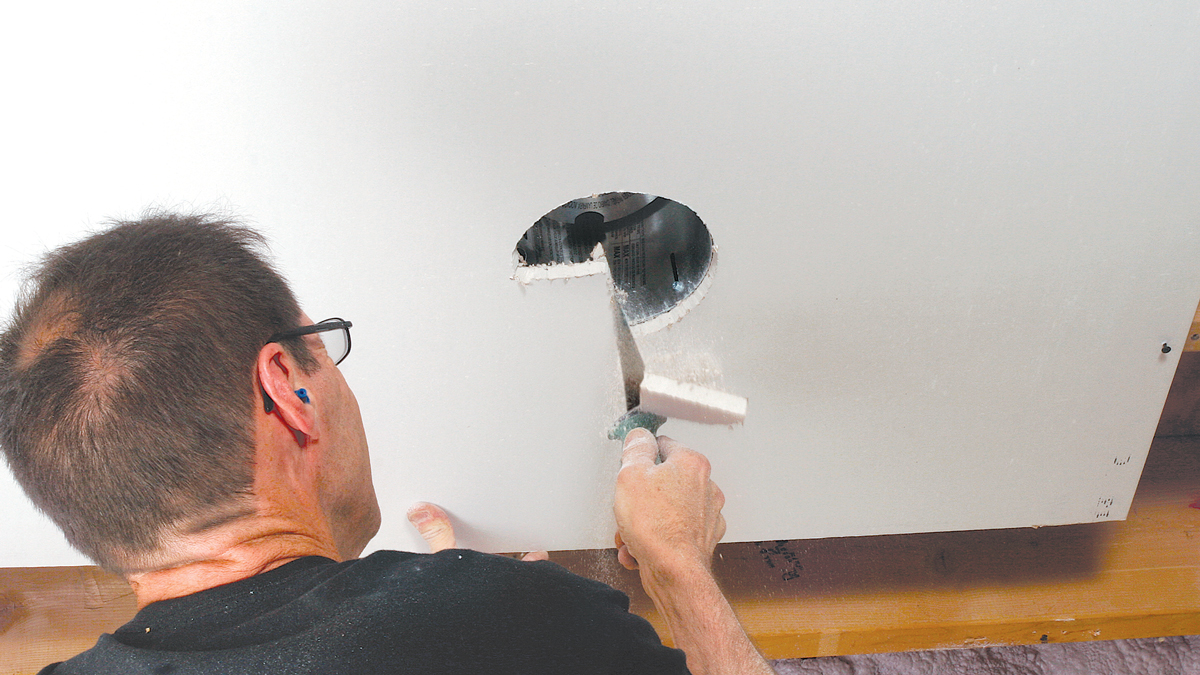
3. Trim around the outside of the cut with a utility knife if needed to allow the board to seat tight to the framing.
For more photos and details, click the View PDF button below:
From Fine Homebuilding #242
