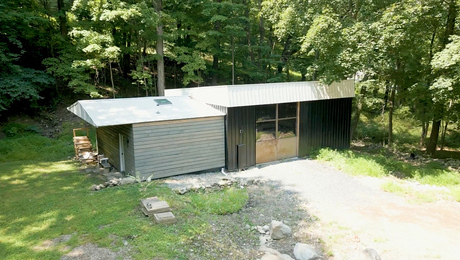
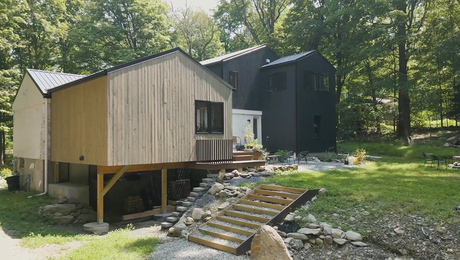
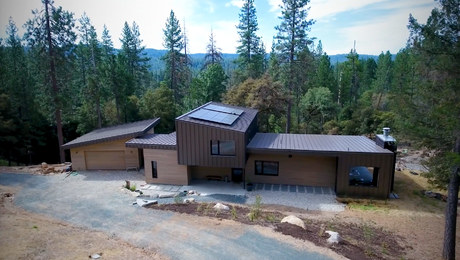
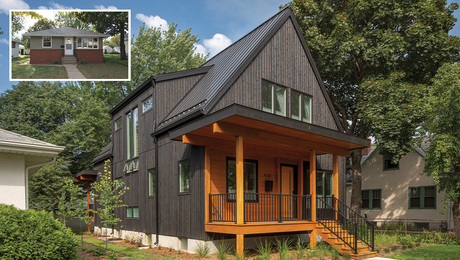
Framing a Second Story on an Existing House
Jon explains the critical points that determined the layout and his use of LVLs and a custom bracket.
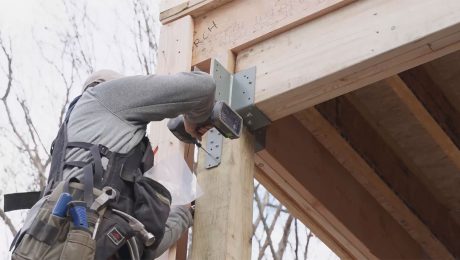
Jon Beer and his crew took great care in planning and framing the second story of FHB House New York. A critical starting point was the left outside corner of the building, which required a post and footing. They worked upward from this point load, incorporating five LVLs connected to the post with a custom Simpson bracket.
Here’s the transcript:
I’m Jon Beer from Jon Beer Contracting. We’re here at the Fine Homebuilding House in Cornwall, New York.
When it came time to start thinking about building the second floor here at the house, one of the biggest considerations for us was layout. We had two kinds of critical points that we had to start with as far as laying out the second floor. The first really was the outside corner of the building, the left-hand side where it cantilevers over the porch. The reason for this is that that corner required a post and required a footing to be in a very specific spot, and everything after that was related to that point. So from that point load, we worked upward. That represented the outside corner of the second story.
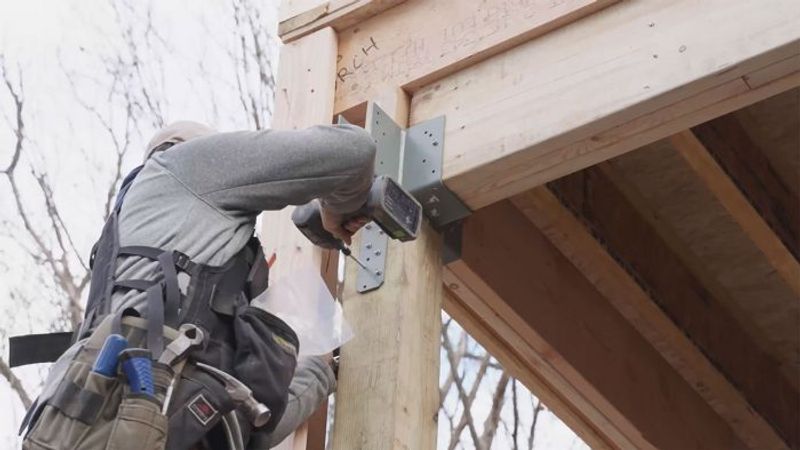
From there, we had five LVLs that tied into that post. So the connection was made at that corner with a custom Simpson bracket that we had made. It brought together a double 2×12 triple LVL coming off of the house. That triple LVL was sat next to a quad LVL that demarcated the outside wall of the second floor. It also marked out the beginning of our staircase, the long side of our new staircase to the second floor.
Those two points were supercritical as far as layout for us. That quad LVL was something we installed before we even took the roof off. We basically cut a hole on either side of the house, we slid each ply of the LVL from inside the house, out the wall, and then back through and rested it on the existing top plate. We did that four times to create that LVL pack.
Then from there, we were able to work backward and use that LVL as a reference for the staircase layout, for the I-joist layout, and basically take everything from that point forward. It was that quad pack of LVLs that we used to measure the whole length of the addition. It was that LVL that we used to reference square on the house. So that was really our fundamental point.
It was something that I was really anxious about. And the whole structure, as a matter of fact, and how it tied from old to new, was a big point of contention for me. So to that end, I used the tool that I use a lot, which is SketchUp. It’s a 3D modeling software that’s pretty intuitive. I took our plans and drew the entire second-story structure in three dimensions to full scale and used that not only to help me wrap my head around, OK, what order of operations do we have to follow to do this install? But also how are things tying together?
You have multiple beams that are slightly different sizes. The LVLs come in at 11.5, the I-joists are 11 and 7/8, a 2×12 is 11-1/4, so it allowed me to think about where do we need to shim things up or pack them out? But also it gave me the ability to bring that model on site on my laptop with printouts and share it with my team and be like, “OK, here’s where we’re starting. Color-code everything.” We were able to label all of our beams. So when it came time to start framing, it wasn’t just me having the idea in my head or only us referencing 2D plans, but it was us being able to turn this model around and see how we were going to make things happen.
Having done that model, things went pretty smoothly as far as layout. We were able to take the roof off, start setting those major beams, and then from there, basically work toward the other side of the house by framing out the staircase, making those header connections, and then figuring out our I-joist layout and framing it like a traditional floor.
So for us, that was super helpful, and I think we started framing in November post-Thanksgiving. The weather was on everyone’s mind, and we did of course get kind of screwed a few days after tearing the roof off with some inclement weather. But I think everyone understanding the plan, we were able to execute getting that floor system together in, I think, about a week. We went from a roof to a roof with a bunch of big holes in it for beams to no roof and to a floor system in, I think, 10 days or something like that, and a big part of that was being able to wrap our heads around a model that everyone could see tangibly and see connections. So it’s something I’ve done again since on this project and on others.
We had used I-joists on a previous project, and I came to really like working with them. They’re very straight. They can come very long—up to 32 feet, I believe—and it’s very easy for a single person to just pick up a 30-foot I-joist and be able to walk it around and hand it up the roof. We framed our second-story roof in 2x12s, and anyone who’s ever picked one up knows anything more than 16 feet or 20 feet is a two-person job. If you’re hoisting it up vertically to a second story, that’s a two-person job. The I-joists are long and a little awkward in that sense but very easy to work with.
They do come at a trade-off. Their engineered floor system costs about five times in material versus a traditional saw and lumber. You are also required to put a sticker on your house or a placard showing that you have an I-joist construction because of their susceptibility to fire. So that’s something we’ll have to negotiate when we get our certificate of occupancy here.
When the joists run the wrong direction, anyone that’s ever installed any kind of plumbing or electrical knows how much of a pain that is to work around. Not only are you having to drill the holes with plumbing, but you’re having to ensure that you’re maintaining proper pitch. All of these floor system materials have certain hole sizes that are allowable and not allowable. There are distances where you’re allowed to drill, etc. So in my mind, next time I would’ve done bridge joists around the bathroom. That way I could come through those with mechanicals in an easier fashion.
Once we got our floor system framed, we were about to start laying subfloor. The first process for that is to just make sure that our new floor system is square. We had been using the old exterior walls as reference points for our I-joist layout. When it came time to start decking the I-joists, we realized that the old building was out of square by a few inches on one of its long sides. So suddenly it was like two hours for two of us to sit down and pull string lines and try to figure out, OK, now where’s our new reference point? How are we going to deal with this? We have an LSL rim joist on the end of the I-joist. Basically what we did was install that where the I-joist ended, and then from there we packed that out to account for that out of square, and then we used that as a reference point for laying our new decking, and we used 3/4-in. AdvanTech. It gets glued down and screwed or nailed. And we also used that for our plate layout.
Things like that happen, and it’s always important to just try and find a solution for that issue and anticipate that there are going to be issues, not that things are going to go perfectly, because they never do.
I think it’s really important for builders to allot enough time for planning when it comes to building structure. We spend generally an entire day laying things out before we start framing at any job. That’s wall plates, that’s logistical stuff of where are we going to cut, how are we crowning the lumber? It’s all part of that same package that needs to be considered, and the product plays a big role in that.
RELATED STORIES