Planning and Prepping for Basement Flooring
Managing moisture is key, but choosing the appropriate product and creating a suitable surface are also crucial factors in establishing a long-lasting, comfortable basement floor.
Synopsis: Finishing a basement is a popular project, but there are important things to consider about the floor alone, including managing moisture, prepping the surface, and adjusting for changes in floor heights in addition to choosing a finish material. This article looks at crucial components for basement flooring.
Finishing a basement is a popular and relatively inexpensive way to add living space to a home. But given that at least part of every basement is below grade, managing water is always a primary concern. A wet basement not only will destroy the flooring you choose (and other building materials as well), but it can also lead to mold growth and unhealthy air quality. Before any flooring options can be considered, all bulk-water issues need to be dealt with. For more on managing bulk water to establish a dry basement, check out the approaches to the site and foundation detailed in “Build a Risk-Free Finished Basement” in FHB #248.
This article is designed to help contractors and homeowners think about the most efficient ways to create comfortable, long-lasting basement floors while avoiding some common problems. It also explores different flooring products and subfloor methods. While the focus is basements, many of these tips and techniques apply to slab-on-grade applications as well.
Manage water vapor
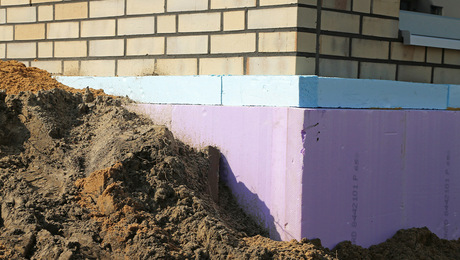
Like bulk water, water vapor is a flooring destroyer. Persistent water vapor will cause laminate floors to delaminate, LVP planks to cup, wood floors to swell, and glue-down adhesives to fail; even tiles set in mortar will be prone to efflorescence staining if laid over a floor with high levels of water vapor. Water-vapor movement through concrete can be caused by several factors, the most common being the capillary effect. Without a barrier between the soil and the concrete slab, any moisture in the soil can be wicked up into the concrete and work its way to the surface of the slab.
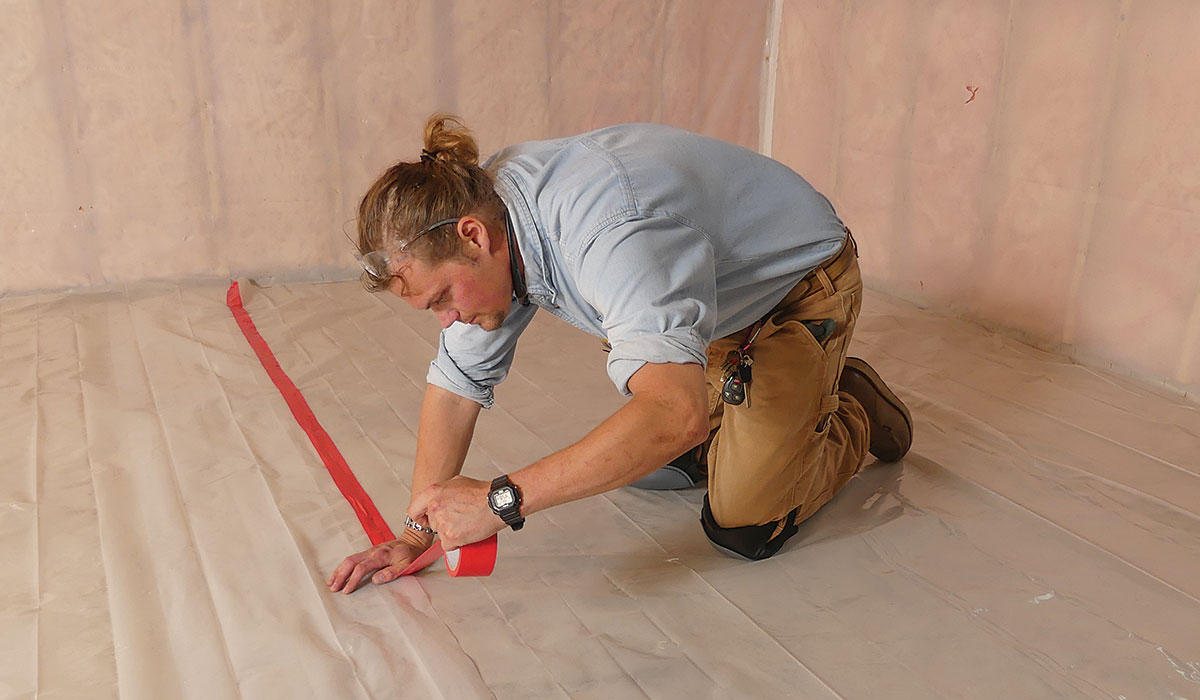
In 2003, the International Residential Code (IRC) began to require a 6-mil polyethylene or approved vapor retarder under basement slabs to protect against moisture absorption. However, if you are installing flooring in an older home, it’s unlikely that there is any separation between the soil and the concrete, and you will want to add some type of vapor retarder to the surface of the slab. Even if the concrete has been historically dry but there is no capillary break between slab and soil, as is the case on the majority of houses built prior to 2003, many conscientious flooring contractors consider it cheap insurance to roll on a product like Taylor’s Zephyr vapor barrier regardless of the age or history of the concrete. Vapor retarders are also available in the form of a rigid membrane or sheet. A simple sheet of plastic would work as long as it’s 6 mil or thicker. If you are working with a glue-down flooring product, you will be using a liquid roll-on sealer. Some manufacturers offer specialty products that function as both an adhesive and a vapor retarder.
A freshly poured slab will have very high moisture content until the concrete is more fully cured. Many manufacturers recommend waiting for at least 30 days after pouring the concrete before installing any flooring, but curing could take much longer than that. Wood floors, for example, require a moisture level of less than 4.5%.
There are several ways of testing for moisture in a slab. The most simple is the ASTM D4263-05 method: Simply tape an 18-in. by 18-in. sheet of polyethylene to the floor and let it sit for at least 16 hours. Complete one test for every 500 sq. ft. of floor space. High levels of moisture will appear as condensation on the polyethylene. This type of test won’t tell you how much moisture is in the concrete; for more detailed results, you would need to purchase a calcium-chloride test kit, handheld moisture meter, or relative humidity probe.
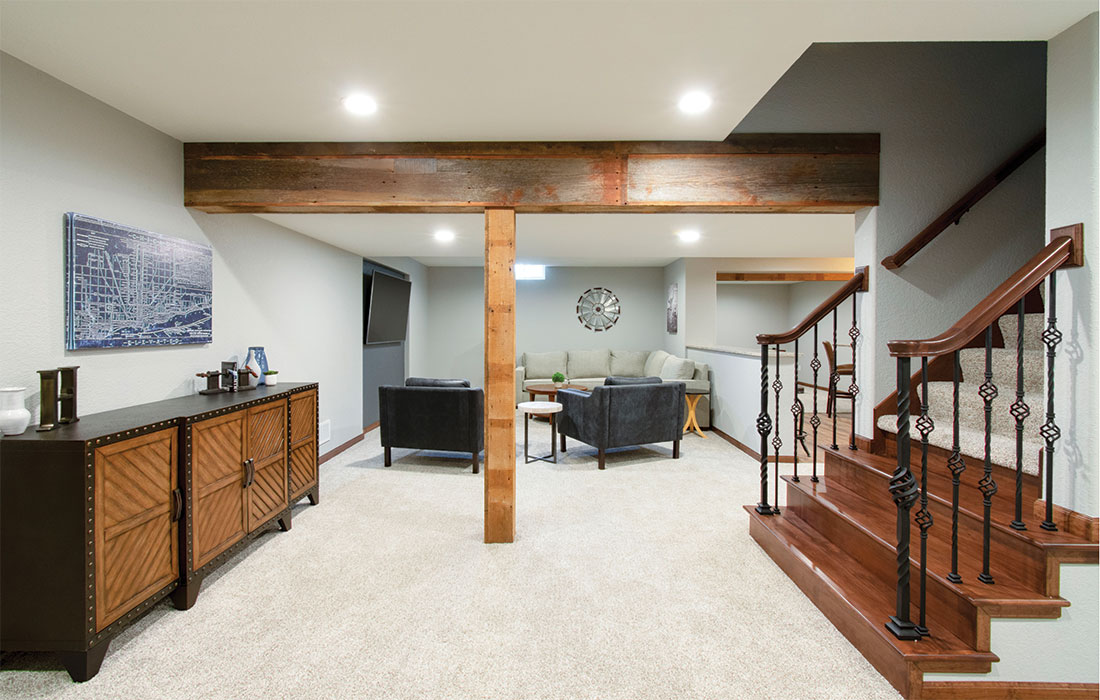
Creating a basement subfloor
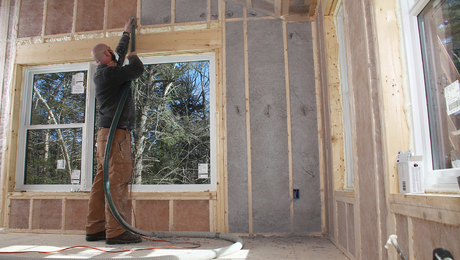
If you are dealing with an old concrete floor, would like to add a layer of insulation, or have chosen a nail-down wood product, installing a plywood subfloor over the concrete may be the best solution. There are a few ways this can be accomplished, but every method requires a vapor retarder between any untreated wood and the surface of the concrete, even on new slabs that have a vapor retarder installed below them. And don’t forget that you will need to reconcile all the challenges associated with raising the floor height. For all these methods, install the subfloor after the walls have been built; and if you choose to use foam, the base trim will be easier to install if you add two bottom plates below the studs.
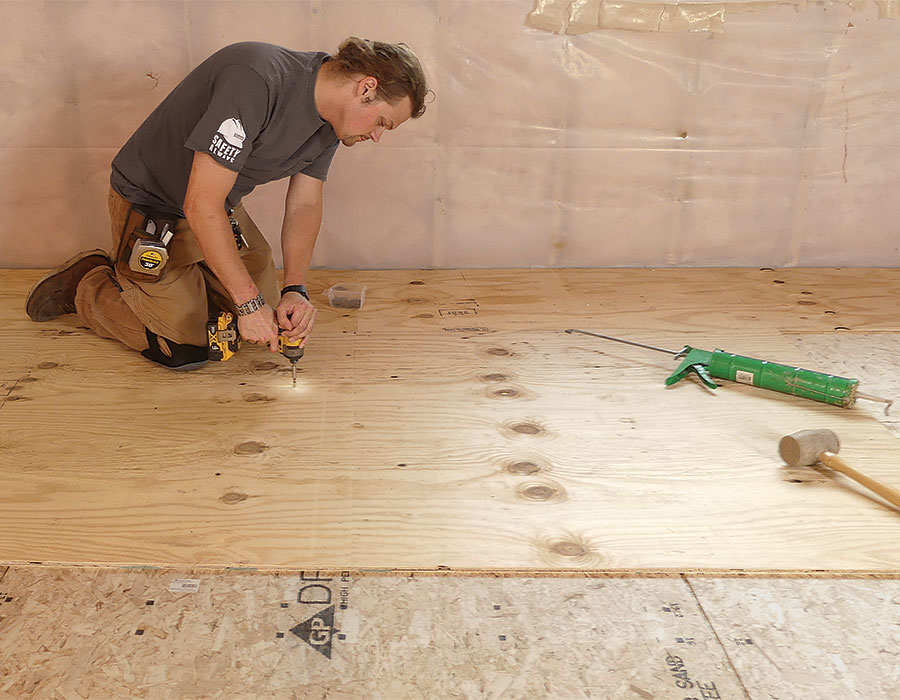
Option 1 // One layer of plywood
A simple method to achieve a wood subfloor over concrete is to install one layer of 3⁄4-in. tongue-and-groove plywood directly over the concrete or over a layer of foam. Instead of just gluing the edges of the plywood together and letting them float, subfloor manufacturers recommend installing a polyethylene sheet of plastic at least 6 mil thick and then securing the plywood to the concrete with masonry anchors every 6 in. on center on the edges, and 12 in. on center in the field. The benefit of this method is that it requires less plywood. The downside is that masonry fasteners require predrilled holes, which take more time to install, and each one of those holes creates a penetration in the vapor retarder. If you decide to go this route, it would be a good idea to use a stable, moisture-resistant plywood like Huber’s Advantech or Georgia Pacific’s DryMax.
Option 2 // Two layers of plywood
Another popular way of creating a wood subfloor is to install two layers of plywood—with the top layer laid out perpendicular to the bottom—and let them float over the vapor retarder or the vapor retarder and foam. Applying adhesive between the layers in addition to the screws will ensure a solid bond. While more time will be spent hauling, cutting, and positioning the plywood, floating two layers of plywood eliminates the need for masonry fasteners and helps mitigate issues with warped plywood.
Option 3 // Plywood over sleepers

Installing plywood over pressure-treated sleepers is another wood subfloor method. Sleepers require fewer masonry fasteners than one layer of plywood and might be a good solution if your floor is uneven, because you can shim or trim each sleeper level as it’s installed. If you’re adding foam between each sleeper, buy or rip down the sleepers small enough to get maximum insulation value, but not so small that they split when you install the fasteners. The thickness of the sleepers will depend on how high you are able to raise the floor and the thickness of the foam you want to add.
Option 4 // Manufactured solutions
|
|
|
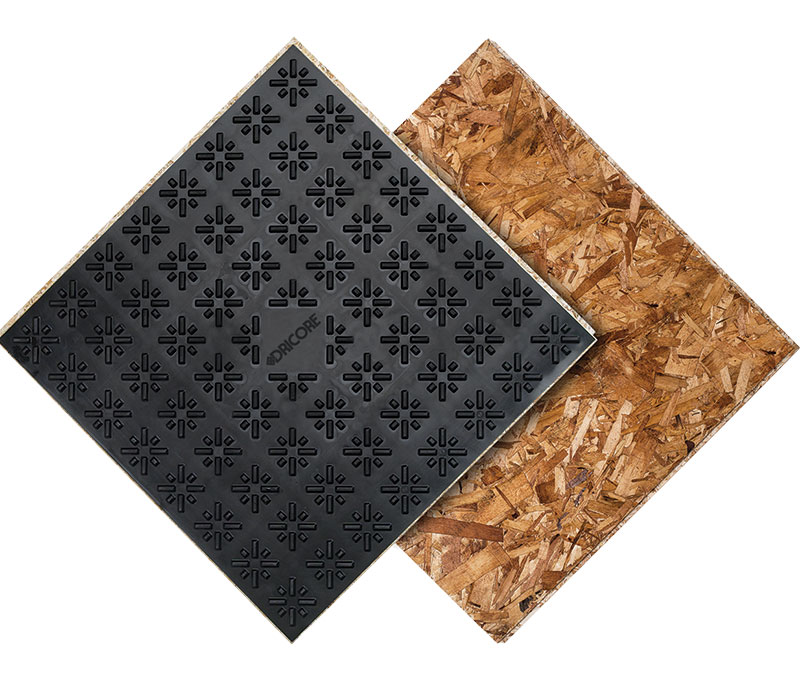
Manufactured subfloor options are available in four basic forms. First, there are products made just of high-density foam designed to have click-together laminates, luxury vinyl, and engineered wood installed right on top of them. This is a simple solution to create a warmer floor, but check with your flooring manufacturer to make sure that this is an approved substrate. Panels made with a foam bottom and OSB top are also available. Dimple-board subfloor is another option. The dimples in the high-density polyethylene are designed to prevent trapping moisture and to allow small spills to dry or work their way to a floor drain. Dimple boards can be purchased in rolls or as panels that combine dimple board and OSB panels. Some products like these claim to function as a vapor retarder, but rolling on an additional retarder underneath would be a good idea.
Prep the surface
Concrete floors are rarely uniformly flat and smooth; they have humps, dips, and rough surfaces. Flooring manufacturers typically require no variations greater than 3⁄16 in. in 10 ft. or 1⁄8 in. in 6 ft. To properly find these inconsistencies, it’s important to use a reliable straightedge—the longer the better. High areas need to be feathered out or flattened with a grinder, and dips can be filled with floor patch or shimmed level using layers of building felt paper. Self-leveling underlayment is a reliable way to tame an unruly floor, but if you have large sections to complete, consider hiring a contractor, who will show up with specialty mixers and pumps. When using thinner vinyl products, imperfections in the floor could telegraph through to the surface, so rough trowel marks and expansion joints will also need to be ground down or filled. For glue-down products, the surface of the concrete needs to be free from any oils or waxy substances, and even paint overspray might need to be sanded off before you apply adhesives.
If you’re installing flooring in a room with a floor drain, you need to do one of the following: Install an access cap or panel; permanently seal up or cap off the drain; or install a waterless floor drain trap seal, which allows water in but doesn’t allow sewer gases out.
Adjust for changes in floor heights
Before you decide to install foam or a plywood subfloor beneath your basement flooring, consider how raising the floor height will affect other elements. If you remove existing carpet and pad with a combined thickness of 1 ⁄ 2 in. and replace it with 1-in. foam, 3 ⁄ 4-in. plywood subfloor, and 1 ⁄ 2-in. engineered flooring, you’ve just made the floor height 1-3 ⁄ 4 in. higher than it was before, which will reduce the bottom stair riser height by that same amount.
The IRC states that the greatest riser height within any flight of stairs shall not exceed the smallest by more than 3 ⁄ 8 in. Imagine descending a flight of stairs where all the tread heights are the same except the very last step, which is shorter than the rest. It would be surprising if you did not trip. To bring your stairs back into compliance you could completely rebuild them, or remove all the treads and shim each one to absorb the height discrepancy. A more feasible option might be to expand the last tread into a landing, which would allow the distance from the step to the landing to be different from that of the landing to the floor.
The IRC also requires at least 7-ft.-tall ceilings (changing to 6 ft. 8 in. in 2024) for a room to be considered living space. In many older homes, raising a floor just a little bit could put you out of compliance. Also, if the wall framing is in place, raising the floor height might make it difficult to fasten base molding to the bottom plate; you might want to add blocking or a second bottom plate if the walls haven’t been built. And if you raise the floor height high enough, any existing doors, cabinets, toilets, and so forth will likely have to be removed and reinstalled.
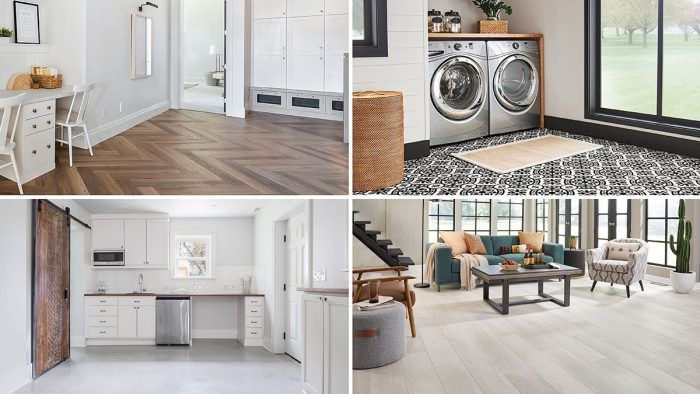
Options to consider for basement flooring
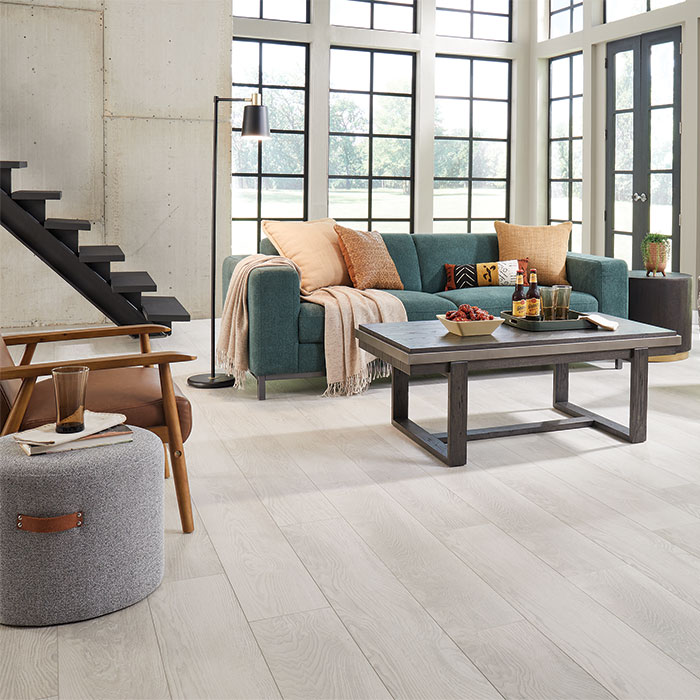
Persistent bulk-water issues must be dealt with before you install a basement floor. But even historically dry basements are still at risk of exposure to water; water heaters leak, sump pumps fail, drain lines clog, and sewers back up. Some types of flooring are naturally more resistant to moisture than others. You always have the option of installing more-resilient flooring in high-risk areas such as below kitchens and baths or near utility rooms, and more economical or comfortable flooring in areas that are less prone to damage. Natural hardwood is more susceptible to changes in temperature and moisture levels than most all other flooring options, so if you’re after a real wood-grain finish, engineered wood flooring might be a better choice than solid wood. But there are options—tile, vinyl planks—that mimic a real wood look and offer better moisture resistance at a lower cost.
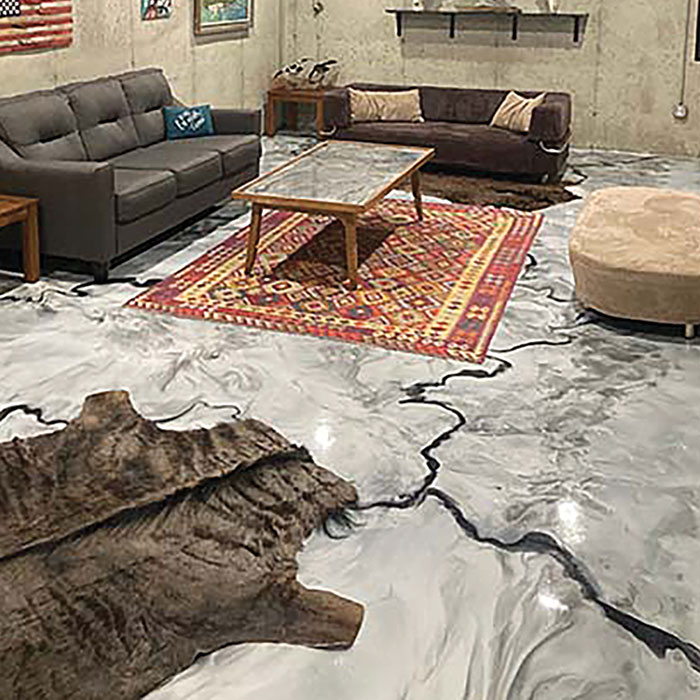
Polished concrete
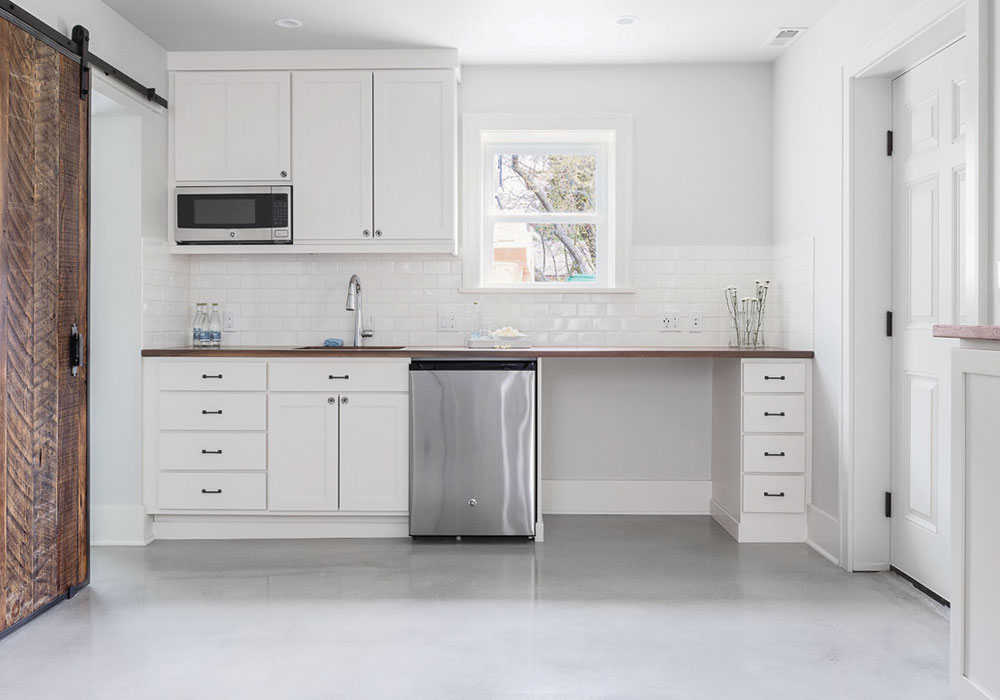
Polished concrete is an elegant, resilient, long-lasting option that won’t reduce floor heights and can survive total immersion, but it’s not bulletproof. Heavy vapor drive and submersion for extended periods of time will negatively affect dyes and can cause sealers to fail. Cracks are more difficult to hide, and the final appearance of polished concrete can be hard to predict, especially if the concrete wasn’t poured with polishing in mind. Also, polishing concrete requires heavy, bulky equipment that may be hard to maneuver into a basement.
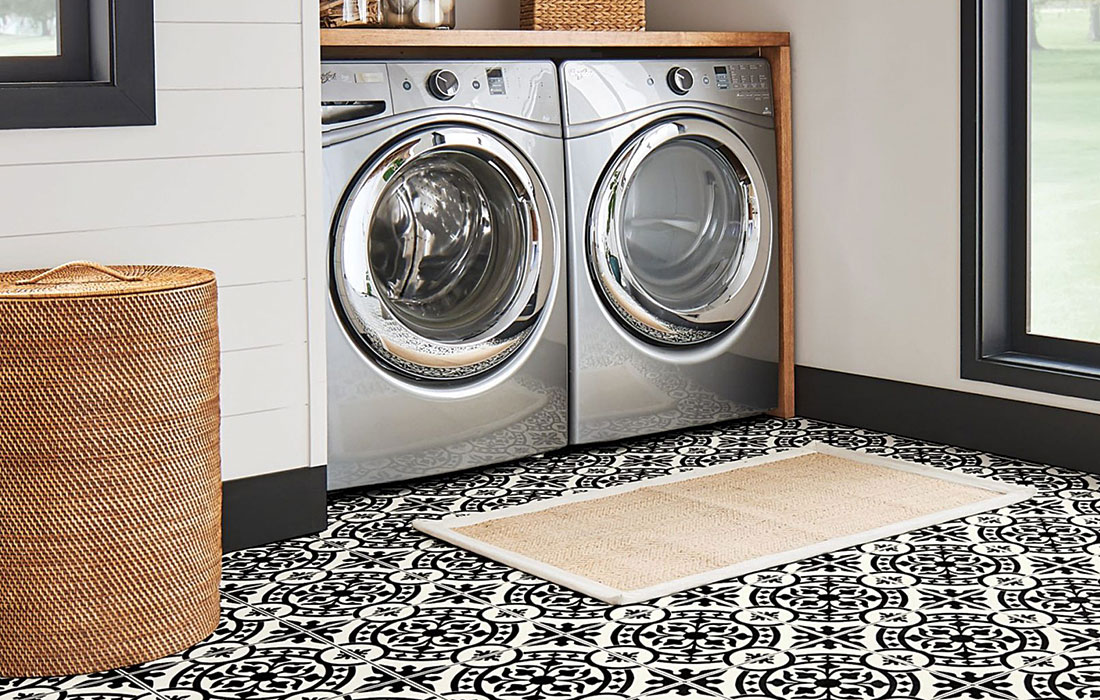
Tile
Tile is a popular option because of its durability and water resistance. It might be a better choice than polished concrete or epoxy for “ugly” slabs because trowel marks and cracks can be covered, and moderate dips and humps can be smoothed with the mortar bed. Like polished-concrete and epoxy floors, tile floors can be cold, which is why one popular use is to install tile over radiant-heated floors. Depending on the thickness of the product, tile can raise the floor height more than an inch. When you are tiling over new or moisture-prone slabs, installing an uncoupling membrane will reduce the chance of cracks by separating the movement of the slab from the movement of the tile.
Glue-down vinyl
Glue-down vinyl comes in the form of sheets, individual tiles, or planks. Vinyl sheet flooring can be glued directly to concrete and is probably the least expensive option, but sheet vinyl is thin, and even minor imperfections in the concrete will telegraph through to the surface. Glue-down tiles and planks are considered more durable than sheet vinyl and are easy to repair, which is why you often find them in commercial settings. Glue-down products would handle a short-term bulk-water incident better than a floating floor, but prolonged exposure could still cause delamination and adhesive failure.
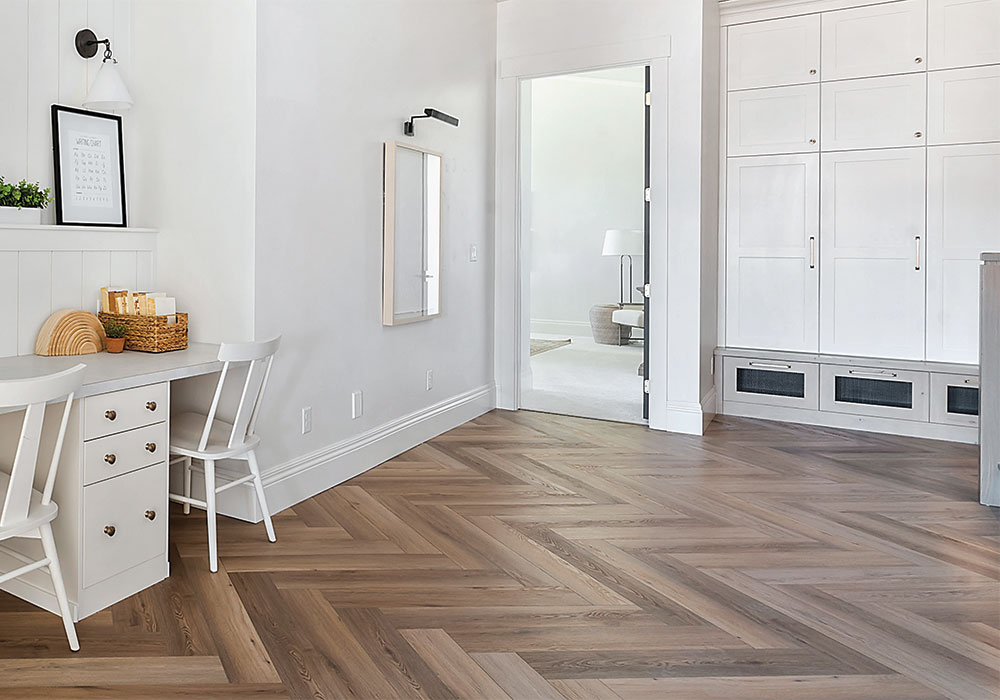
Luxury vinyl plank (LVP)
Floating LVP has become one of the most popular flooring choices for every room in the home. It’s easy to install and durable. LVP is water resistant but not waterproof. Long-standing bulk water will find its way through the seams or gaps near the wall and make its way below the flooring, which will require the floor to be removed in a black-water event. Also, contrary to popular opinion, vapor drive can cause LVP to cup and become permanently distorted. That said, luxury vinyl planks are easy to repair if localized damage occurs. When choosing LVP products, don’t choose a panel any thinner than 5 mm.
Rigid core
This relatively new kid on the block is still known by a few names: rigid core flooring, rigid vinyl plank, rigid core luxury vinyl plank, SPC, and WPC. The last two refer to the type of rigid core they have, either stone-plastic composite or wood-plastic composite. The stone in SPC flooring makes it the more dense and dent-resistant of the two, while WPC feels softer underfoot. Both are more dense than LVP, which means they won’t telegraph imperfections in the subfloor as much as LVP. Both SPC and WPC are as water resistant as LVP, but they are more stable, which means they can be installed in larger areas without transitions. While rigid core is currently a more expensive option, many believe it will eventually dominate the flooring industry.
Laminate
Traditional laminate planks have gained a reputation for not being a moisture-friendly choice. In the past, most laminate planks were made of pressed wood pulp that was only protected by the coatings above and would swell when it came in direct contact with water or was exposed to high humidity levels. Although laminate planks are one of the most budget-friendly options, many are harder to install because they can’t be cut with a knife. Cutting shears/guillotines are expensive, and cutting with a saw adds more time and mess to the installation process.
Epoxy
Like tile and polished concrete, a properly installed epoxy floor can last a lifetime. Epoxy offers a huge selection of color and texture options, and cracks and imperfections can be patched and easily hidden with epoxy coatings. However, poor-quality products and improper installation methods can result in unsightly flaking, bubbling, or complete failures, which can be expensive to repair. This is why epoxy floors are best handled by experienced pros with the proper equipment. Vapor drive needs to be controlled with a moisture-blocking primer, and solvent-based epoxy products are high in VOCs and should not be used indoors.
Design warmer, softer floors
Cold basement floors are a common complaint in homes located in northern climates, where the soil under a basement slab might be more than 20°F cooler than the air in the room. Also, concrete is hard, even compared to hardwood. Standing or walking on concrete for a long time can cause back and leg-joint pain. Adding electric or hydronic heat is the most surefire method to remedy a cold floor, but in-floor heat won’t make a floor any softer. Installing a thermal break is an option that can help address both concerns. If you plan to install laminate or LVP planks, choose a thicker (manufacturer approved) underlayment. Adding foam under the flooring is another option.
If you’re considering a heated floor, epoxy, polished concrete, and tile are the safest flooring options. The heat in a radiant-heated floor can create excessively dry conditions in the flooring above it, which can cause solid wood floors to shrink; even engineered wood is not impervious to expansion and contraction.
Follow best practices
It’s important to let any flooring product acclimate to the same conditions of the home before installation. It’s also important to avoid large and rapid swings in temperature and humidity levels after the flooring is down. It can be tempting to turn off heating and cooling supplies when the space isn’t being used, but it’s never a good idea to let any finished space get too cold, too hot, or too humid. For example, the temperature in a room with hardwood floors should never drop below 60°F or exceed 80°F. Humidity levels also need to be monitored and maintained. Most manufacturers recommend that the relative humidity never drop below 30% or rise above 50% for an extended period of time, so you may need a humidifier or dehumidifier depending on the season and region. High temps and humidity can lead to cupping in some laminates and LVP planks or cause adhesives to fail on glue-down products.
Heat and humidity are not the only considerations. Dips in the concrete will cause the top part of a groove in a click-together plank to flex and eventually split. Certain adhesives are not compatible with all flooring materials. The list goes on. It sounds cliché, but read the manufacturer’s instructions carefully before choosing your flooring and installing it, and use the recommended adhesives and vapor retarders. And because accidents happen, order more flooring than you need so that you can repair future mishaps.
—Mark Petersen is tech editor.
From Fine Homebuilding #319
RELATED STORIES


View Comments
Great article, It really highlights the importance of moisture management for a durable basement floor. Quick question: for older homes without a vapor retarder under the slab, do you recommend any specific retrofitting methods to protect against moisture?