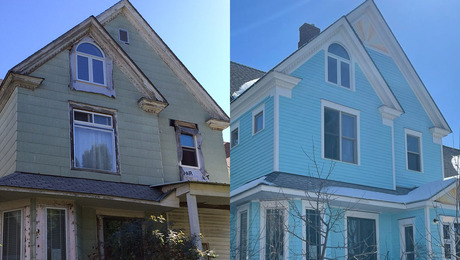
The Cali Valley Heads East
Construct the intersecting gable on the main roof for a faster, easier-to-build assembly.
California’s production framers figured out a fast way to build intersecting ridges and perpendicular gables on their Ranch-style houses—frame and sheathe the main roof first, and then frame the intersecting roof on top. This method of valley framing is known as the “California valley” or “California roof.” In this article, Block Island builder John Spier describes the process of building an intersecting roof using the California valley, from setting the intersecting ridge beam and common rafters to installing the valley plate on the main roof and adding the valley jack rafters. Because he’s building in a high-wind zone, Spier describes the additional measures taken to create a resilient and aesthetically proportional roof, including incorporating 2×4 lookouts for the gable overhang to add more strength than an applied overhang and trimming down the rafter tails to compensate for the thickness of the exterior insulation on the roof.
Traditional VS. Contemporary Roofing
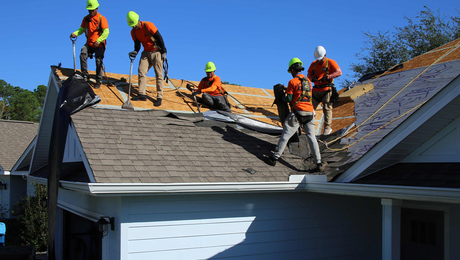
Here in New England, with its architectural tradition of funky, complicated roofs, we generally frame roofs the way carpenters have done it for hundreds of years: Hip, valley, and jack rafters are all calculated and cut on-site by a skilled crew.
Out West, where I learned framing, the roofs I worked on were built from trusses delivered on a truck. These Ranch-style houses often had intersecting ridges and perpendicular gables as parts of the plan. California’s production framers figured out a faster way to build these intersecting roofs as efficiently as possible: Frame and sheathe the larger main roof first, and then frame the smaller intersecting gable on top of the main gable. For their efforts, this method of valley framing became known as the California valley. Naturally (with apologies to my old friend Larry Haun, who wrote about this framing method in FHB #79), we couldn’t credit the West Coast upstarts, so here in the East we sometimes call them infill or blind valleys, or overlay roofs.
The First Cali Valleys
The original California valleys were quick and dirty. We’d build one gable roof, usually with trusses, and sheath it, leaving out a couple of sheets of plywood where the roofs would overlap so plumbers, electricians, and HVAC techs could access both sections of the attic later. Then, after setting the perpendicular trusses, we’d pull a string along their apex to locate where the top of the ridge would land on the main roof. From that point we’d draw a pair of angled lines to the eaves to locate the valleys, and fill in the roof with light-duty framing.
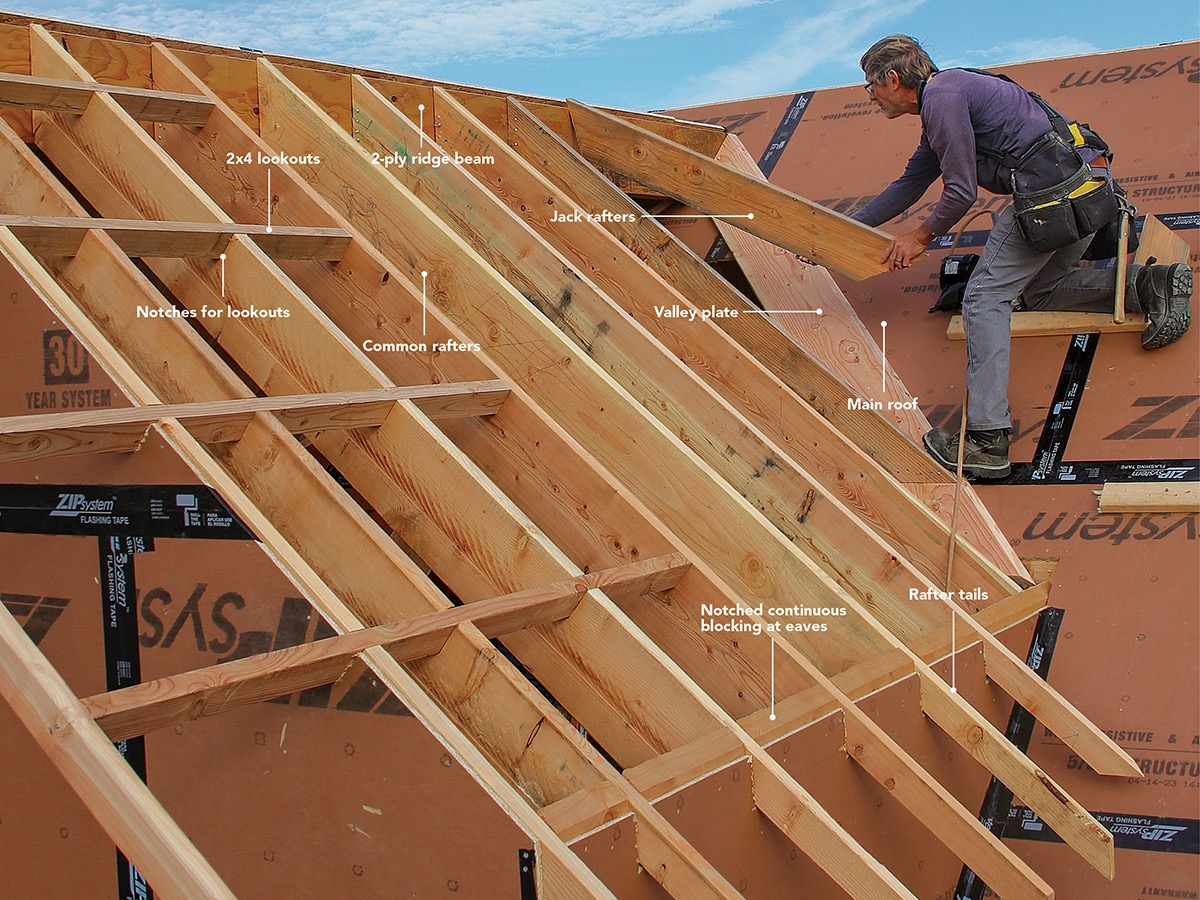
Valley SpeakA conventionally framed valley has an angled valley rafter with jack rafters on both sides of the valley. Both the main and intersecting roofs are sheathed at the same time. In a California valley, plates nailed on top of the already-sheathed main roof form the valley, instead of a valley rafter. Jack rafters are then nailed to this “valley plate” at the intersection of the roofs. Once the infill section is complete, the intersecting roof is sheathed. |
 |
The general method is still the same, but nowadays, we’re dealing with stricter codes and higher loads, so we’re a lot more particular. But, in many cases, the California roof is faster to build and therefore less expensive than a traditional header, valley rafters, jack rafters, and sheathing cut to fit on both sides.
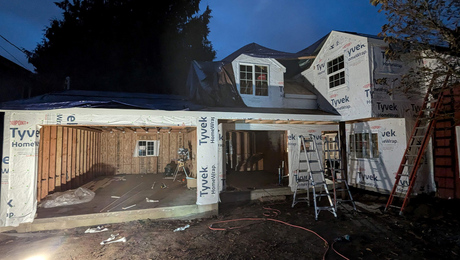
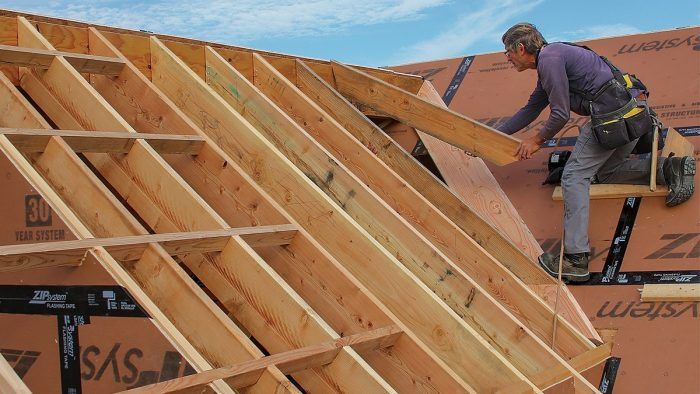
Block Island, where I live and work, is subject to high winds, so we use cantilevered overhangs on the gable ends. We also construct eave overhangs using rafter tails instead of an applied overhang, which would be harder to make sufficiently wind-resistant. In the project shown in this article, the rafter tails are cut so that the overhang thickness better matches the scale of the building with its 3-in. rigid-insulation layer above the rafters. The intersecting roofs have structural ridges with rafter-framed cathedral ceilings. A doorway connects the space under the main roof to the space under the intersecting gable with a header spanning the door opening. The infill roof and its valleys are built on top of the main roof. Simple framing fills in the walls and ceilings for finishes as required. And when the house is finished, no one would ever guess that we borrowed our time-saving roof-framing techniques from the upstart carpenters out West.
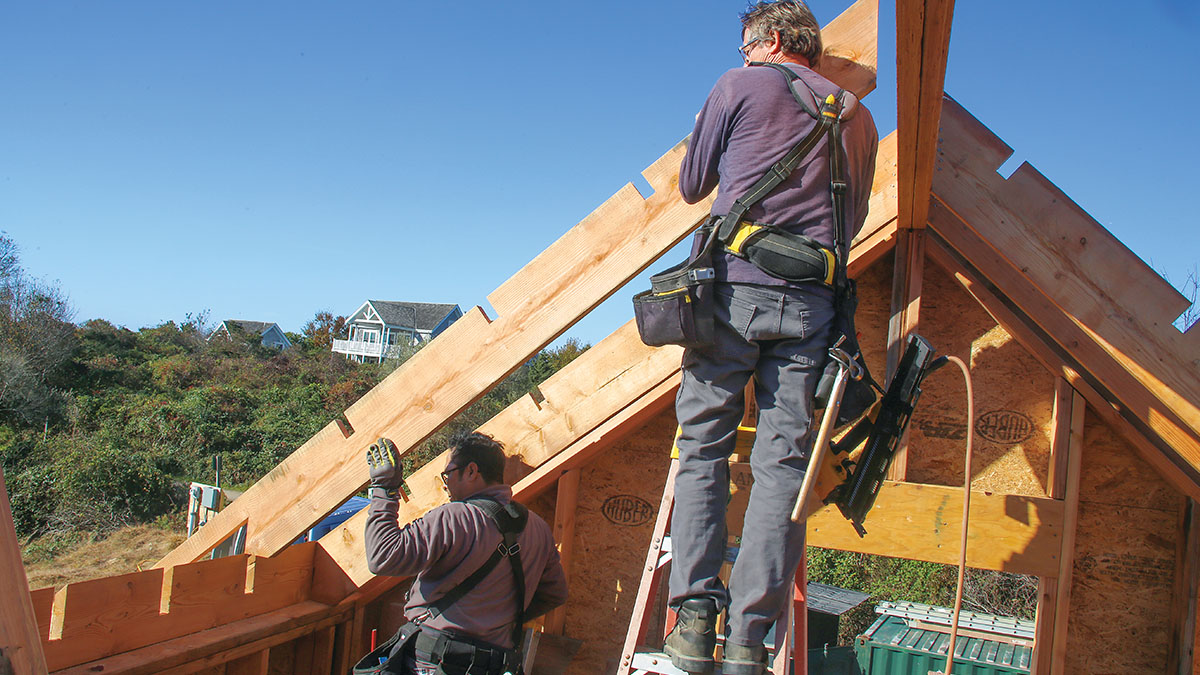
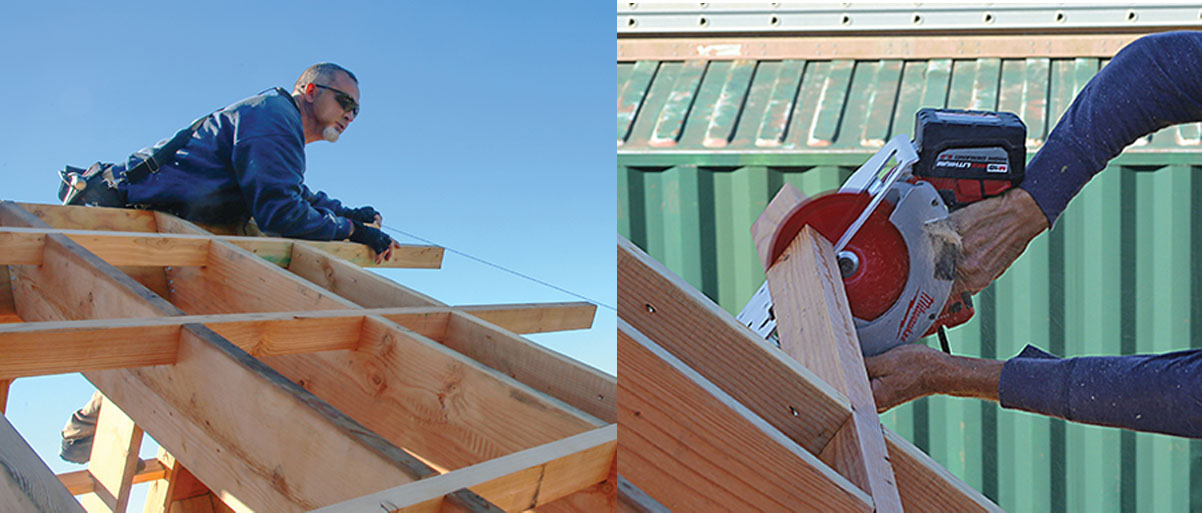
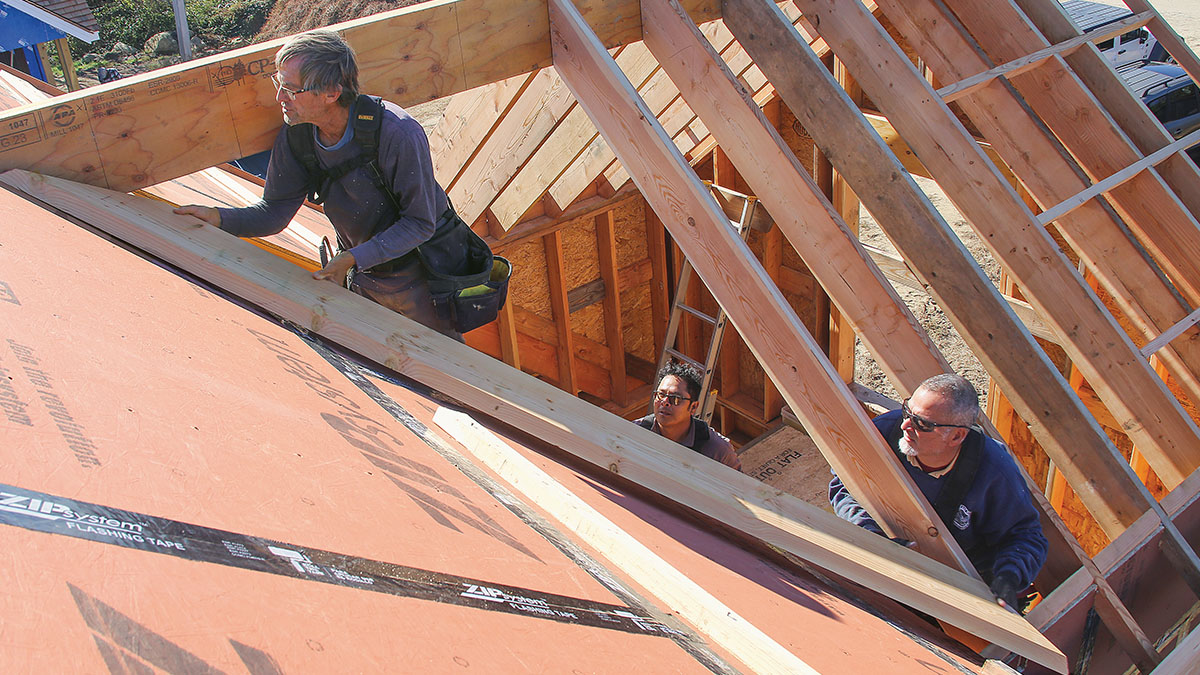
Set the Ridge and Block the EavesThe exterior walls and the main roof are framed and sheathed before I set the ridge for the intersecting roof. I use a point-to-point laser set into the ridge-beam pocket to project the location of the intersecting ridge’s top onto the main roof. With the top of the ridge marked, I can then measure the ridge beam and cut it to length. 1.) Level and Nail the Ridge: One end of the 2-ply LVL ridge is cut at a 40° angle to match the 10:12 pitch and bears on the header in the main roof. The other end fits into a beam pocket above a post on the gable end.  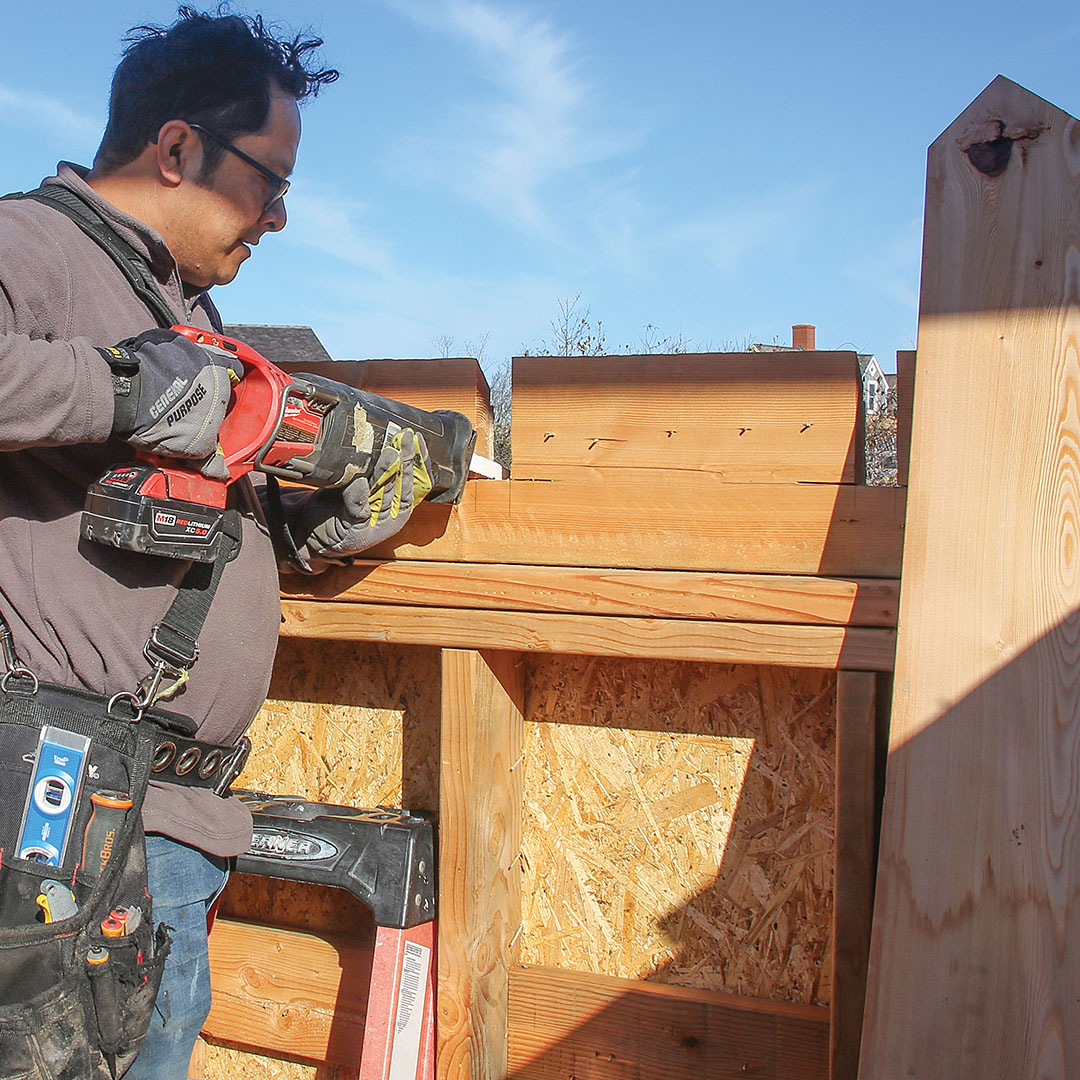 |
Fit the Common Rafters1.) Reduce Rafter Tails: The 2×10 rafters are nailed in place with 3-1⁄4-in. galvanized framing nails. The rafter tails are cut to keep the fascia proportional to the roof with the 3-in.-thick insulation layer on top of the rafters. The notches in these rafters will receive 2×4 lookouts for the gable overhang. 2.) Work in Pairs: Place and nail rafters on opposite sides of the ridge, working from one end of the ridge toward the other end. If you nail too many rafters on one side of the ridge, you’re likely to bow the ridge board and distort the roof.  |

Frame the Gable OverhangsThe cantilevered lookouts are fit into notches cut into the common rafters close to the gable, which strengthens the assembly for increased wind resistance. I like to leave the lookouts a few inches long and then trim them after they’re nailed in place to ensure a perfectly straight gable and cleaner trim job. 1.) Snap a Line: I stretch a chalkline with another carpenter to mark the overhang length on the gable lookouts, accounting for the thickness of the 2×4 subfascia that will come later, and trim them in place. 2.) Nail the Lookouts: We drive screws through the tops of the 2×4 lookouts and into the rafters at the notches, and then through-nail the ends of the lookouts where they meet the rafter. 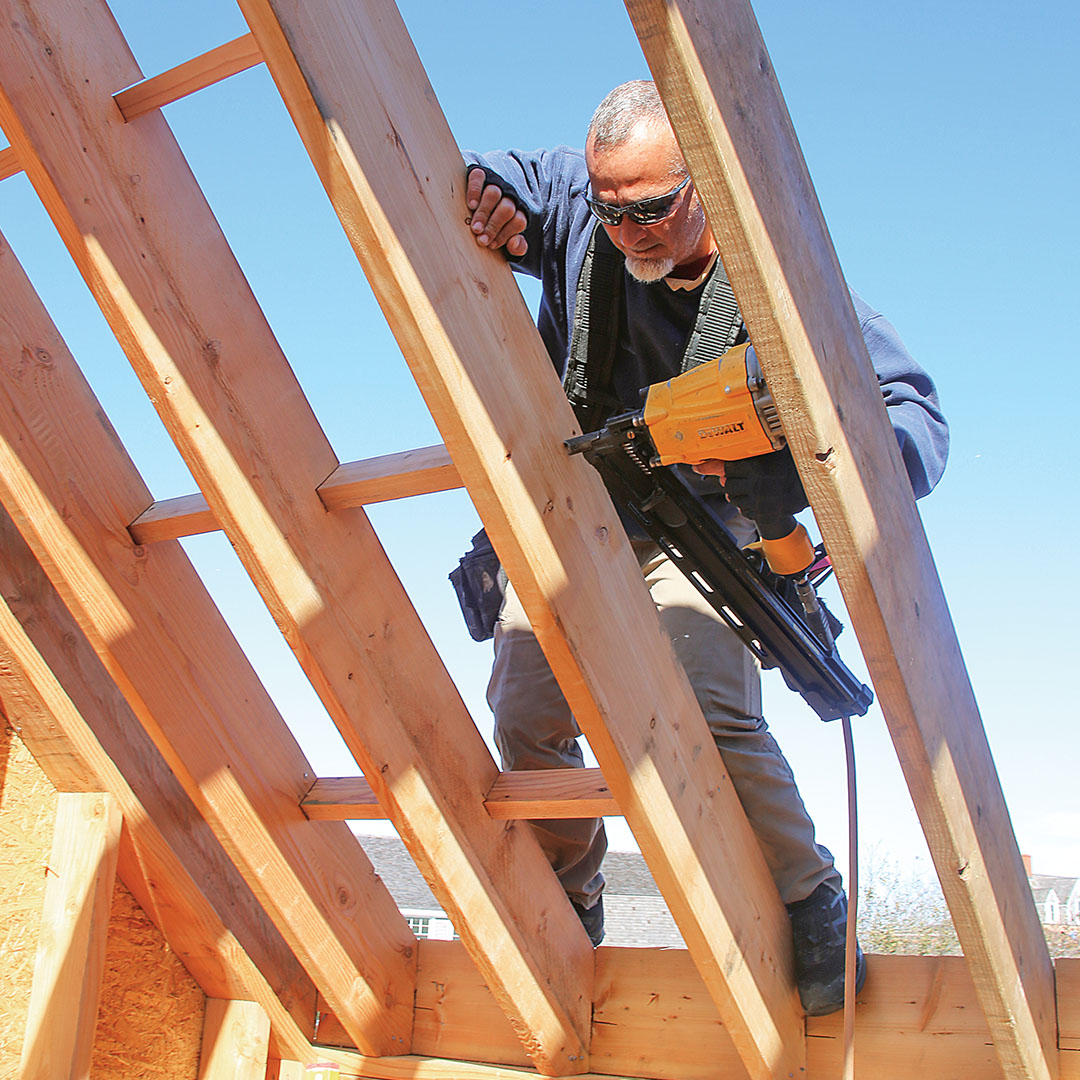 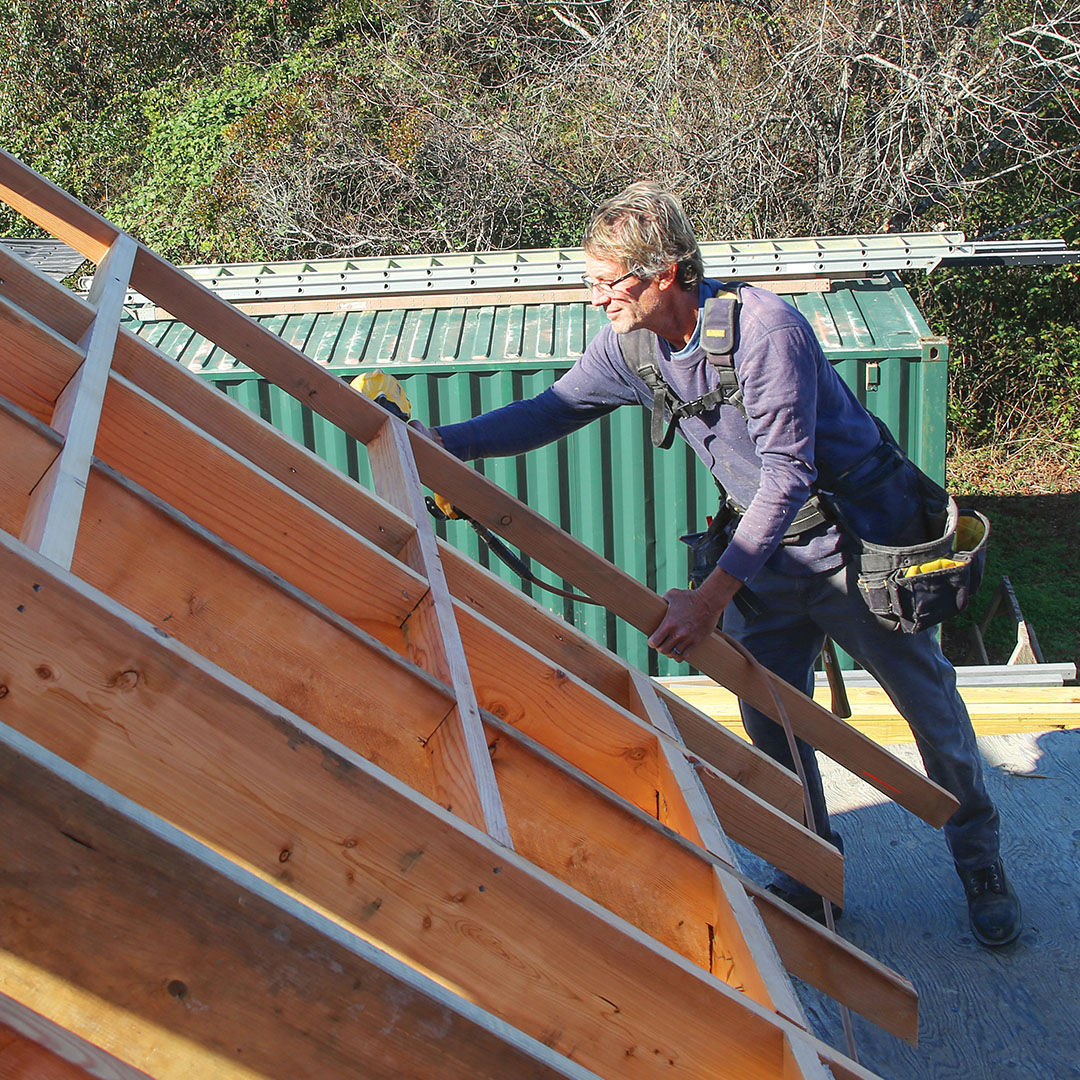 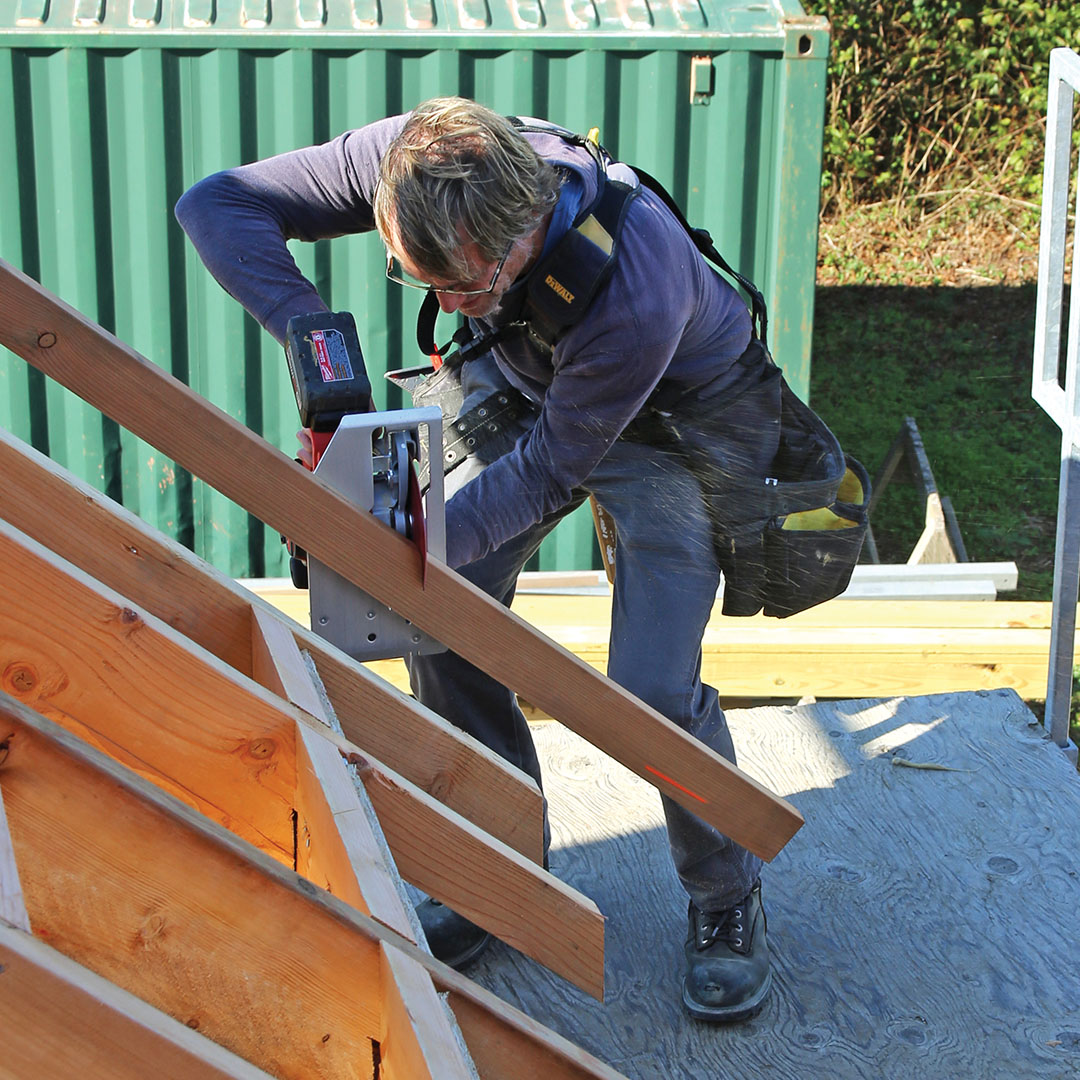 |
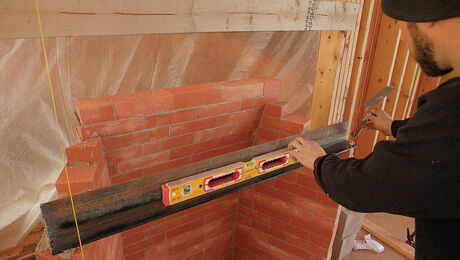
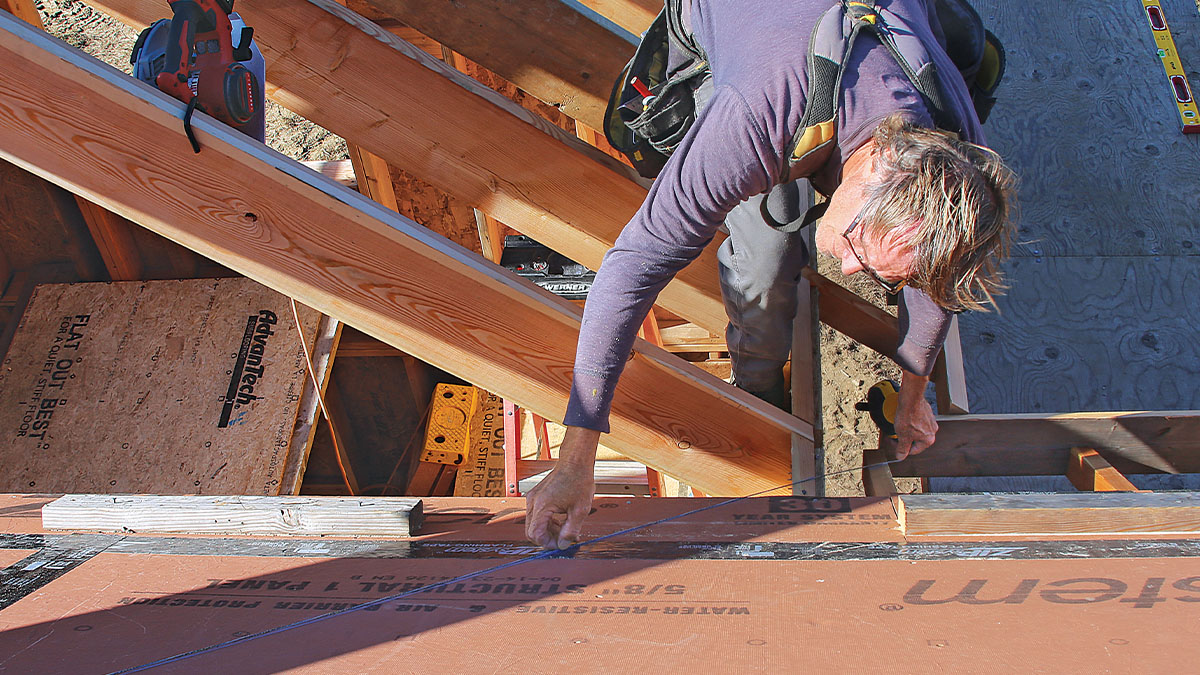
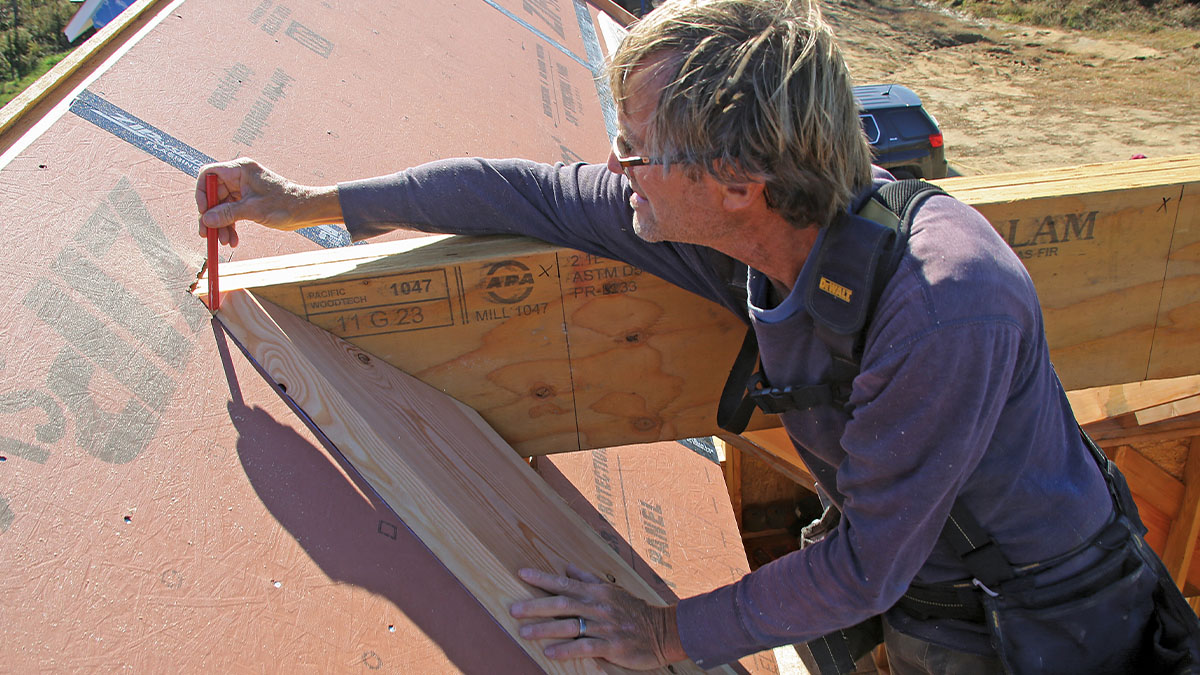
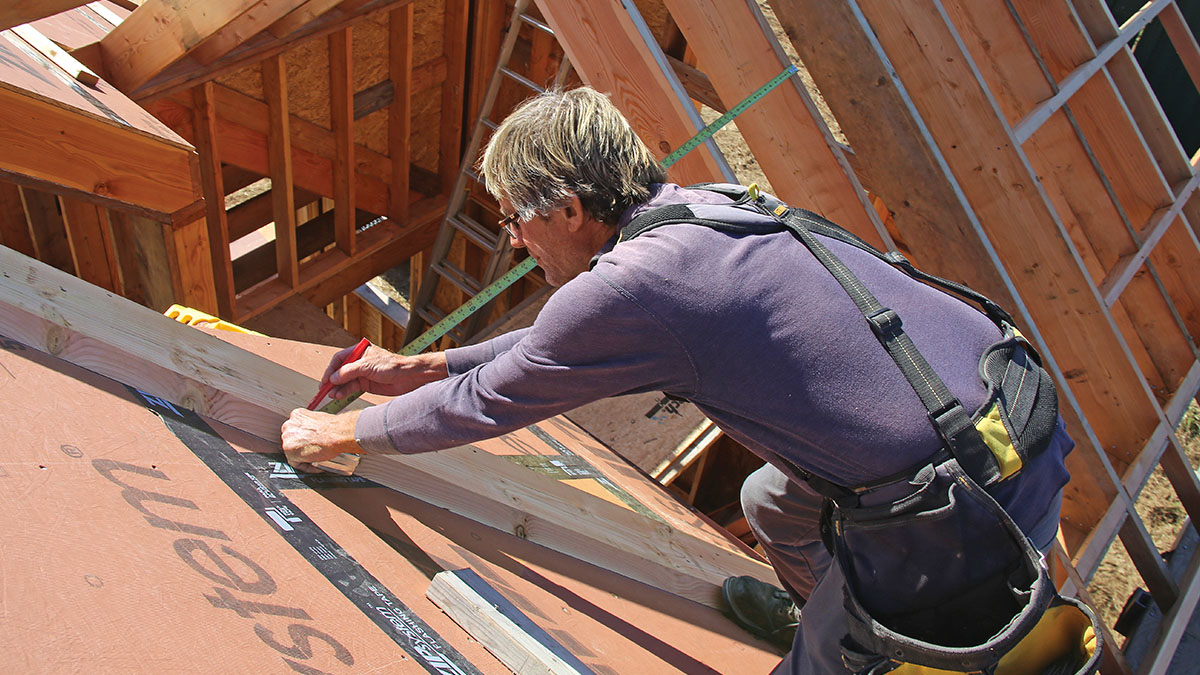
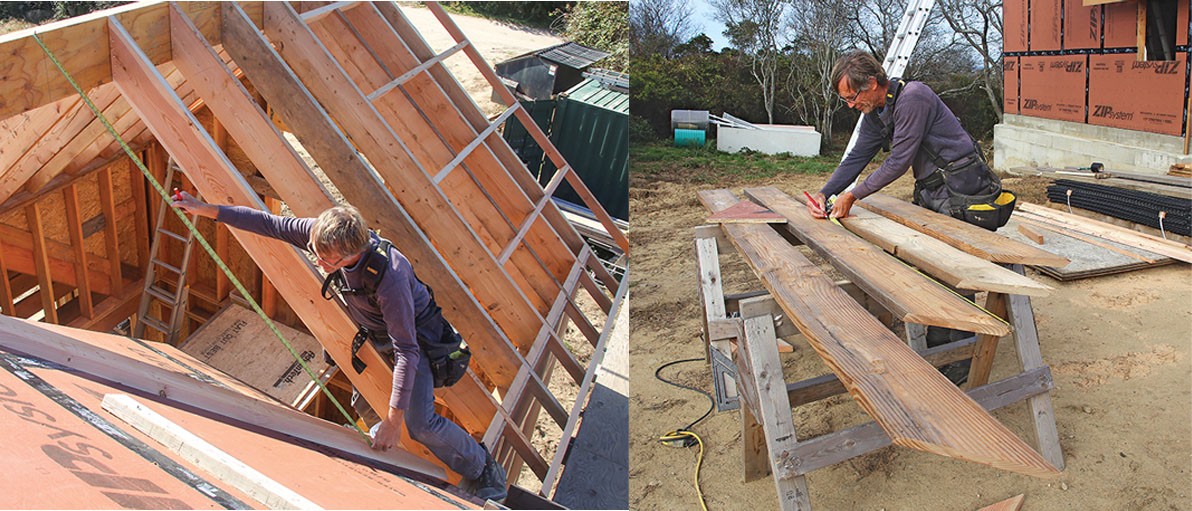
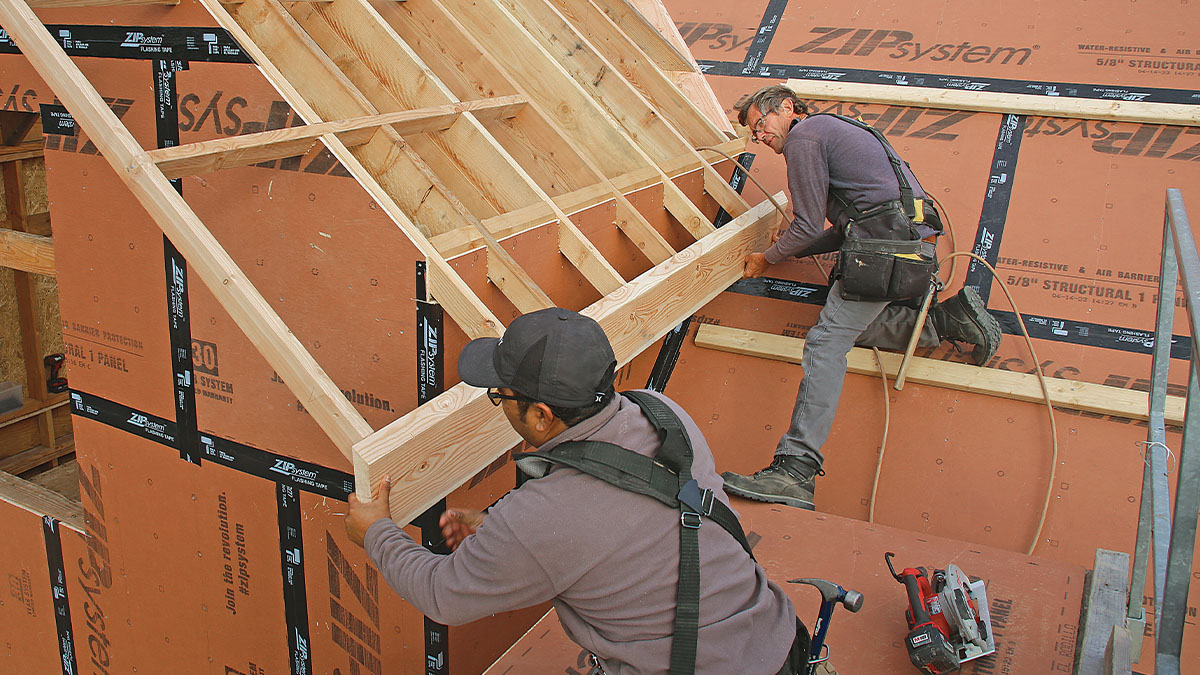
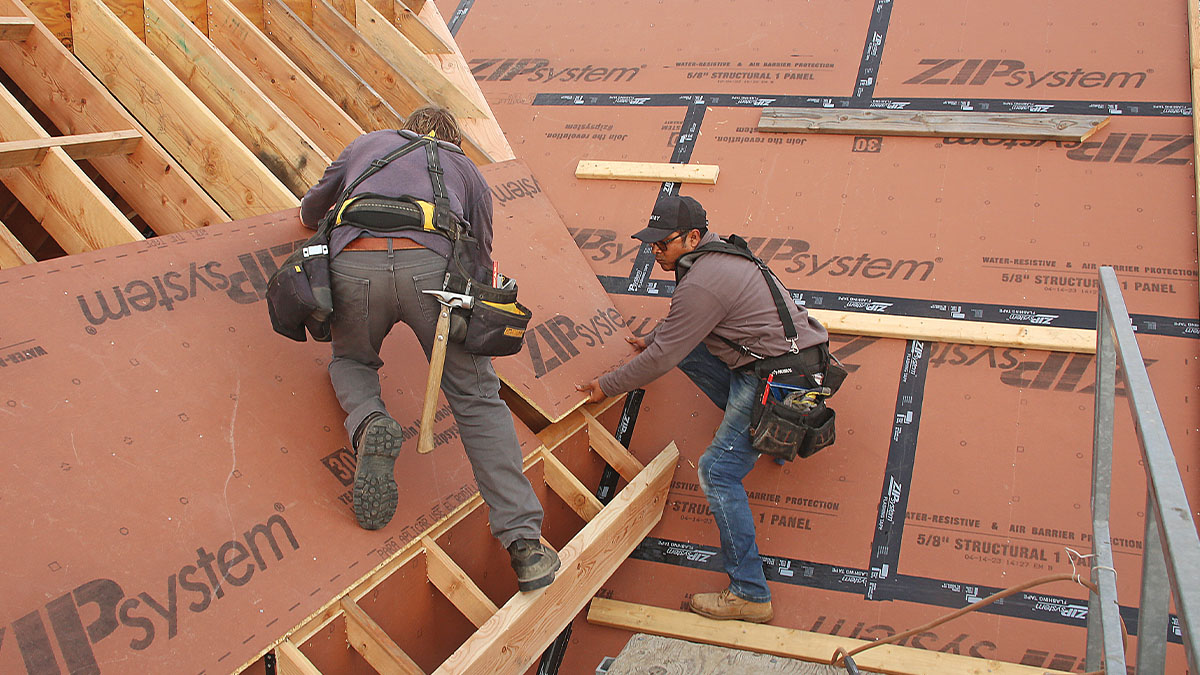
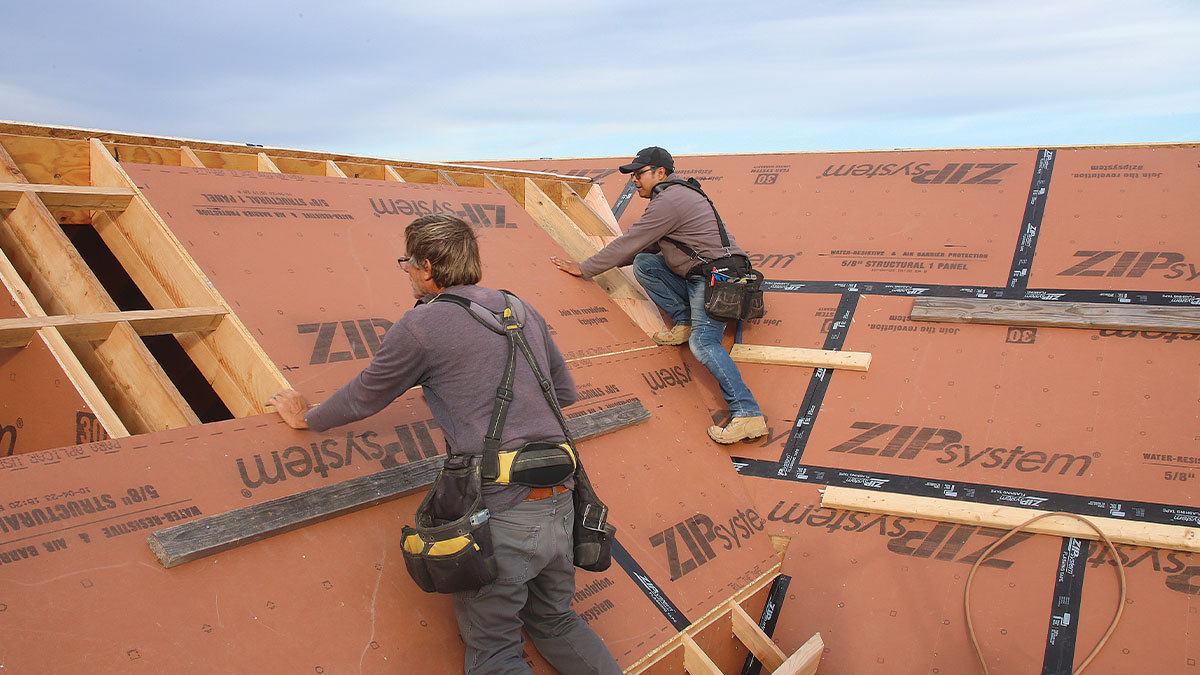
Frame the ValleysEven though I have an engineering degree, I think it’s faster and less error-prone to measure and fit the valley jack rafters right on the roof instead of using a calculator or a framing square. Where they meet the ridge, rafters get a 40° plumb cut. The bottoms where they meet the plate get a 50° miter and a 40° bevel to match the 10:12 roof pitch. 1.) Snap a Line: I stretch and snap a line from the top of the ridge down the centerline of the valley to mark the location of the outer edge of the valley plate. The jack rafters will be nailed to this plate. 2.) Scribe the Top: I find the angle of the valley plate by scribing it on a scrap and then measuring the angle with a speed square. Then I check the fit for accuracy. A 33° bevel on the plate provides solid attachment for the roof sheathing installed later. 3.) Mark the Position: Once I’ve dialed in the angle, I hold the scrap so the top edge aligns with the top of the ridge, and then mark the end of the plate on the ridge. 4.) Measure the Plate: To determine the length of the valley plate, I stretch a tape measure from the mark I made on the ridge showing the end of the valley plate down to the center of the valley. This will be the longer side of the plate. 5.) Install the Valley Plate: Once the valley plate is cut, I align it to the chalkline. Once it’s in position, I nail it into the rafters on the main roof using pairs of 3-1⁄4-in. nails. 6.) Lay Out the Jack Rafters: I measure from the common rafters to continue the rafter spacing on the valley plate. The rafter spacing can also be determined with a rafter square or construction app or calculator, but on a small roof like this I find measuring in place is faster. 7.) Measure the Jack Rafters: I measure from the top of the structural ridge to the outside edge of the valley plate to determine the length of the valley jack rafters. I measure and cut all the rafters for one side of the roof. The resulting offcuts have an accurate miter and bevel to be used as the jack rafters on the other side. 8.) Nail the Jack Rafters: Valley jack rafters are nailed to the to the ridge and valley plate with 3-1⁄4-in. nails. Unlike the common rafters, which I install in pairs on both sides of the ridge, I install all the jack rafters on one side at the same time; with the common rafters in place, the ridge will resist deflection. |


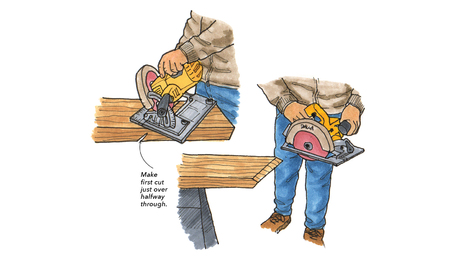
Frame the Eave OverhangsJust like the gable lookouts, the eave overhangs are trimmed in place to ensure a straight subfascia board. I cut them to finished length and install the fascia one side at a time to keep equipment moving and setup to a minimum. 1.) Mark the Length of the Overhang: Holding the tape measure level, I measure from the edge of the wall sheathing to mark and trim the overhang. The 12-in. overhang will have a 1-1⁄2-in.-thick subfascia, so I mark both ends of the overhang at 10-1⁄2 in. and then snap a line between the marks to indicate where to cut the rafter tails and rake subfascia. 2.) Cut the Rafter Tails Plumb: I use a speed square to draw a plumb line down from the snapped line on all of the rafter tails. Then I cut them in place with a circular saw. Marking and cutting in place ensures the overhang is straight. 3.) Fit the Subfascia: The subfascia has a bevel at the top that corresponds with the roof pitch and extends above the rafters to cover a 3-in. exterior insulation layer. I keep the subfascia a little long so I can trim it in place. 4.) Trim in Place: With the subfascia nailed in place, I measure the rake overhang and tweak the rake subfascia so that the overhang is consistent along its length. Once I’ve nailed it in the right spot, I cut off the excess in place with a circular saw. |


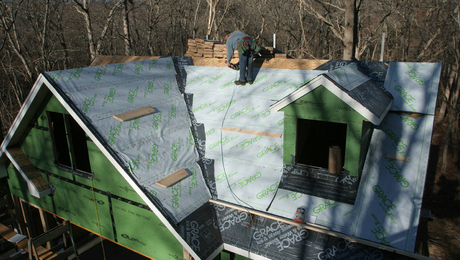
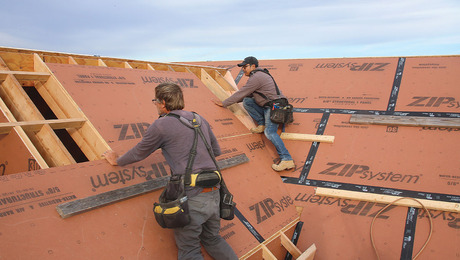
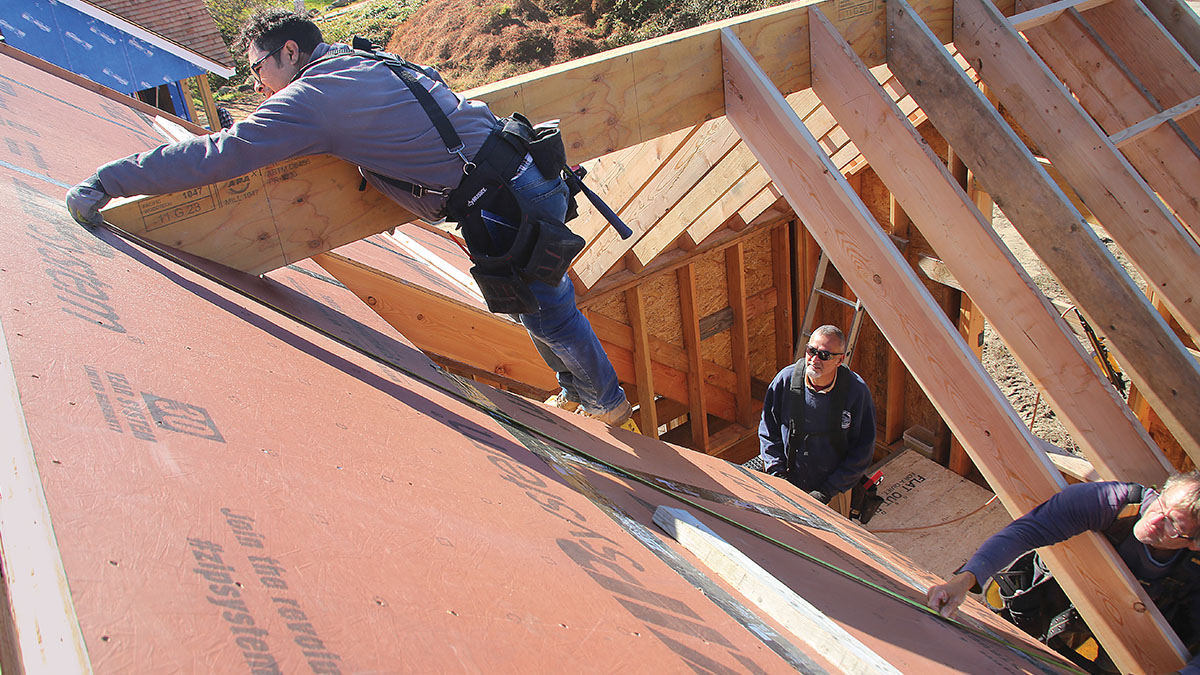
Install SheathingThe finished overhang will have exposed rafter tails with beadboard sheathing that’s installed with the exterior carpentry, so we start the structural panel sheathing at the exterior walls. I strengthen the gable overhang by using large pieces of sheathing to connect as many rafters as possible for increased wind resistance. 1.) Start Straight: I measure up from the overhang and snap a chalkline to line up the first course of panel roof sheathing, which starts at the plane of the exterior wall. I nail the sheathing with 2-1⁄2-in. galvanized ring-shank nails every 4 in. on panel edges and 6 in. on center in the field. 2.) Work Toward the Valley: With the first piece of sheathing in place, I measure to the valley from the top and bottom of the first panel to determine the angle on all of the sheathing panels that abut the valley. I transfer those measurements to the panel, cut it, and nail it in place. 3.) Stagger Seams: With the first row of roof sheathing fastened, I install subsequent rows above, working toward the ridge. I offset the vertical seams by a half-panel to strengthen the roof.
|


— John Spier is the owner of Spier Construction on Block Island, R.I. Photos by Patrick McCombe.
RELATED STORIES
Fine Homebuilding Recommended Products
Fine Homebuilding receives a commission for items purchased through links on this site, including Amazon Associates and other affiliate advertising programs.

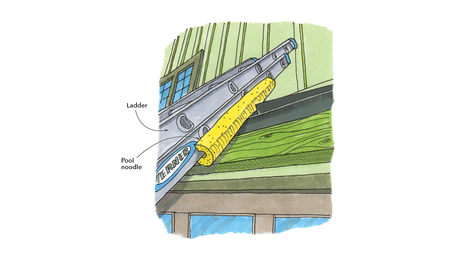
Ladder Stand Off

Roofing Gun

Roof Jacks