
Building Screened Doors
Wooden doors fit old houses, are easy to make, are easy to fix, and sound right when they close.
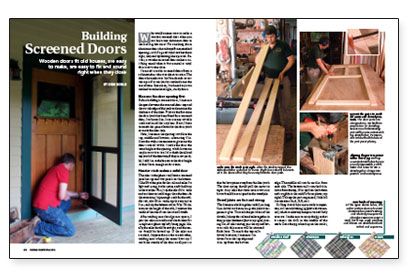
Synopsis: The author describes his techniques for building attractive and durable screened doors. Included is a discussion of his simple method of installing screening that results in a taut, easily replaced screen.
Why would anyone want to make a wooden screened door when you can buy a nice aluminum door at the local big-box store? For one thing, those aluminum doors don’t always fit nonstandard openings, and if a good wind catches them right, they end up looking like a pretzel. Besides, a wooden screened door makes a satisfying sound when it shuts; metal or vinyl doors can’t come close.
I learned to make screened doors from a cabinetmaker who was about to retire. The doors he made over his five-decade career were proof to me that his methods met the test of time. Since then, I’ve honed my own method to make these light, sturdy doors.
Measure The Door Opening First
Before building a screened door, I measure the space between the screened-door stop and the outside edge of the jamb to determine the thickness of the door. If this is the first time the door jamb has been fitted for a screened door, I’m home free; I can use any suitable stock and install the stop later. If not, I have to match the space allowed in the door jamb or move the door stop.
Next, I measure the opening’s width at the top, middle, and bottom; subtracting 1 ⁄8 in. from the widest measurement gives me the door’s overall width. I make the door the same height as the opening, which leaves me surplus to cut it to size. I also check the sill and top jamb of the doorway; if they’re not parallel, I add 1 in. at the bottom to the door height so that I have enough stock to trim.
Heavier Stock Makes A Solid Door
The door in the article photos will have a screened panel on top and two panels on the bottom. I like 5/4 white pine for the rails and stiles. It’s light and strong, it takes paint, and it holds up in the weather. First, I rip the stiles 2-1 ⁄2 in. wide and cut them an inch longer than the door. At the same time, I rip enough stock for the middle rail, also 2-1 ⁄2 in. wide; rip the top rail at 3 in.; and rip the bottom rail at 7-1 ⁄2 in. To determine the length of the rails, I subtract the width of the stiles from the overall width.
After making sure the edges are square, I pair the stiles on a table and check them for straightness. Ideally, the stiles should be straight, and the center should be bowed up. If the stiles are crooked, I oppose the crooks to each other, making sure to keep the center bows up. I mark the outside of the door on all parts so that the bow points away from the door jamb. The door spring should pull the center in tight. Any stiles that have severe twists or bows should be consigned to the woodpile.
Dowel Joints Are Fast And Strong
The frames are held together with 2-in. long 1 ⁄2-in. dowels and exterior-grade yellow carpenters’ glue. To mark the positions of the dowels, I clamp the rails and stiles together in their proper locations (photo top right), leaving 1 ⁄2 in. of stile running past the top and bottom rails; this excess will be trimmed flush later. To mark the top rail’s dowel locations, I measure 1 in. down from the top edge and 5 ⁄8 in. up from the bottom edge. The middle rail’s marks are 5 ⁄8 in. from each side. The bottom rail is marked 5 ⁄8 in. down from the top, 11 ⁄4 in. up from the bottom and roughly in the middle (inset photo, top right). To keep the parts organized, I label all intersections (A-A, B-B, etc.).
Drilling dowel holes accurately is important, so I use a doweling jig (photo above center), which is relatively inexpensive and fairly accurate. I make sure to set up the jig so that it centers the drill in the middle of the stock. Once the jig is lined up on the marks, I use a 1 ⁄2-in. dia. twist bit and drill a 11 ⁄16-in. deep hole.
Start With A Dry Run Before Glue Up
Once the holes are drilled, I like to put the door together without glue. It’s a good way of finding problems, such as misaligned dowels, and dealing with them without getting messy. I don’t want to realize that the middle stile is too long when I’m in the middle of glue up. A dry run is also a good way to determine the number of clamps I need; I use a minimum of three bar or pipe clamps.
Once I’m satisfied that the parts line up, I lay out the stiles and rails in their relative positions on a worktable. With a flux brush or small paintbrush, I thoroughly coat the interiors of the stile holes with glue. After spreading glue on one-half of a dowel, I insert the glued end into the hole and tap it home. When the stile dowels are seated, I spread glue on the dowels’ exposed ends and the surrounding area where the rail meets the stile (photo top left). The rails are next and get the same treatment.
Assembly Starts In The Middle
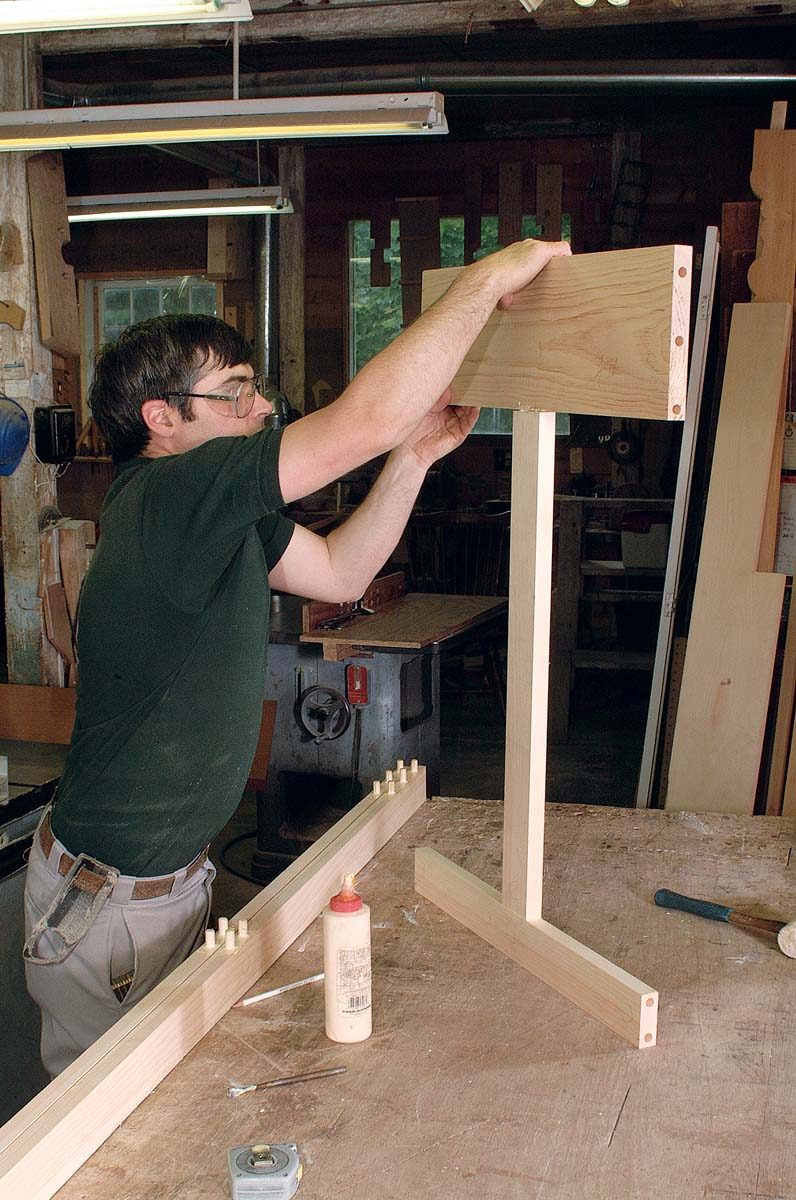
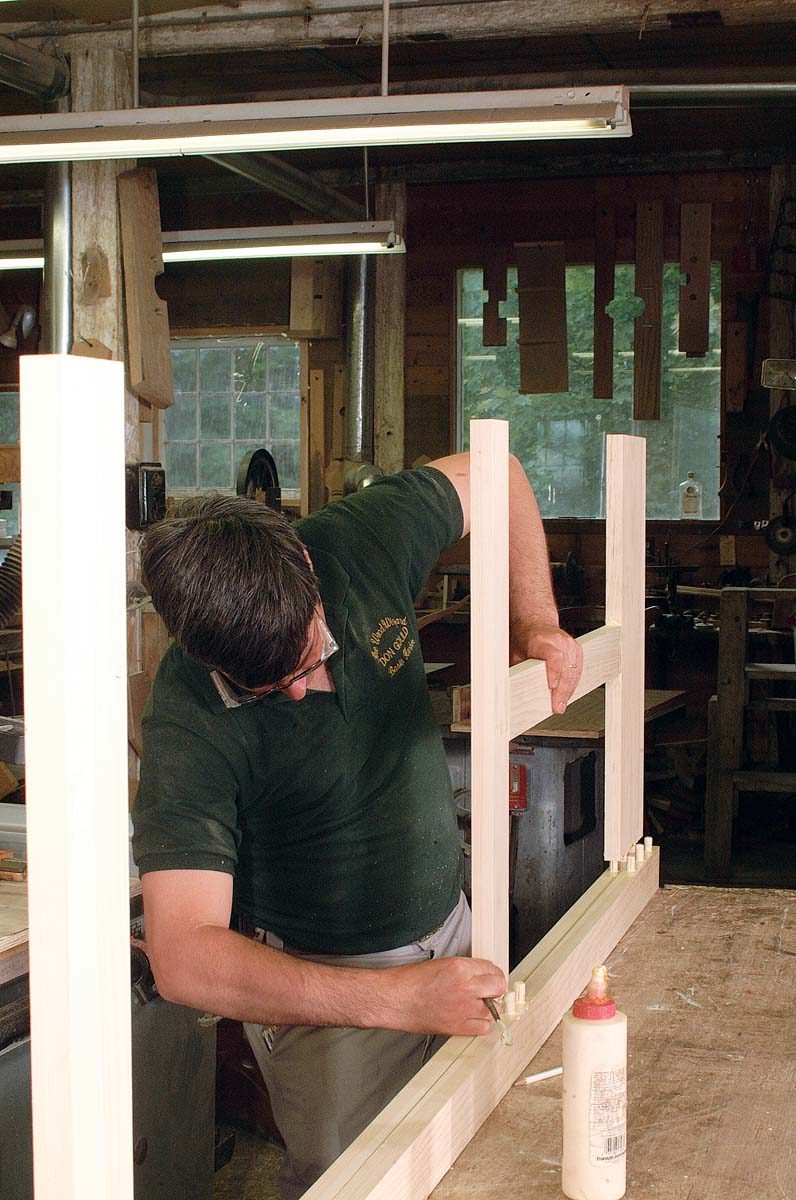
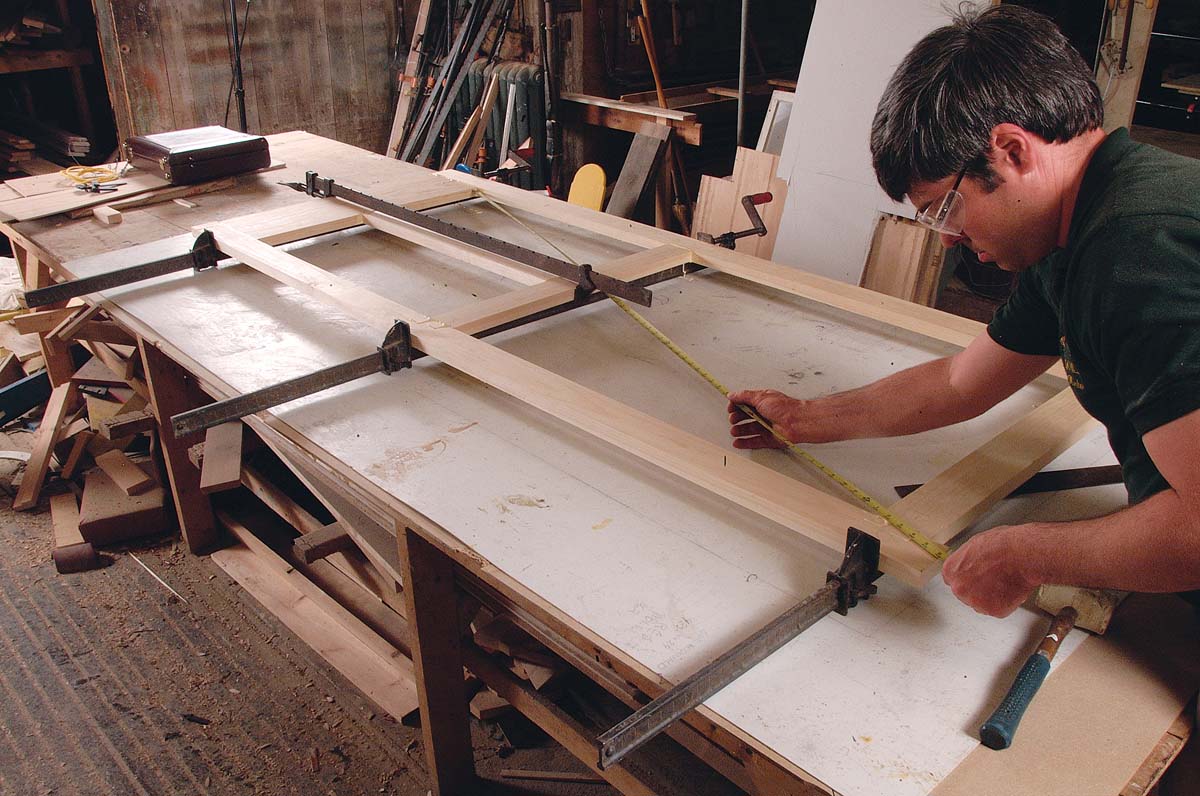
With all the dowels glued in place, I have about 20 min. before the glue starts to set up, so I work fast. I start by joining the middle stile to the bottom and middle rails (photo above left). This assembly then is plugged into one stile (photo top right), followed by the top rail and the opposite stile (photo top left); it then is laid across the three clamps.
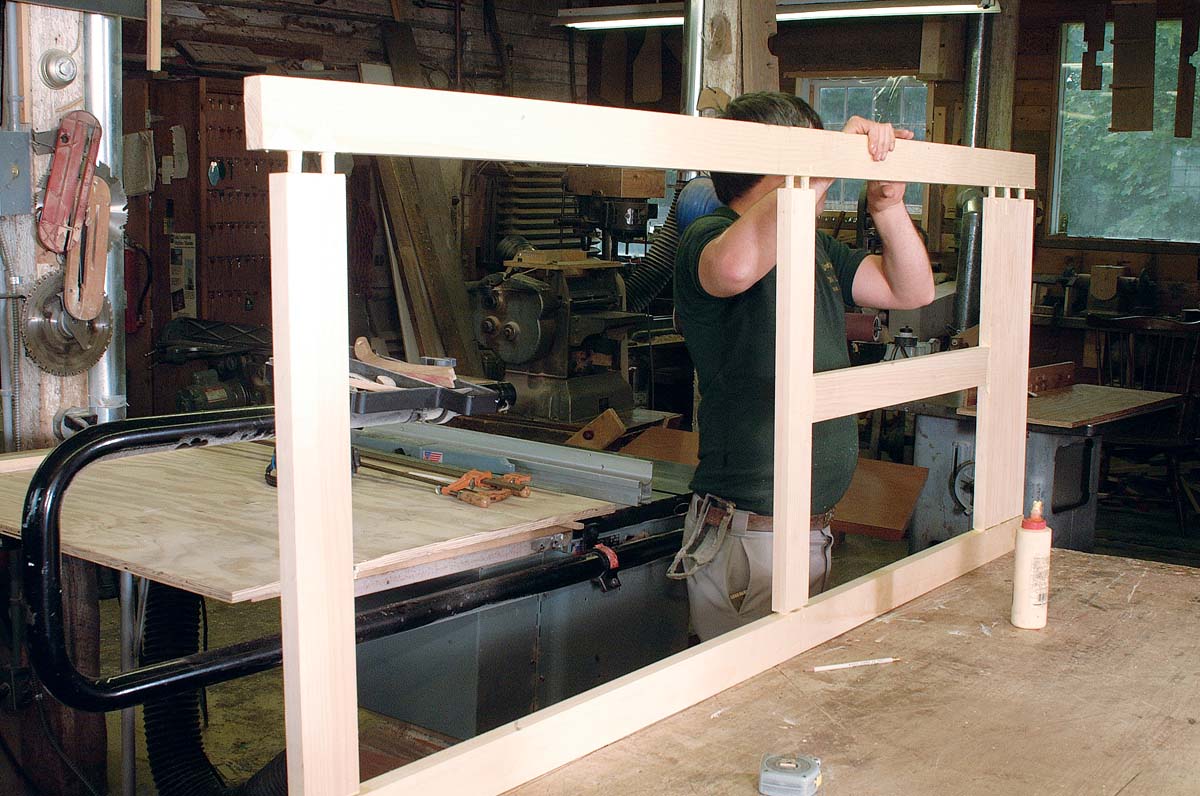
I tighten the clamps so that the joints draw tightly together, but not so tightly that the joint distorts. With a measuring tape, I check the door frame (photo top right). If the frame is out of square, I usually angle one or more clamps across the door to rack the frame into square. After I’ve checked to see that the frame is flat, I wipe off excess glue with a damp paper towel and let the frame dry.
The next day, I take the door out of the clamps and clean up the joints with a sharp block plane and 80-grit sandpaper. At this point, it’s a good idea to check the fit of the door in the opening and trim as necessary. I sand the door with 100-grit sandpaper before priming.
Installing Screen: The Best Way Is The Easiest
My doors have screening stapled directly onto the frame and covered with screen molding. I learned this method while making screened doors for dozens of cabins at a local resort. Inevitably, the door screens are kicked out of their frames and need to be replaced, and this method is the fastest and cleanest way to replace them.
Several types of screen are available: fiberglass, aluminum (in several finishes), stainless steel and bronze.
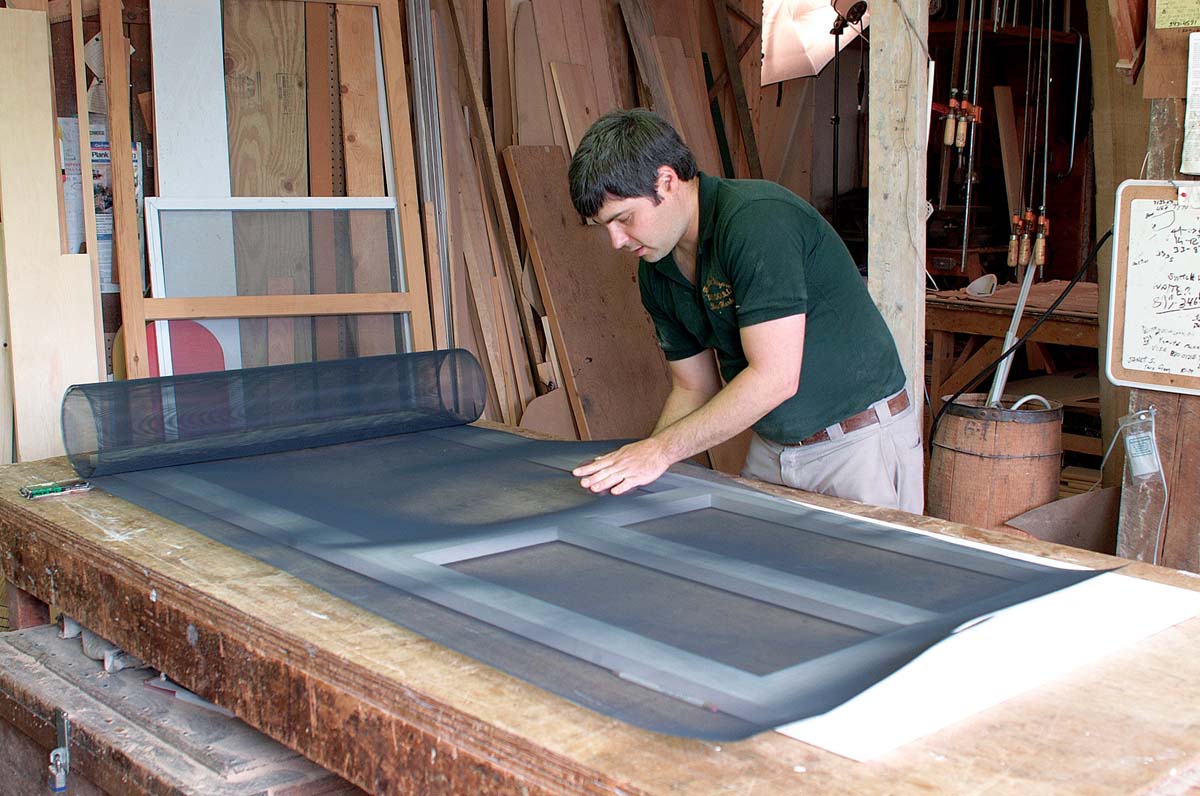
I cut a piece of screen about 6 in. longer than the screen opening and lay it over the outside of the door (center photo). Using 3 ⁄8-in. staples, I staple one long side of the screen in each corner and the middle, making sure the screen is tight and the staples are within 3 ⁄4 in. of the edge. I staple the opposite side, then each end in turn, making sure the screen is pulled tight as I staple and fill between with staples every 2 in.
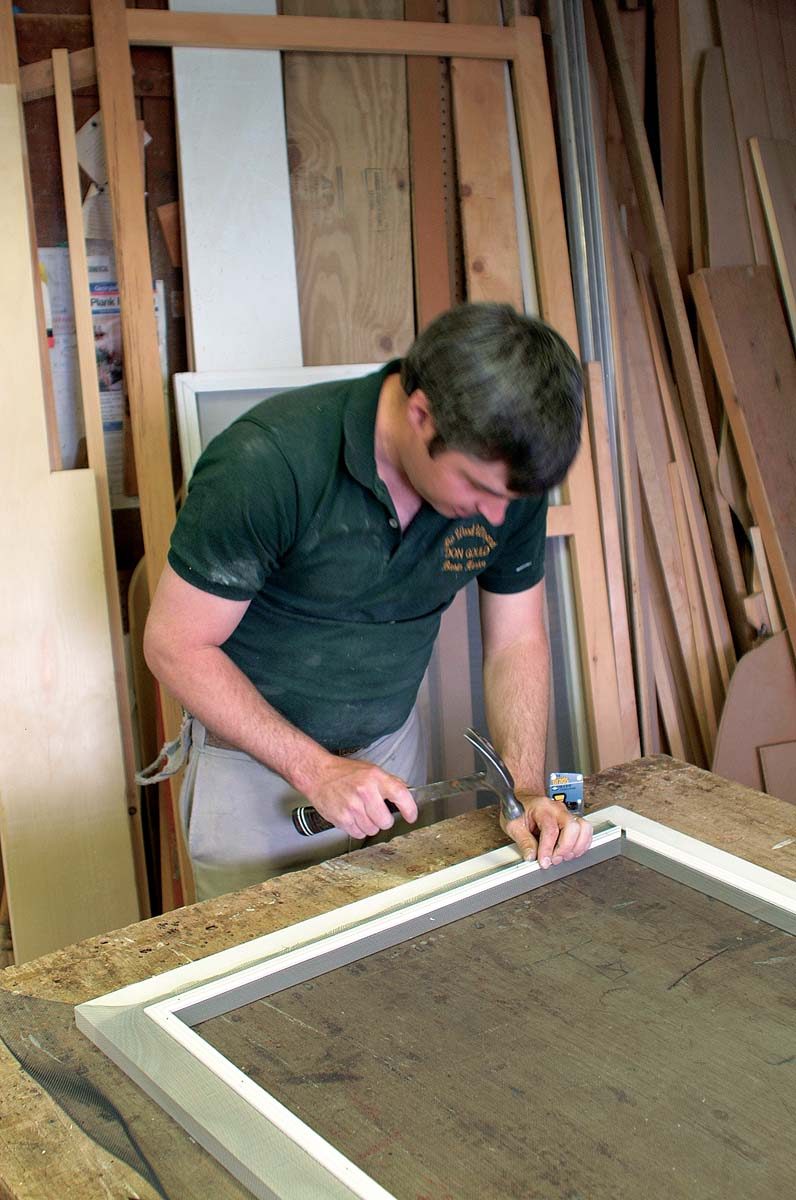
I miter preprimed 3 ⁄4-in. by 5 ⁄16-in. screen moldings and nail them in place with 7 ⁄8-in. #17 brads every 6 in. (bottom photo). For hardware, I use loose-pin butt mortise hinges. A screened-door spring attached to the middle rail gives the door its classic closing whack.
| Make sure the stock is straight. After the stock is ripped, the stiles should be eyeballed for bows. Slight bows should be oriented in the door so that they face away from the door jamb. | 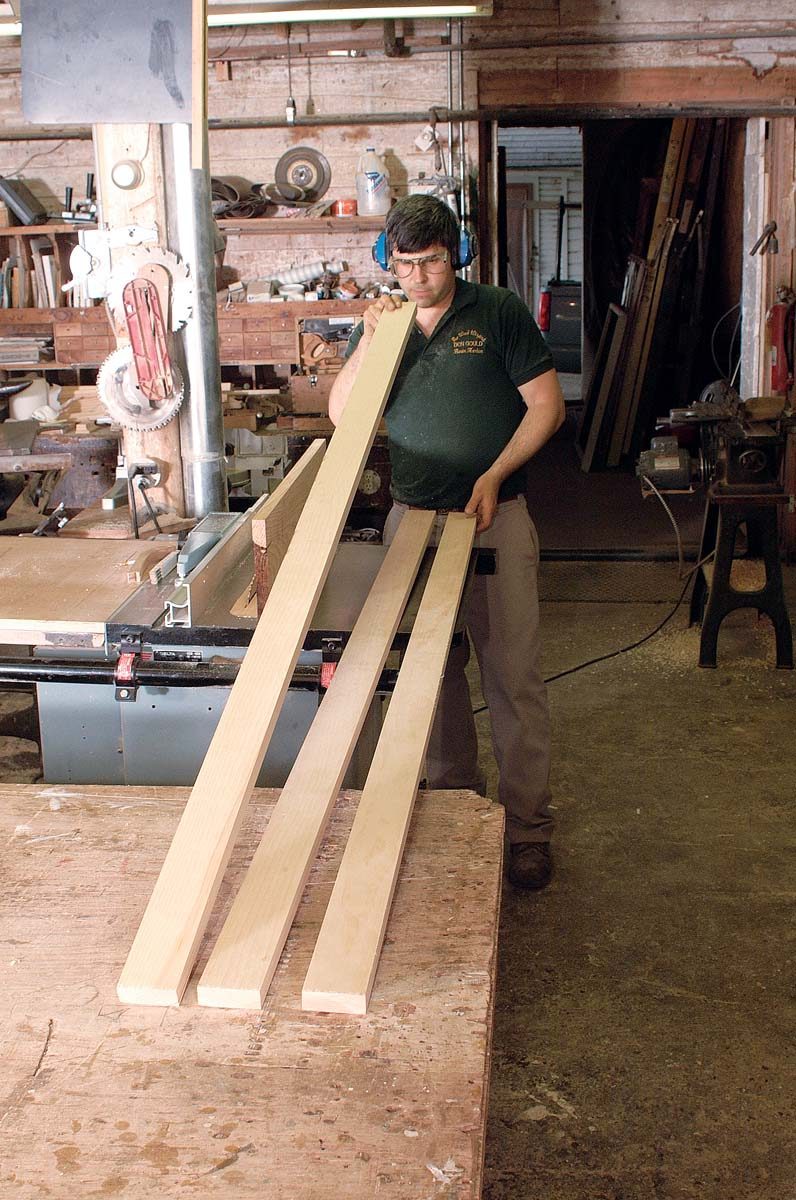 |
| Lay out the parts to mark the joints and dowel positions. The door parts are arranged on a worktable in preparation for doweling. Because each intersecting joint will have its own matching dowel holes, it’s important to label both halves of the joint. | 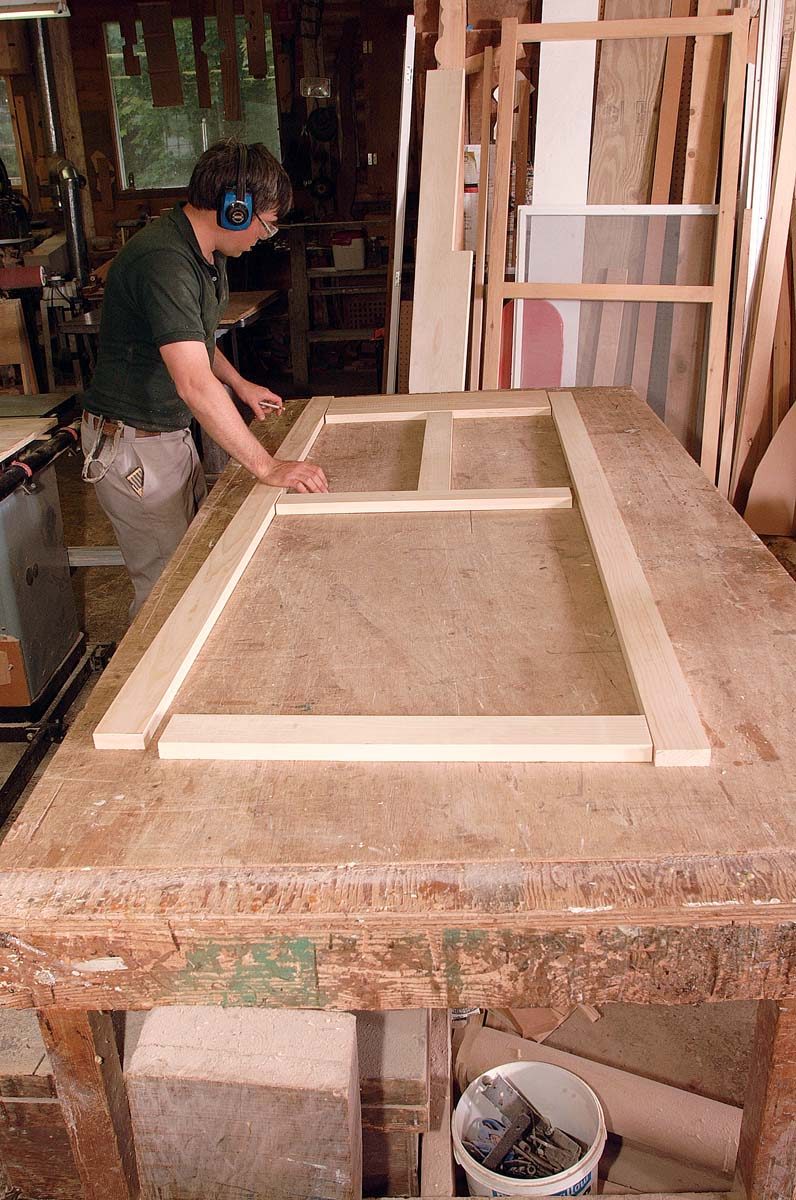 |
| Aligning the parts is easier with a dowel jig. Drilling accurate dowel holes by eye is nearly impossible, so it’s faster and easier to use a dowel jig that clamps into position on the workpiece. | 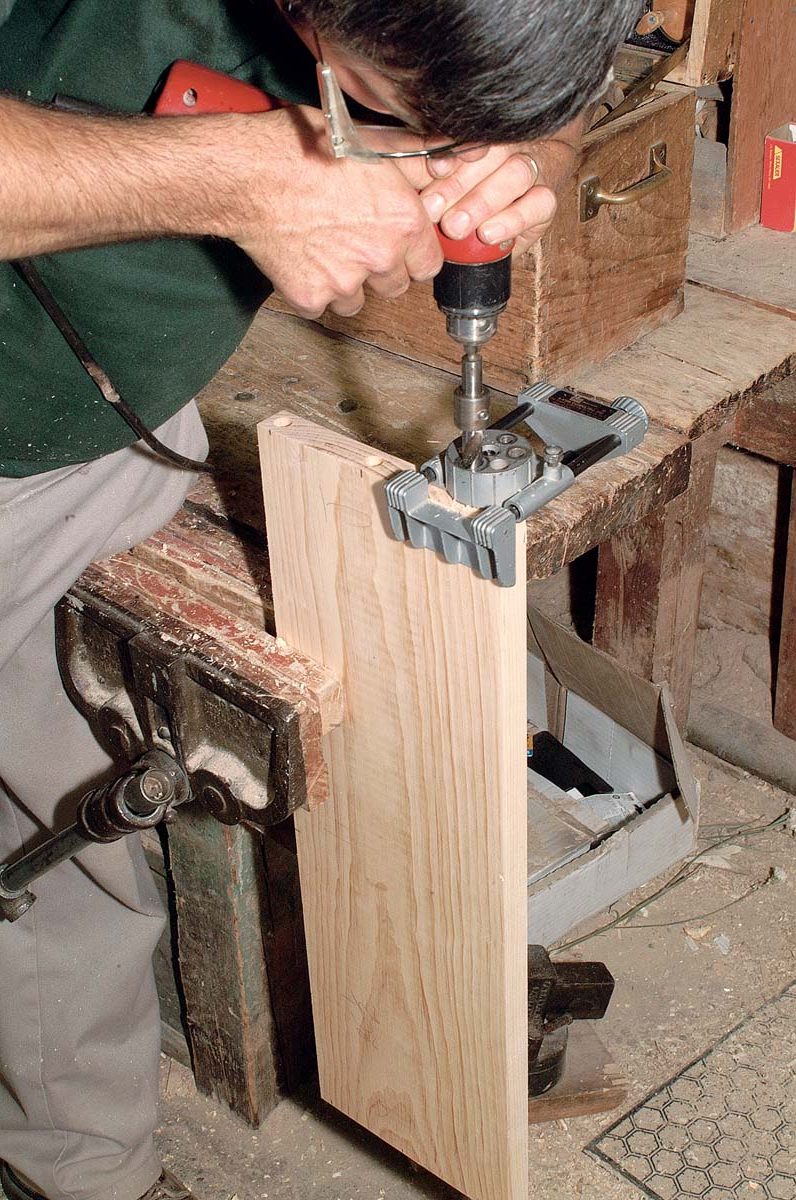 |
The Choreography Of A Glue Up
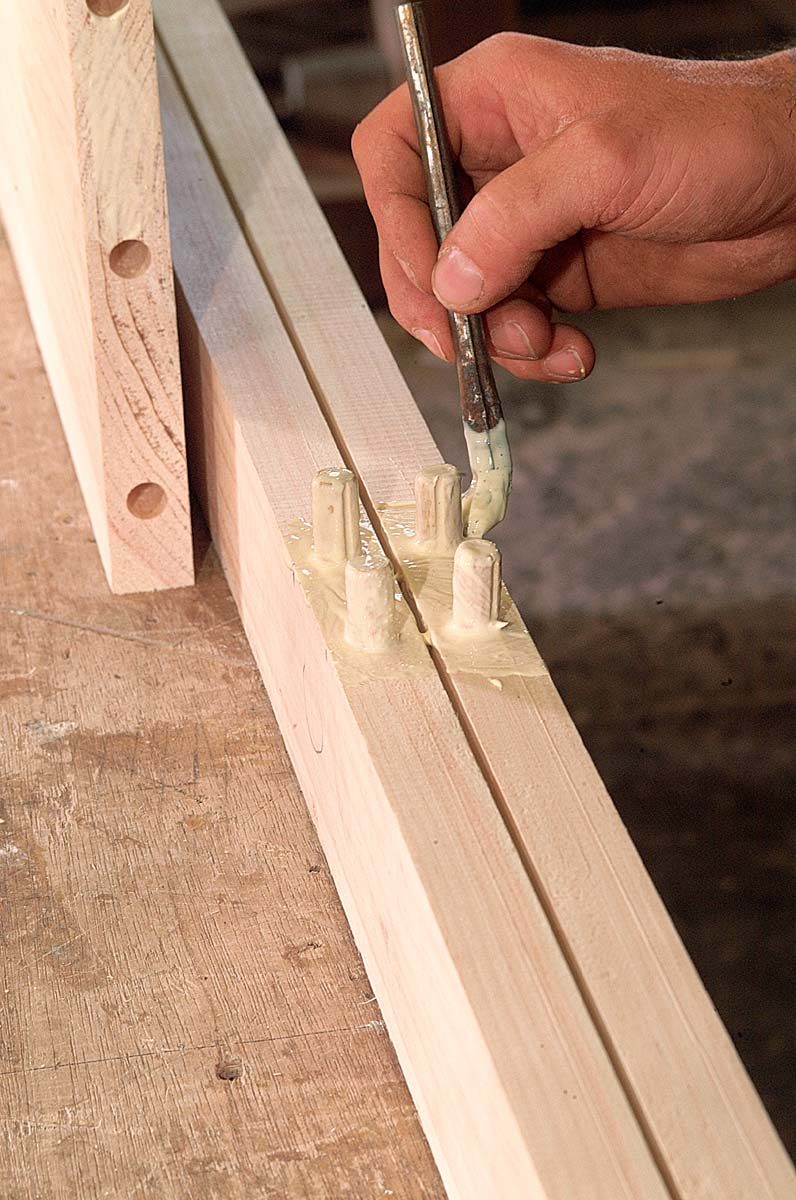 |
Make sure all surfaces have an even coat of glue. The author uses a flux brush to spread glue into the holes, onto the dowels and onto the surrounding surface of the joint. |
 |
 |
| 1. The middle stile and middle and bottom rails are assembled; | 2. This assembly then is joined to one stile. |
 |
 |
| 3. After the top rail is attached to that stile, the opposite stile can be attached. | 4. Clamped up, the door is checked for square; both diagonals should be equal in length. |
Alternate Methods Of Installing Screen
One method of installing screening for a door is stapling it into a rabbet. The screening is stapled along the length of one stile, stretched across the frame and stapled; sags are pulled out from the rails. However, because the screening is pulled into the rabbet, the material can bunch up, which causes sags or bubbles to form along the edge of the panel. The installer may have to remove staples, stretch out the sags and restaple those areas. Once the screening has been tightened, a molding fills the rabbet. Another variation is to use a spline that wedges the screening into a dado that is cut into the floor of the rabbet. The spline most commonly used is a vinyl strip. (Another method for this process uses a 1 ⁄8-in. dowel and is described in FHB #57, p. 75). A glazier’s wheel pushes the spline into the dado. If the door frame is flexible, stapling both ends of the screen while the frame is bowed is a handy way to wind up with a taut screen.
 |
 |
| A little surplus screen is a good thing. Starting along one stile, the author staples in the corners and middle, then grabs the surplus on the opposite stile and tightens the screen as he staples. A screen molding nailed around the border of the screen hides the staples; surplus screen then is trimmed away with a utility knife. |
|
|
|
|
|
|
| Four kinds of screening. Of the types shown above, the author prefers charcoal-coated aluminum because it’s strong and relatively inexpensive. Fiberglass screen is easy to work, but it rips easily. Stainless and bronze are durable but hard to find and expensive. |
For more photos and details, click the View PDF button below:
